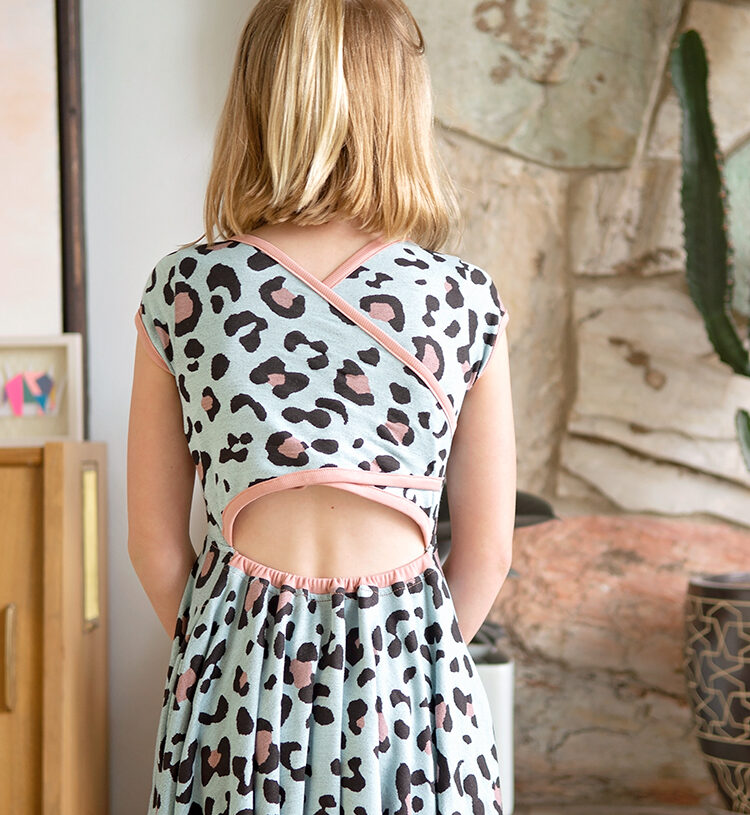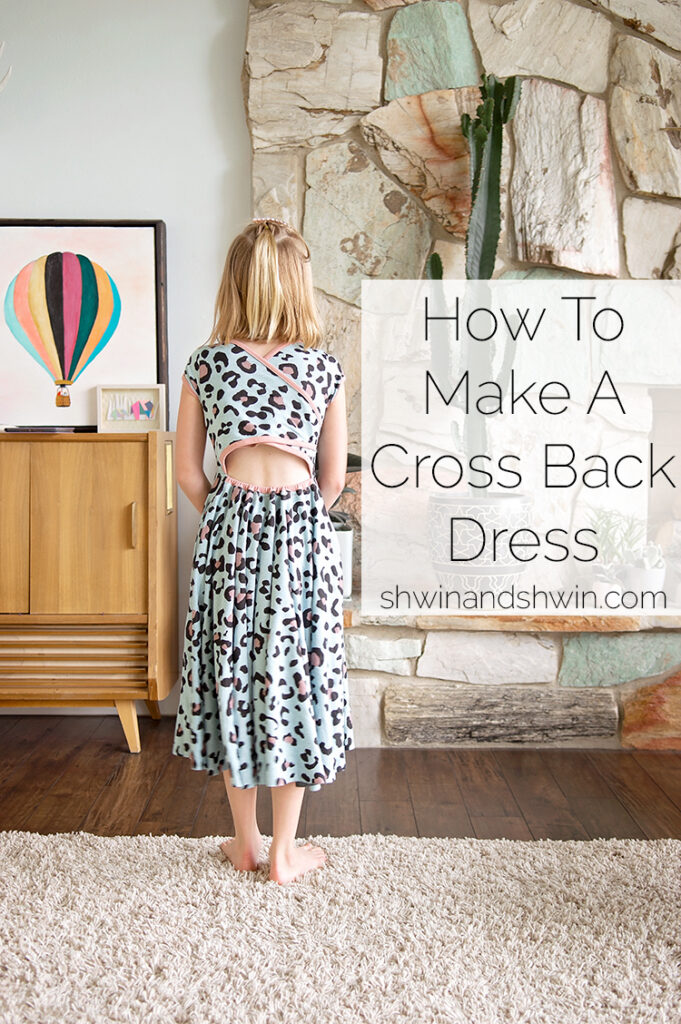
While scrolling through instagram (as one does) I saw an ad for a dress with a lovely cross back detail. I thought it was a really pretty detail and would be so easy to add to an existing pattern. So I thought I would show you how to make this cross back pattern hack yourself. (I have no idea why she was hunching over in all of the back shots of this dress, so you will have to excuse that)
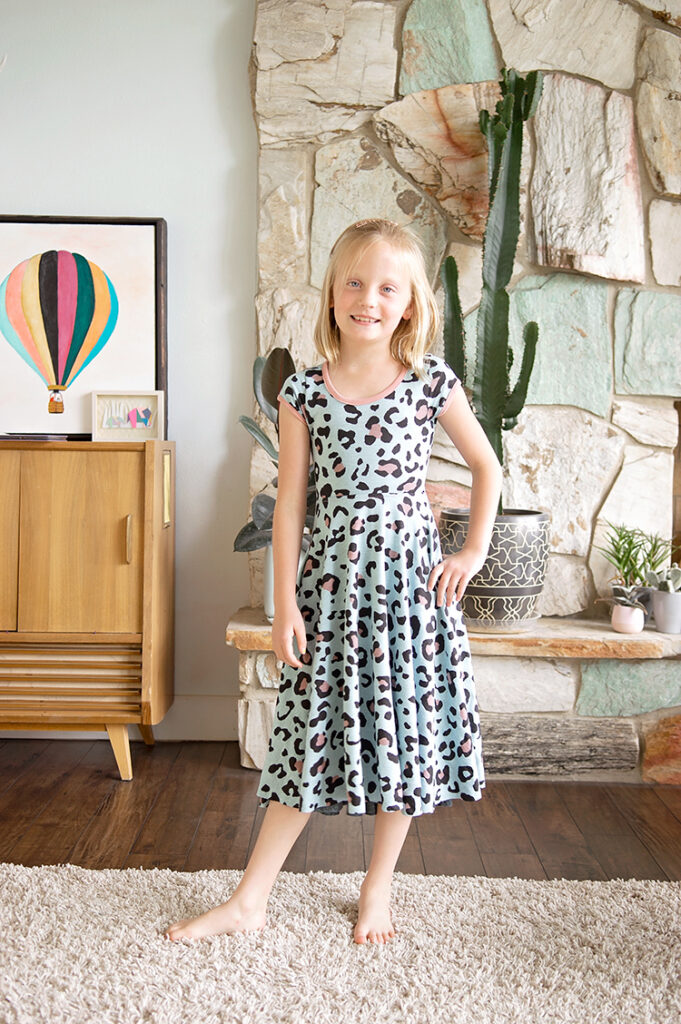
I used the Holly Dress pattern for this hack. I did the cap sleeve, dress length, regular back (with alteration) for this hack. It turned out really well and the ONLY thing I would change if I did it again (and I do kind of want to make another one) is I would take some width out of the back bodice. My daughter measures at about a 3T width and 7 length. Normally I split the difference a bit and make her a 5 with added length. I do this because while her frame does measure narrow, no one would look at her and assume she wears 3T. In fact she looks pretty average in build to most 8 year olds (which she is 8) I have just found that if I kind of split the difference the 5 (made longer) tends to fit really well on her. However, in this case since the top should be snug fitting you can tell that the 5 is a bit too wide for her as the back top has a lot of room, I was able to adjust the elastic in the skirt potion just fine so we won’t have a wardrobe malfunction. Why am I sharing all of this? Sewing can be a tricky game of how to get the perfect fit, rarely are kids even a straight out of the box fit and sometimes it gets tricky to get the perfect fit. So I figured I would share some of the processes behind the sewing.
How to do the cross back hack

To start I needed the full back piece, so I traced the mirror image on to paper, and cut it all out.
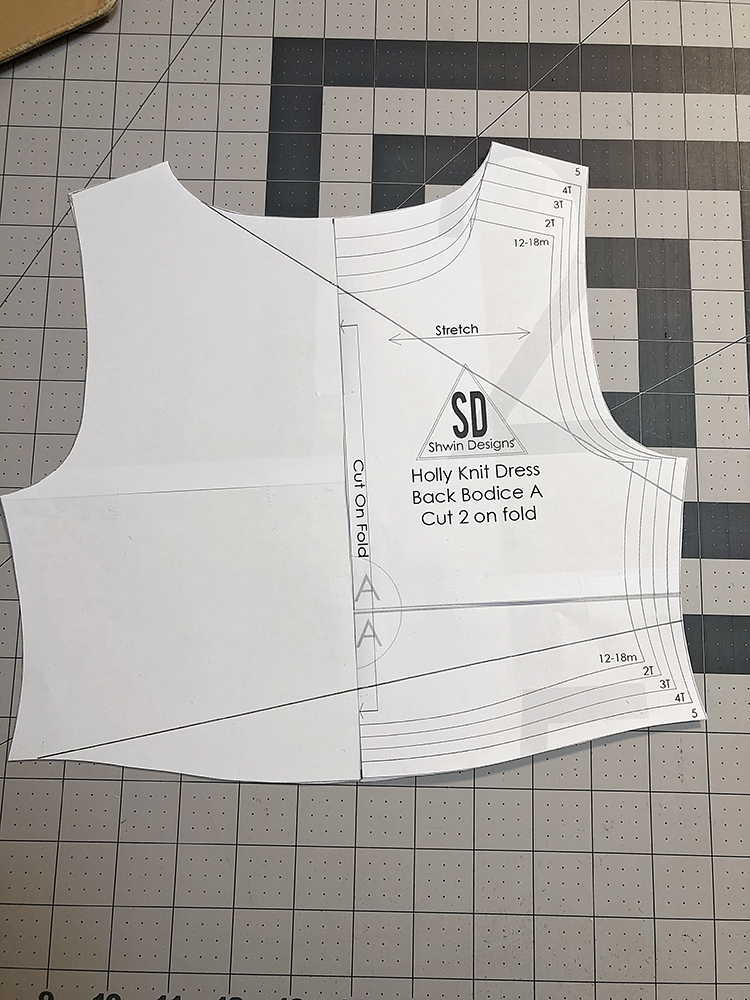
Then from the shoulder draw a straight line to the opposite side seam.
Draw another straight line from the bottom again to the side seam. (both as shown above.)
Then cut them out, no need to add seam allowance to these edges.
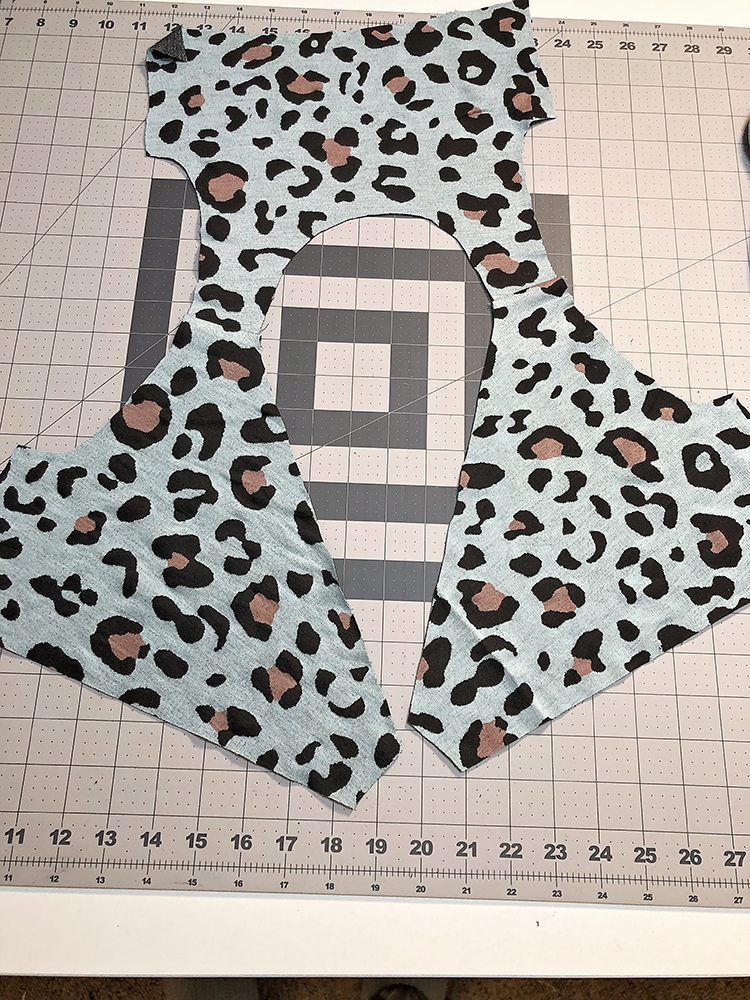
Then sew the front and back together at the shoulders. I should also mention I did not line this dress bodice like the pattern does, because I decided to finish with binding. You could line it if you wanted to.
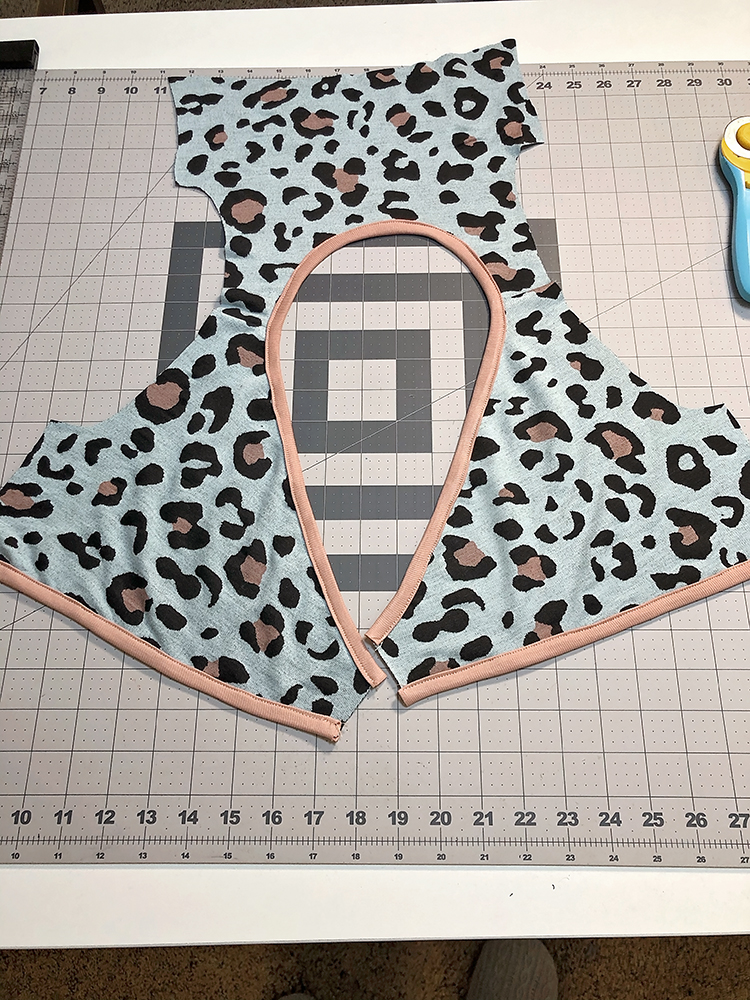
I used 1.5″ strips of rib knit to sew binding on around the neckline and bottom edge of the back.
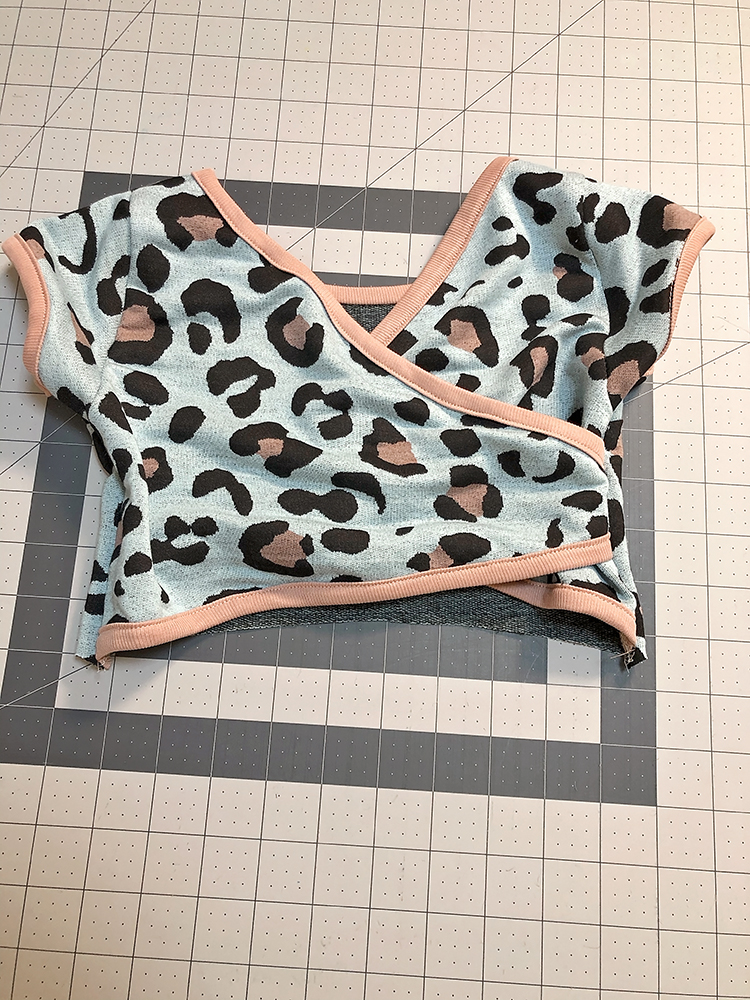
I added the sleeve and stitched up the side seams. You then have this cross back action. It should also be noted I added binding to the sleeve so it would all match with the other binding.

For the skirt, it’s a circle skirt. However instead of cutting on 2 folds (for the full circle) I cut 2 by adding seam allowance along the one side. This gave me 2 skirt pieces, a front and a back. (which also gave me a great chance to add pockets into the now side seams of the skirt. For the back, I added a folded band from the same rib knit along the top edge to make a casing.
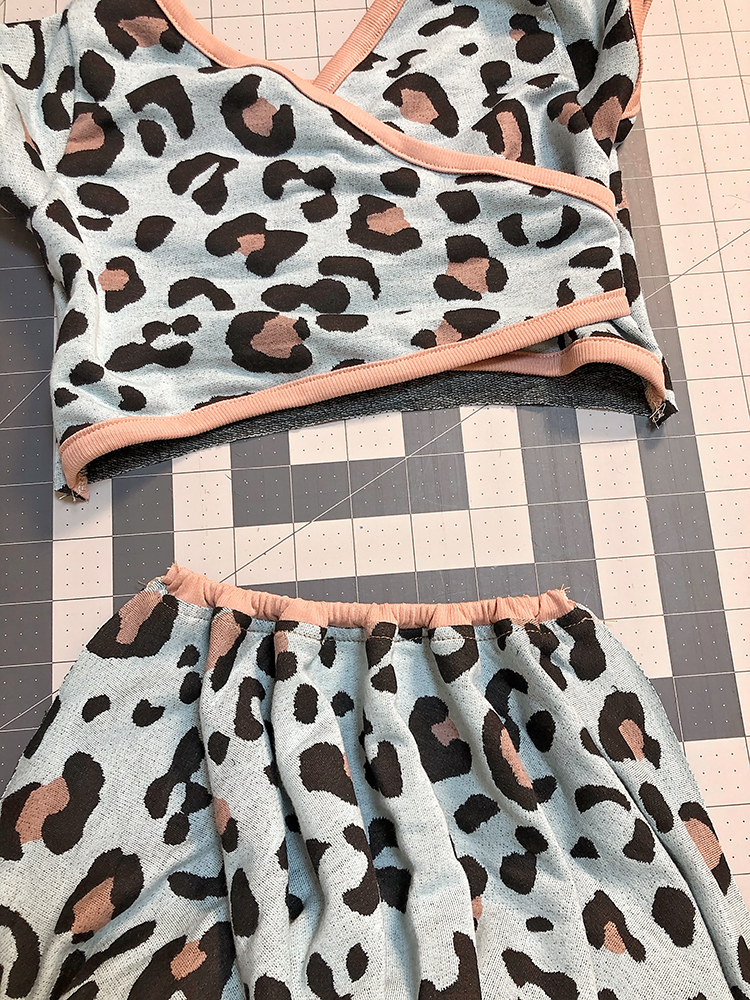
Then add elastic into the casing and sew to secure on both sides. How much elastic? This depends on several factors. How stretchy is the elastic? How strong? I made sure this could comfortable stretch to it’s full size, while the elastic is strong enough to hold up the back of the skirt and fit snug.
Now sew the front and back skirt together, and sew the bodice right sides together to the skirt, only the front will be sewn to the skirt.
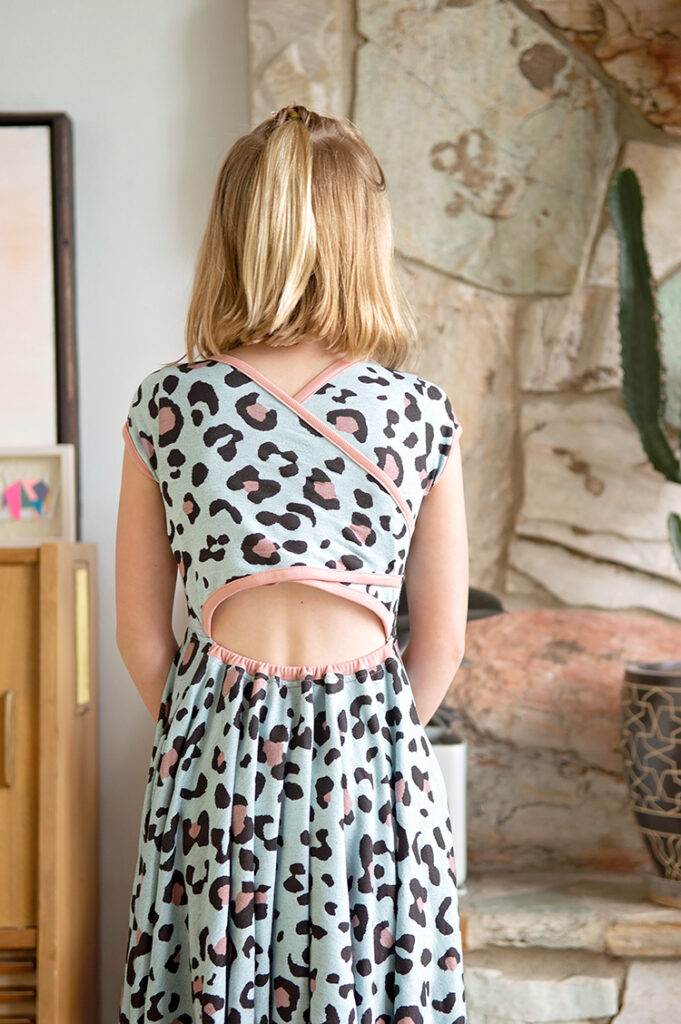
Then you have a cute little cross back dress.
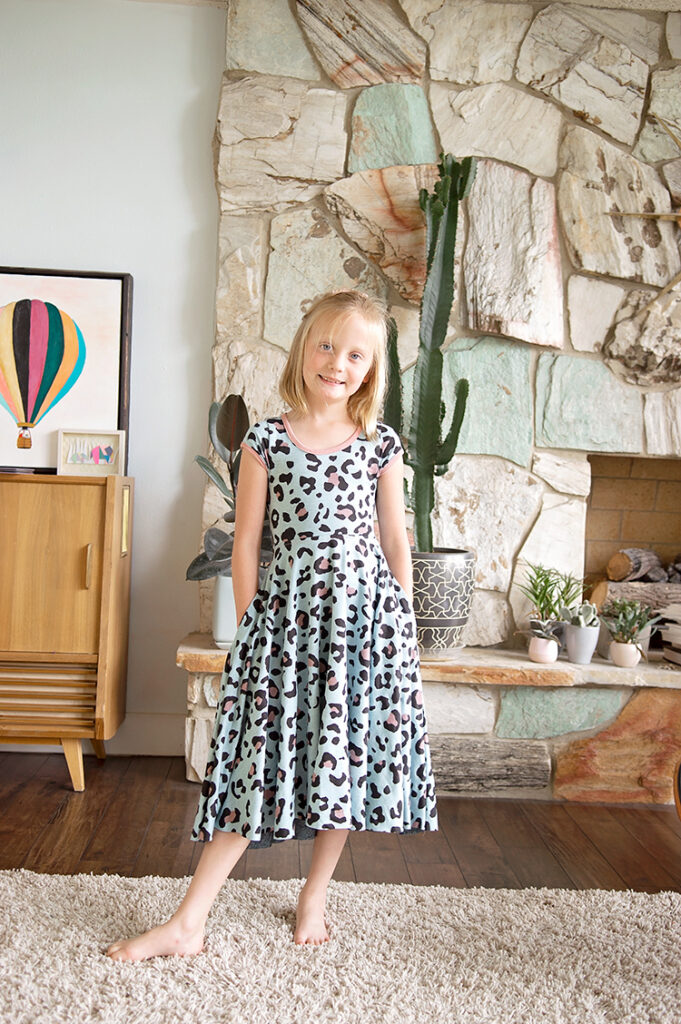
With pockets

and twirl factor of course.
