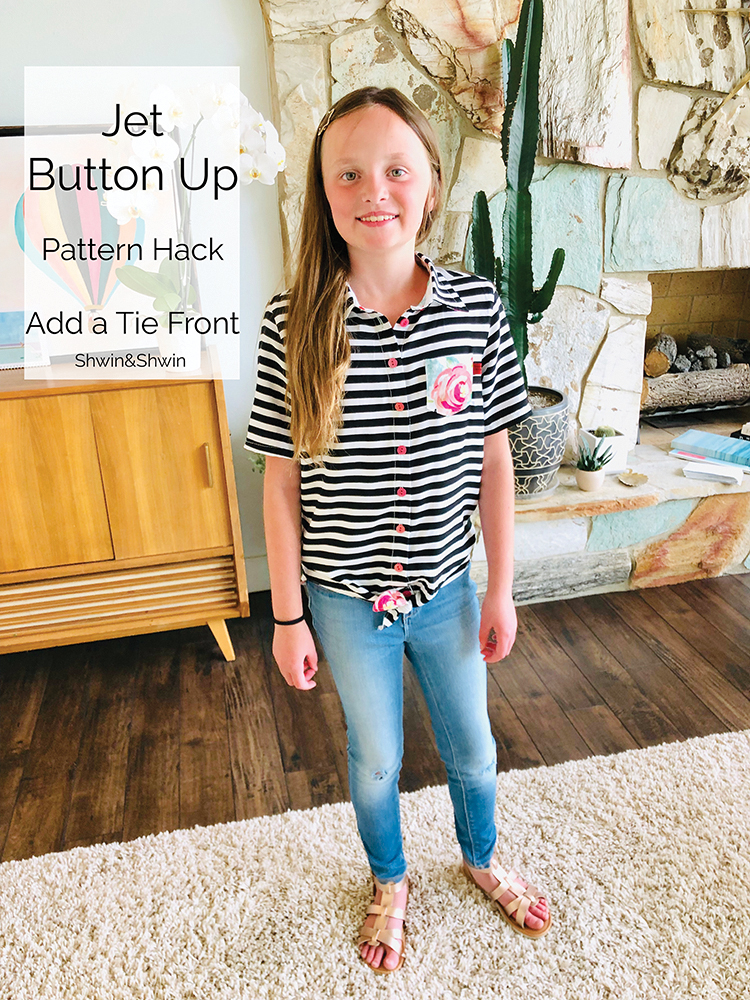
Abbey has been in love with all the front tie shirts she sees. Especially the button up ones. I told her I could easily make her some. I used the Jet Button Up for this one. I made the regular short sleeve version, only alteration was the addition of the front tie.
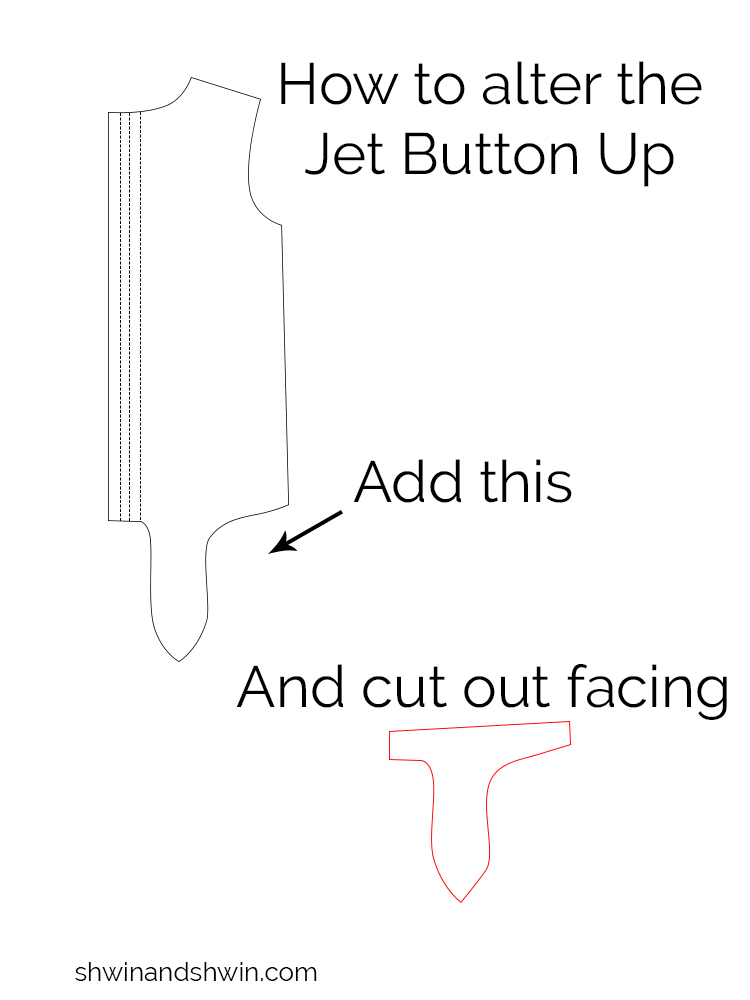
To add a front tie, draw a “tie” piece on to the bottom of the pattern. For a button up like this, start the tie past the button placket along the center front. I made it 7″ long and 3″ wide at the widest point.
Then you will also need to cut a facing piece for the tie, which is a copy of the lower front piece. Then sew the facing to the front right sides together, clip the curves and point and then turn it right side out. Finish the rest of the pattern as instructed.
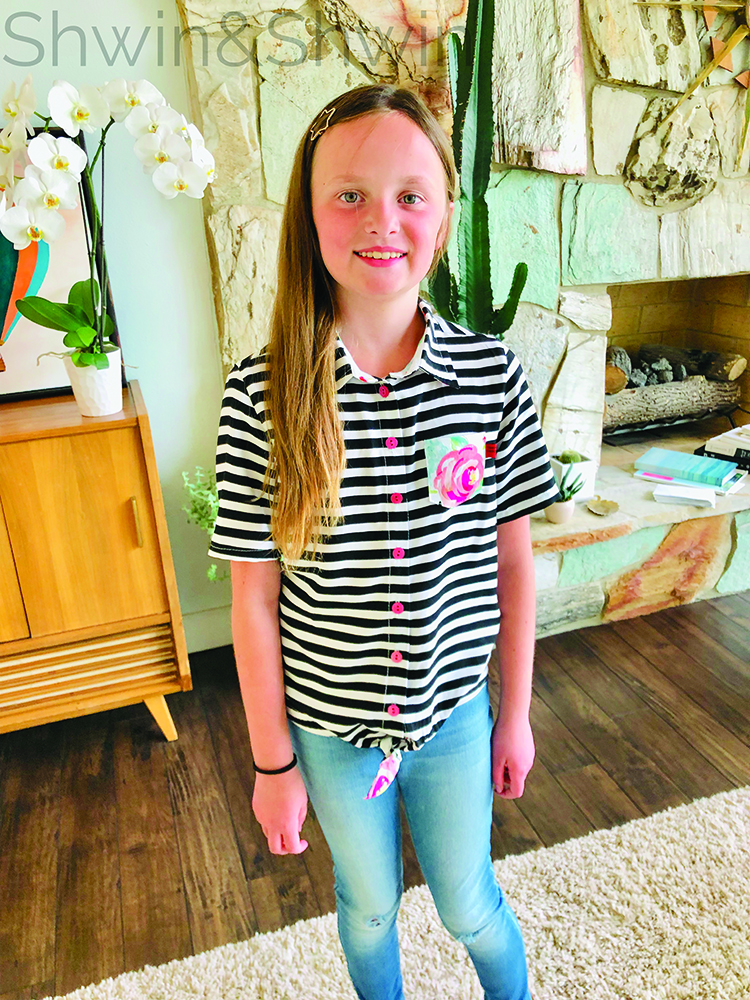
Then the shirt has a cute tie front. If you want more of a cropped tie front option (which this girl isn’t keen on) you can unbutton some of the lower buttons and the tie front will tie in a larger bow, and the top will be more cropped.
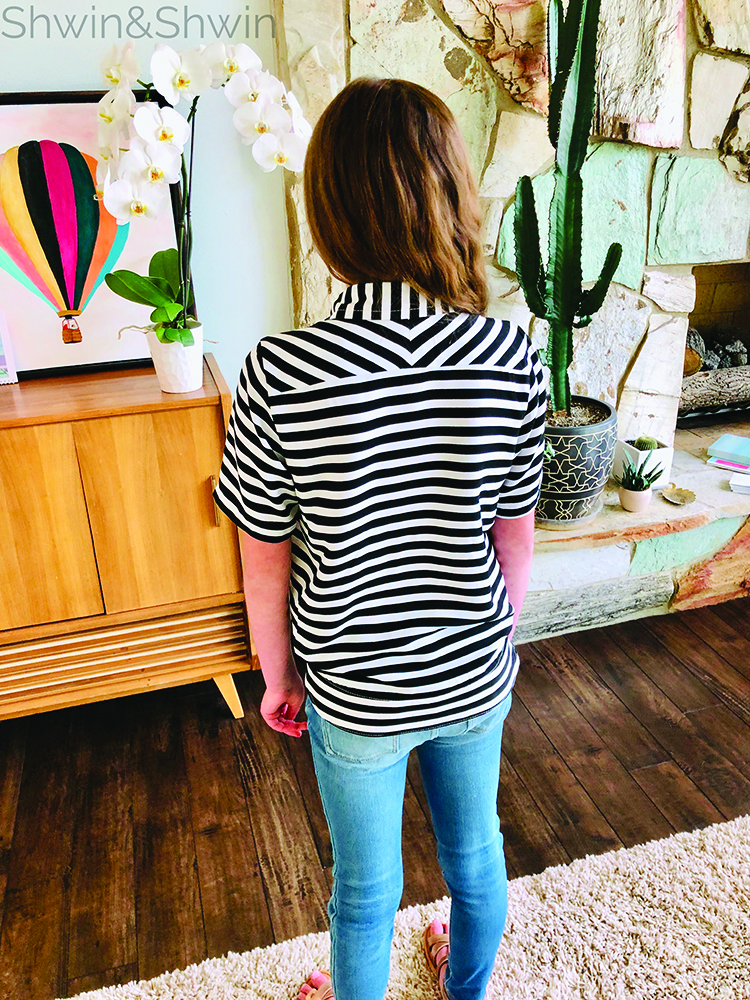
I love the way the top came together, I even did a chevron cut on the back.
