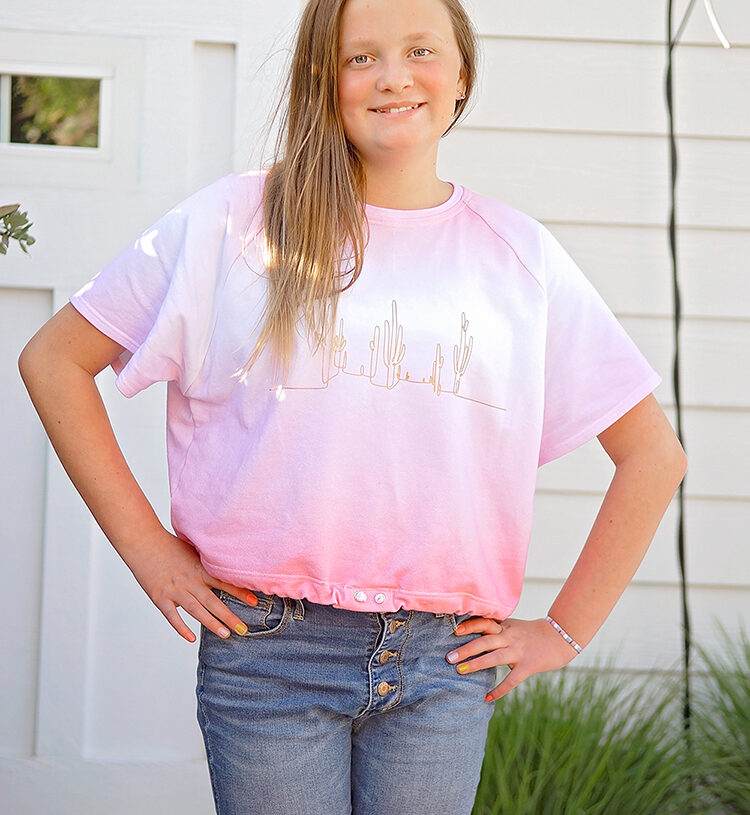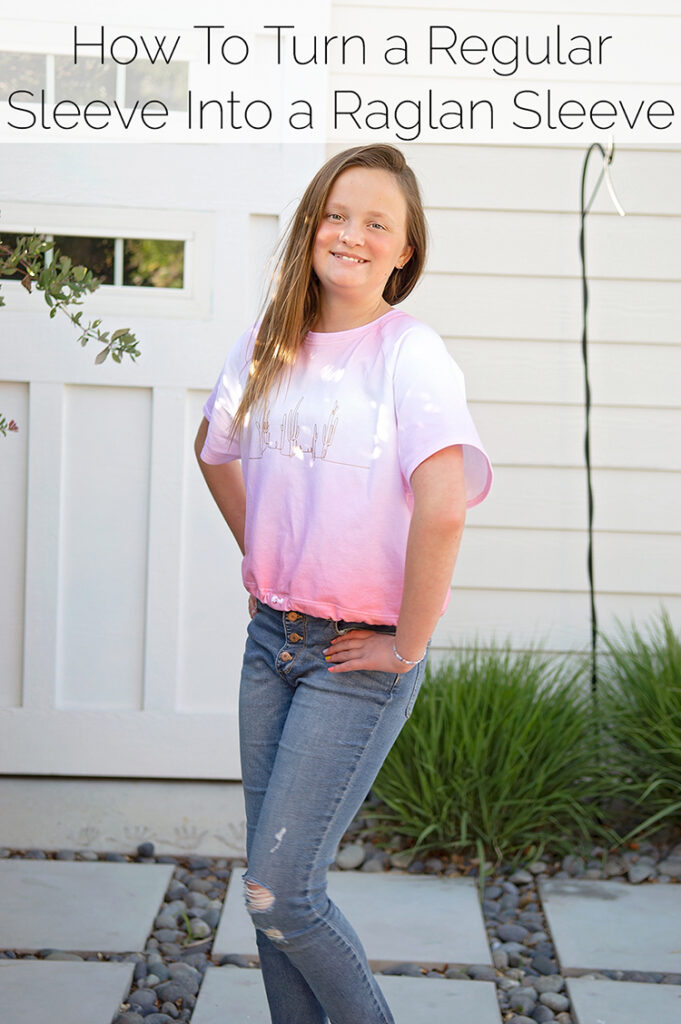
When I shared the FREE oversized sweatshirt pattern, I mentioned that I have been hacking it a million times over. It is my daughter’s current favorite fit and style and so I have seen how many times I can make it look different. For this version I made it a short sleeve raglan. I thought I would show you how to turn a regular sleeve into a raglan sleeve. Without getting into all the tricky drafting details it’s pretty simple to do on your own, especially when dealing with a loose fitting garment like the oversized sweatshirt.
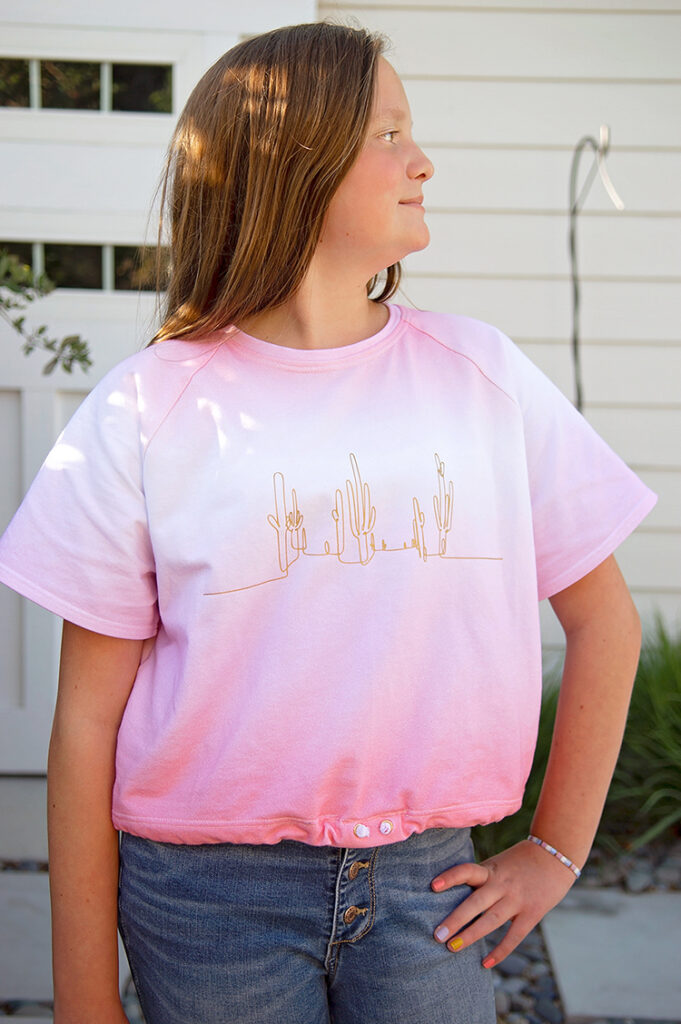
What is a raglan sleeve you might ask? It’s a sleeve that goes all the way up to the neckline, and angles towards the underarm. It’s typically a universally flattering cut. You can have tricky curved raglan sleeve lines that are meant to curve with the body. Like the Sky Raglan, or Women’s Ringo Raglan patterns. Or you can do a strait more boxy line. It really depends on the overall style.
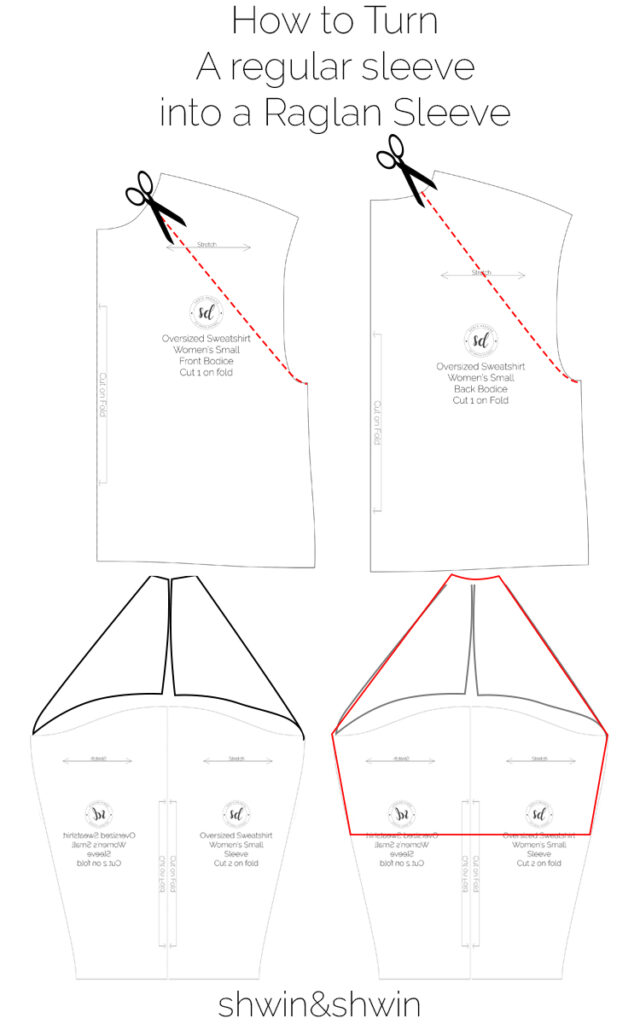
In order to change the sleeve to come to the neckline you will need to alter the front and back bodice, and the sleeve. To do this draw a line from the underarm to the neckline on both the front and back bodice. Then you will cut along that line and move your pieces down to the sleeve. You will need to flip and arrange them until the top of the neckline is in line with the fold line of the sleeve, and the underarm part from the bodice matches the underarm of the sleeve. I know you are probably thinking, “but what about all the gaps between the sleeve and bodice pieces?” Don’t worry about that, it’s just a bit of extra fabric that will be needed with the style change.
Now the sleeve for the oversized sweatshirt was cut on a fold, but I did need a front and back neckline for the raglan so I traced a mirror image and made it a solid sleeve (not cut on a fold) The red lines on the finally sleeve show my final altered sleeve, which was also shortened to a short sleeve length.
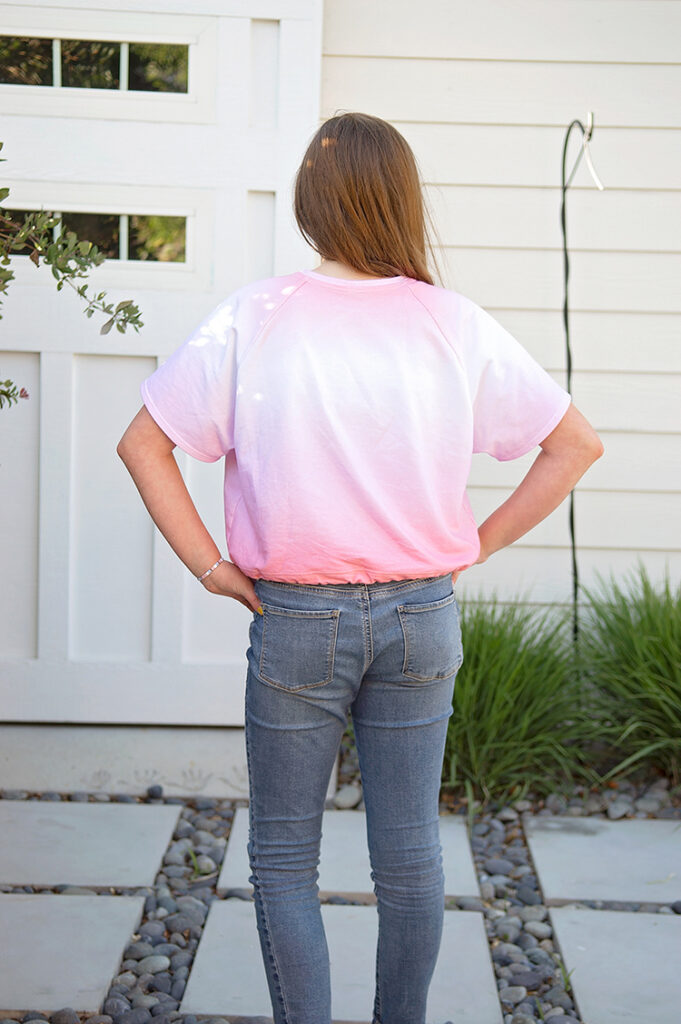
If you are brand new to sewing raglans and unsure how they go together, here is a post that shows you how to sew the raglan together.
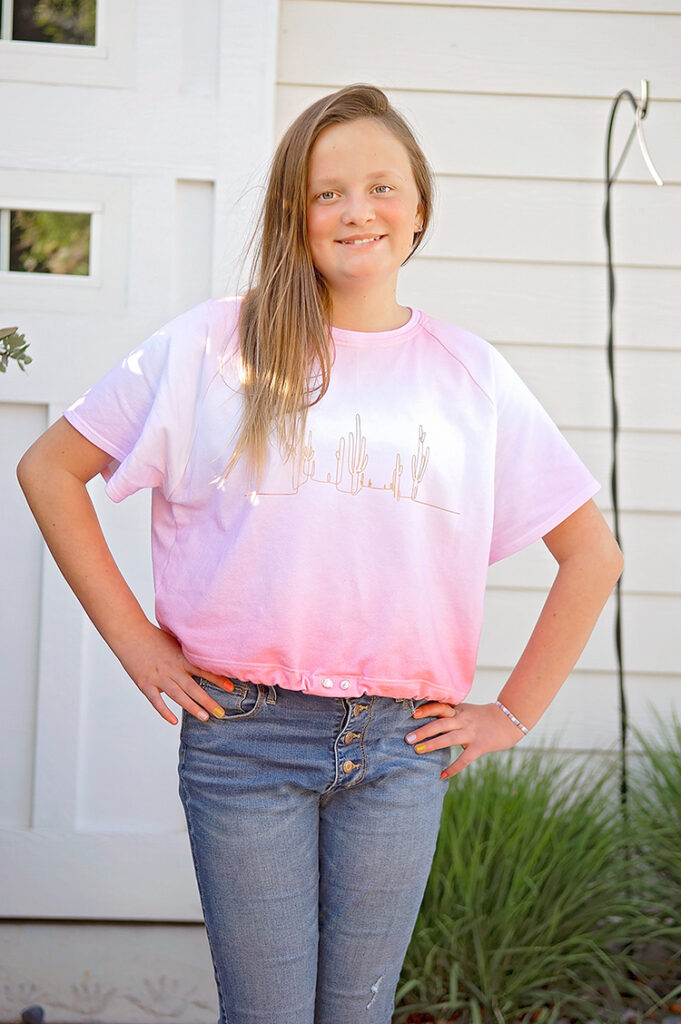
One final change I did for this one, I added a draw string in the waist hem. To do this I added grommets in center front of the shirt where the hem would be. Then I cut a .5″ wide strip of fabric about the same length as the waistline. Feed it through the hem and into the grommets and it’s done.
