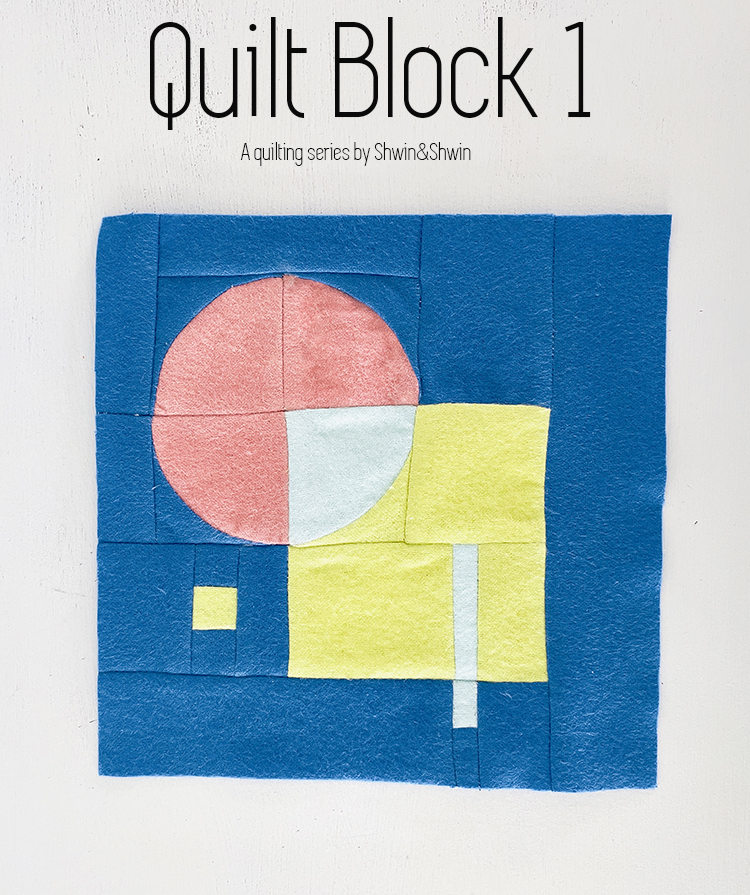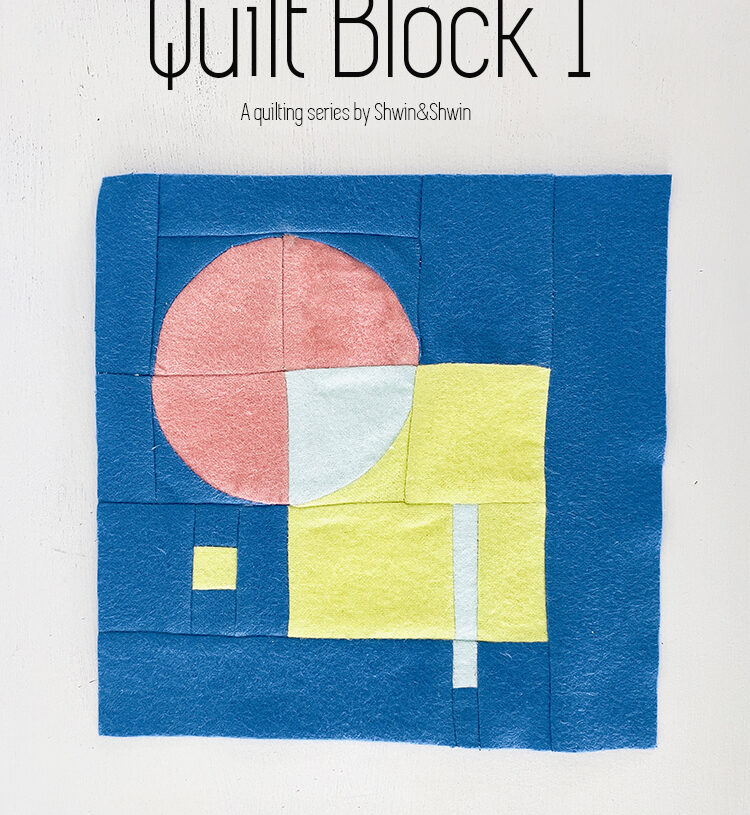
Quilt Block 1
A free quilt block template for a quilt block series I am starting. (get the template below) A while back I snapped a photo of a piece of art I thought would make an amazing quilt. It had beautiful colorful geometric blocks of colors. That very much inspired this quilt.

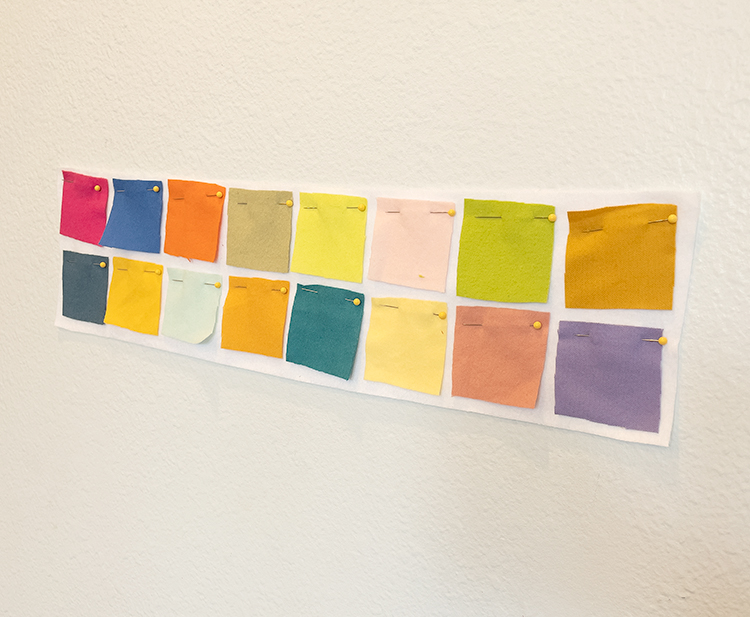
There is something about quilting that is so relaxing and fun, but sometimes a huge pieced quilt feels so overwhelming and hard. I decided to break it down as a series. Block by block. It’s a great scrap busting project. Normally I would quilt with regular cotton but my scrap bin was over flowing with flannel from a plethora of kids quilts, so I am going with that. I cut 2″X2″ squares from my scraps so I could make a color board. I wanted to see how I liked all the colors together. They won’t all be used in the same block but mixed and matched they would be used in the same quilt.
You will need:
- Scraps of cotton, or other quilting appropriate fabrics.
- Freezer Paper
- Rotary Cutter
- Ruler
- Iron
- Sewing machine
How To Sew The Quilt Block
I do paper piecing a little differently. I have posted about it in the past HERE. But I will share a rundown for how I did these blocks. With some video clips.
First, use freezer paper to trace the block template. Draw on the paper side NOT the shiny side.
Then cut out the template. Pay attention to the order of how you cut it out and it will help you put it back together.
Next iron the cut out pieces on the back of the fabric. Shiny side DOWN, and leave a buffer around each piece so you can add a 1/4″ seam allowance.
Cut out the template by adding a 1/4″ seam allowance around each edge. This is easy to do for the straight edges since I just use a clear ruler to line up the 1/4″. For the curved pieces I eye ball it but still add 1/4″ along the curved edges.
The curved pieces are the “hardest” part. You need to match along the curves and fabric doesn’t love to do that, especially when the pieces are so small. I promise it’s possible just sew carefully. You will sew right sides together, and you want to sew right along the paper edge. I leave the freezer paper on as I sew to help stabilize the pieces and match everything up right. I do take it off the small curve pieces to help shape the fabric. As you are piecing your block back together. No I didn’t number the pieces, but you just sew it back like a puzzle, in the reverse order of how you cut the template up. Sew, press, repeat. Until the whole block is sewn together.
Last step, remove all the freezer paper. Then press well, I like to use some starch. Then trim up the edges so you have a nice clean square. Since seam allowances were added you have some wiggle room to trim it back down to a nice square 7″X7″ or you can leave the seam allowance on, and have a 7.5″X7.5″ square. Your choice.
I have many more blocks to share before we put it all together as a full quilt. This post will be the reference post for how to assemble the squares while future posts will just have the new templates.
If you sew along share on social media, I love to see what others are making! Check out my channels with the links in header.
