 |
| Before we head into the weekend with all the fabulous creations from the contestants. (and a little project run and play plug) I thought I would get the Doe a Deer top tutorial up. I will share the rest of the pieces later on. |
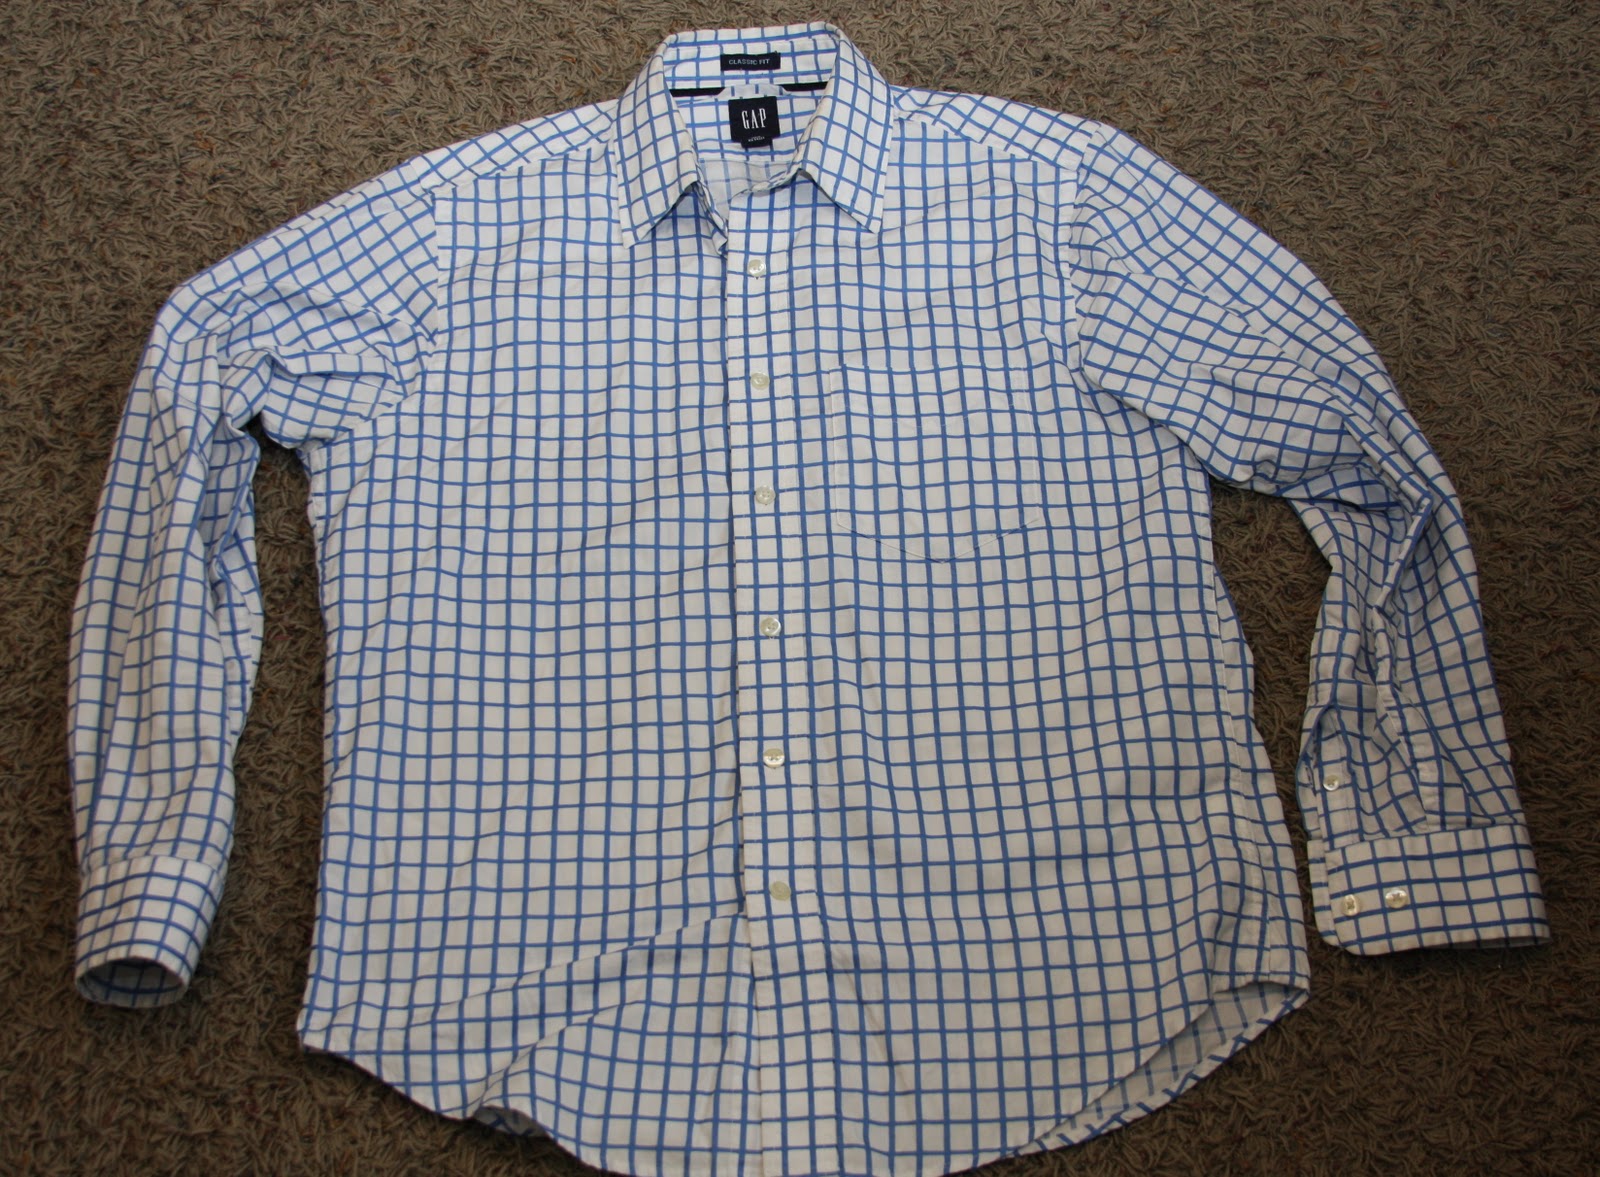 |
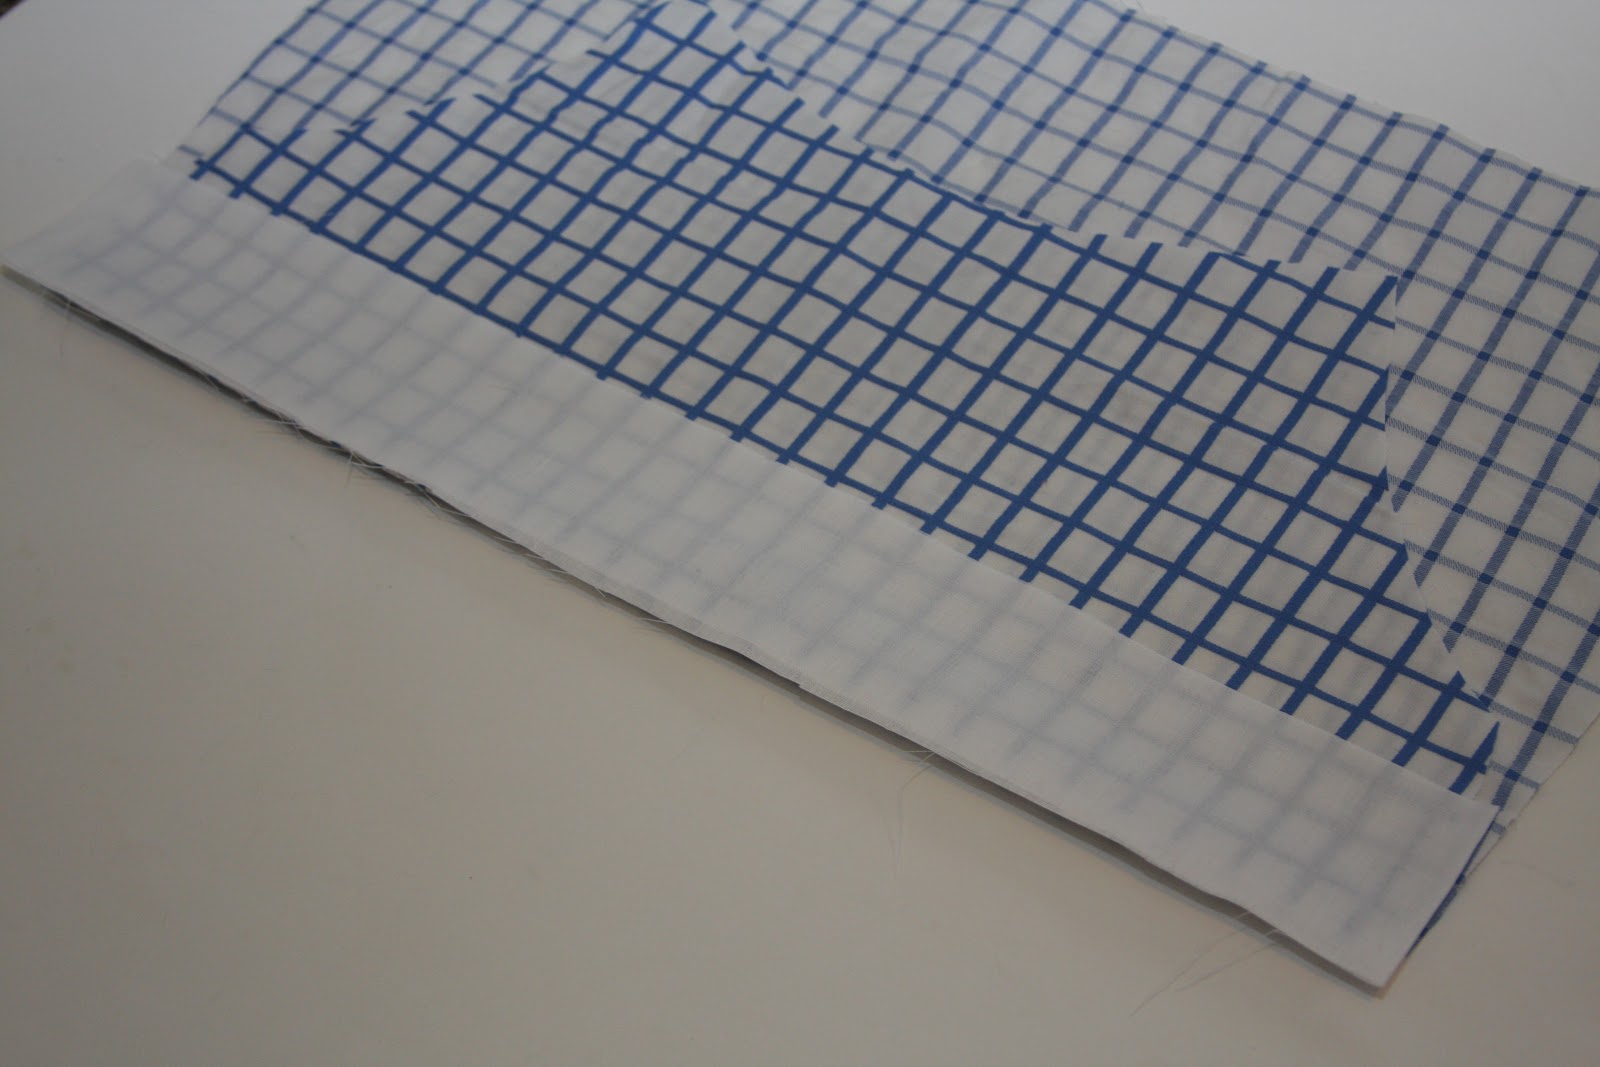
| I started this challenge by using one of my husbands dress shirts from the “re-do” pile. I liked the print, and the lines would be easy to match up. |
 |
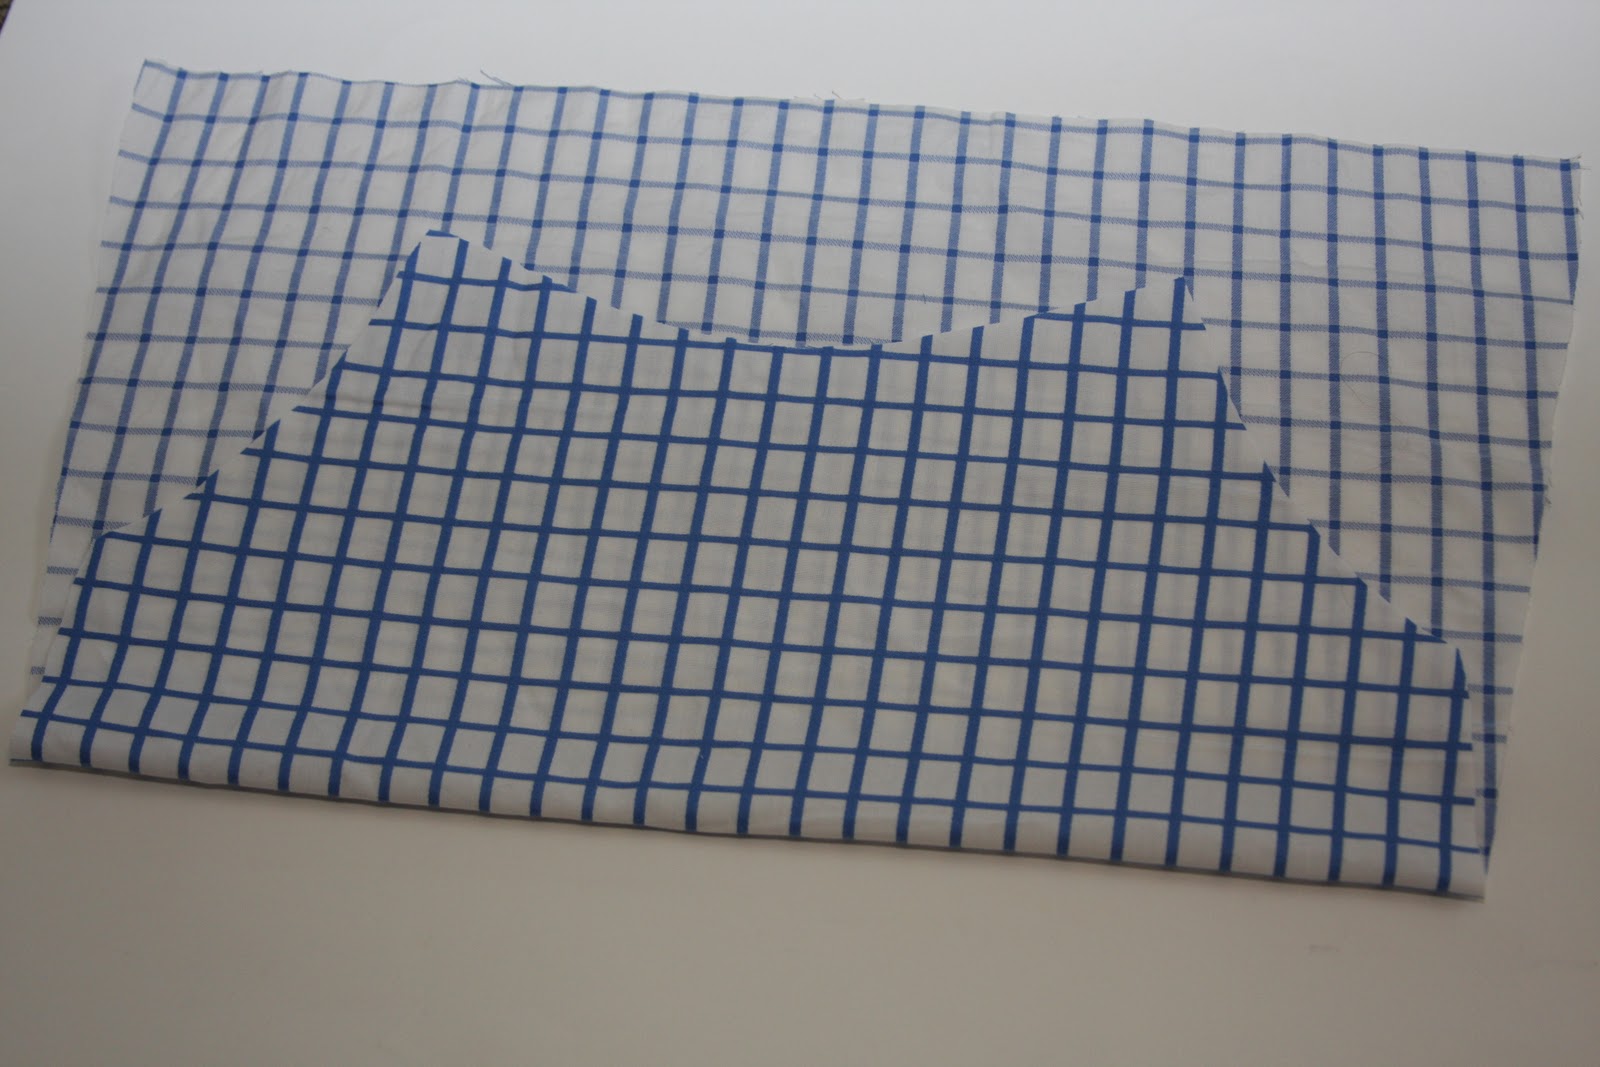
| First things first we had to use the lila and ben pattern for the challenge but you could easily make your own basic peasant dress pattern like I did HERE. Or maybe you have a peasant top pattern you like. I folded the shirt so the fold was down the center of the back and cut the front piece out on the fold. Then I cut the back pieces out from the front I couldn’t get it on a fold so I cut two pieces I would sew together later. The sleeves were cut from the sleeves of the shirt. |
 |
| Other pieces I cut out was the back neck lining. I did this by tracing the neckline of a shirt that fits well. |
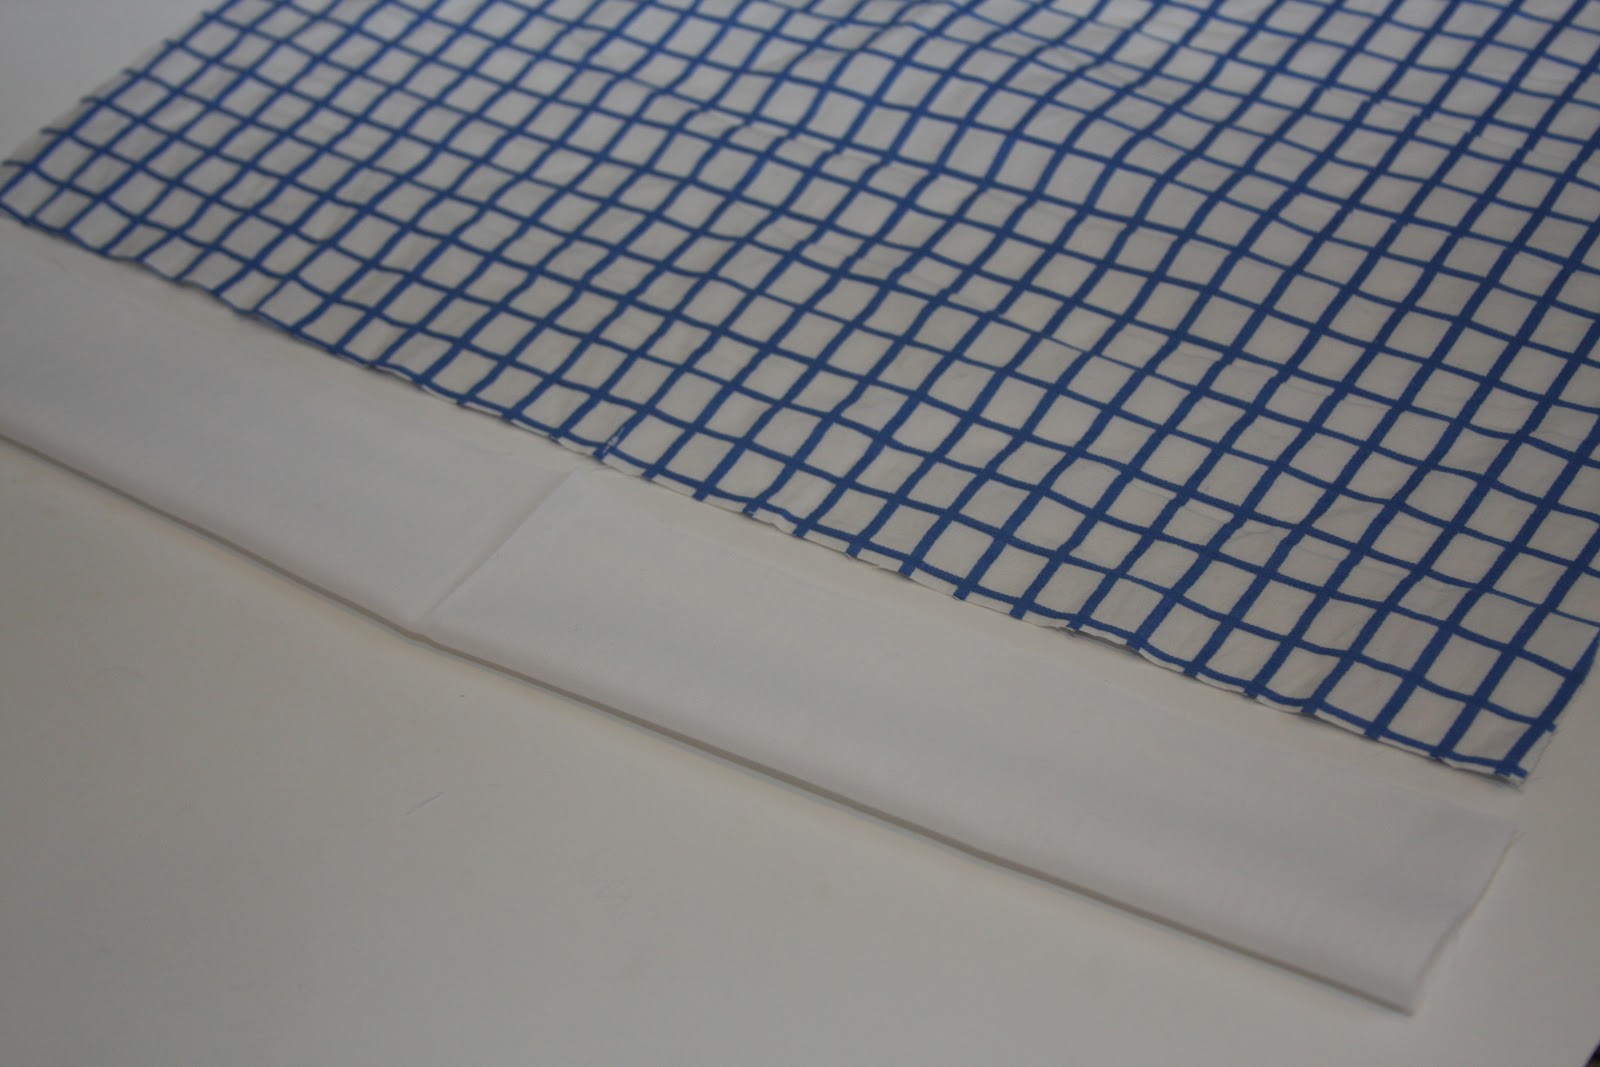 |
| I also cut a rectangular strip (folded) to be the width of the bottom of the shirt. |
 |
| Then I folded the top over marking where I wanted the “empire” waist to be. |
 |
| Then cut out a strip that will be the casing for the elastic. |
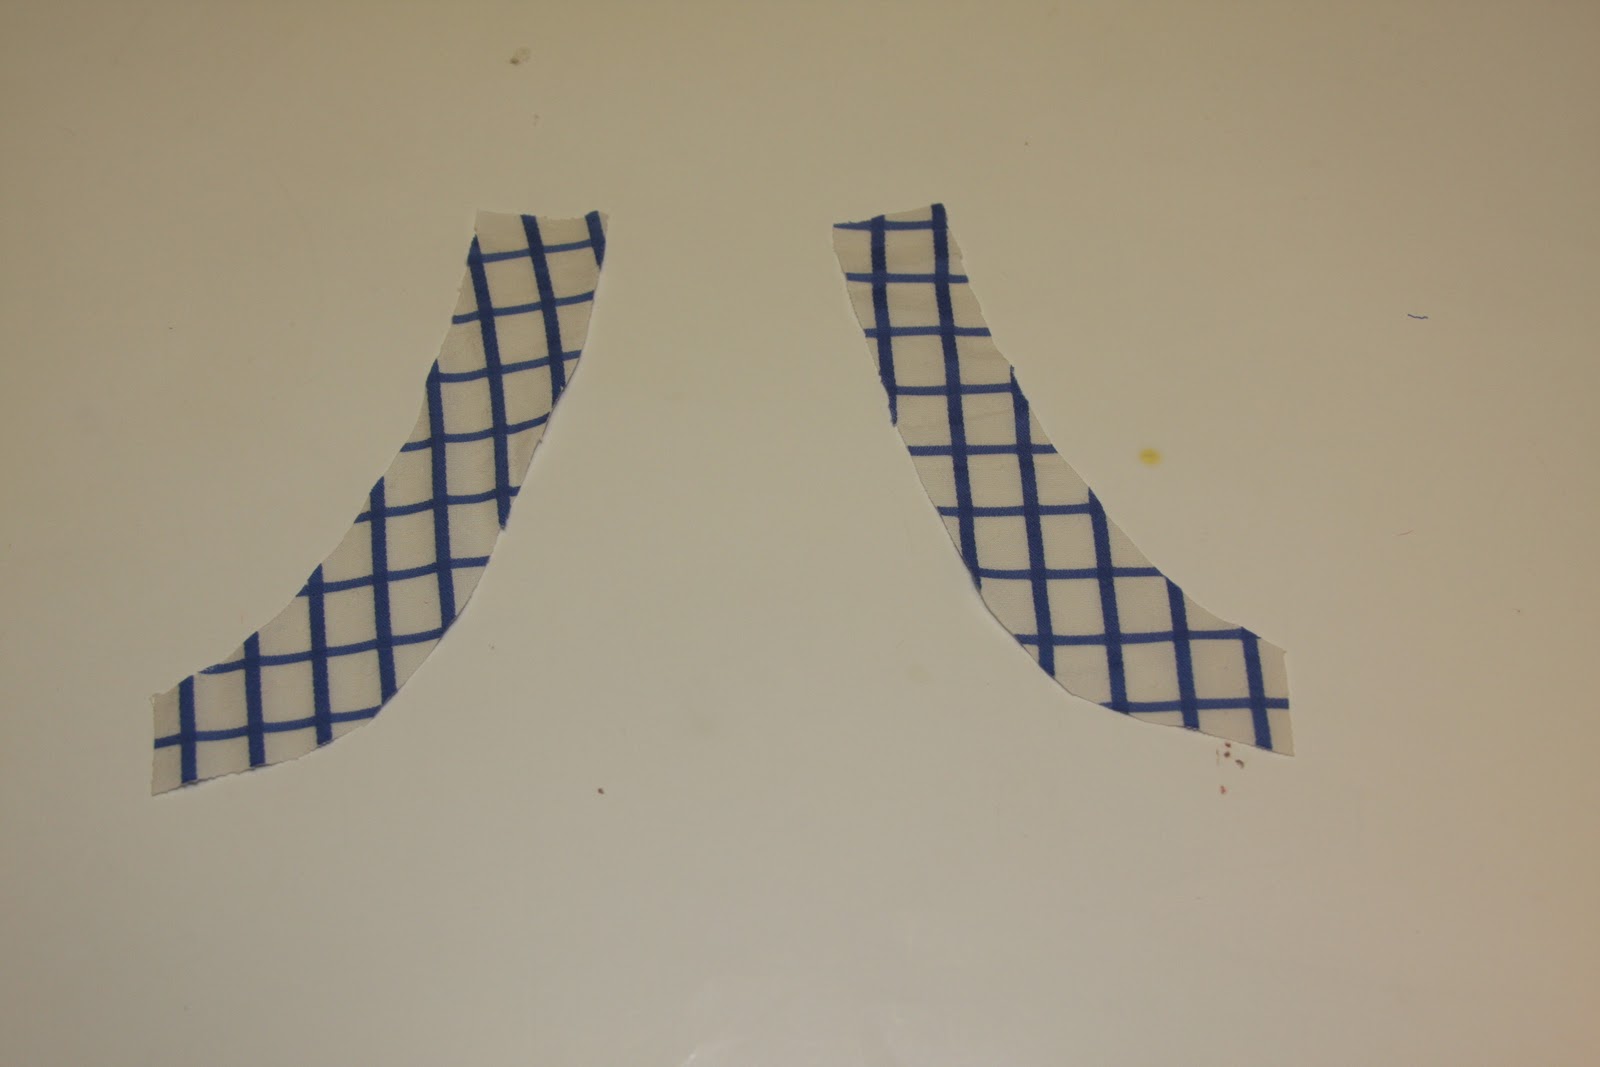 |
| Lastly I made strips that fit along the arm seam. I cut two out of the shirt material and two out of the light weight white fabric. |
 |
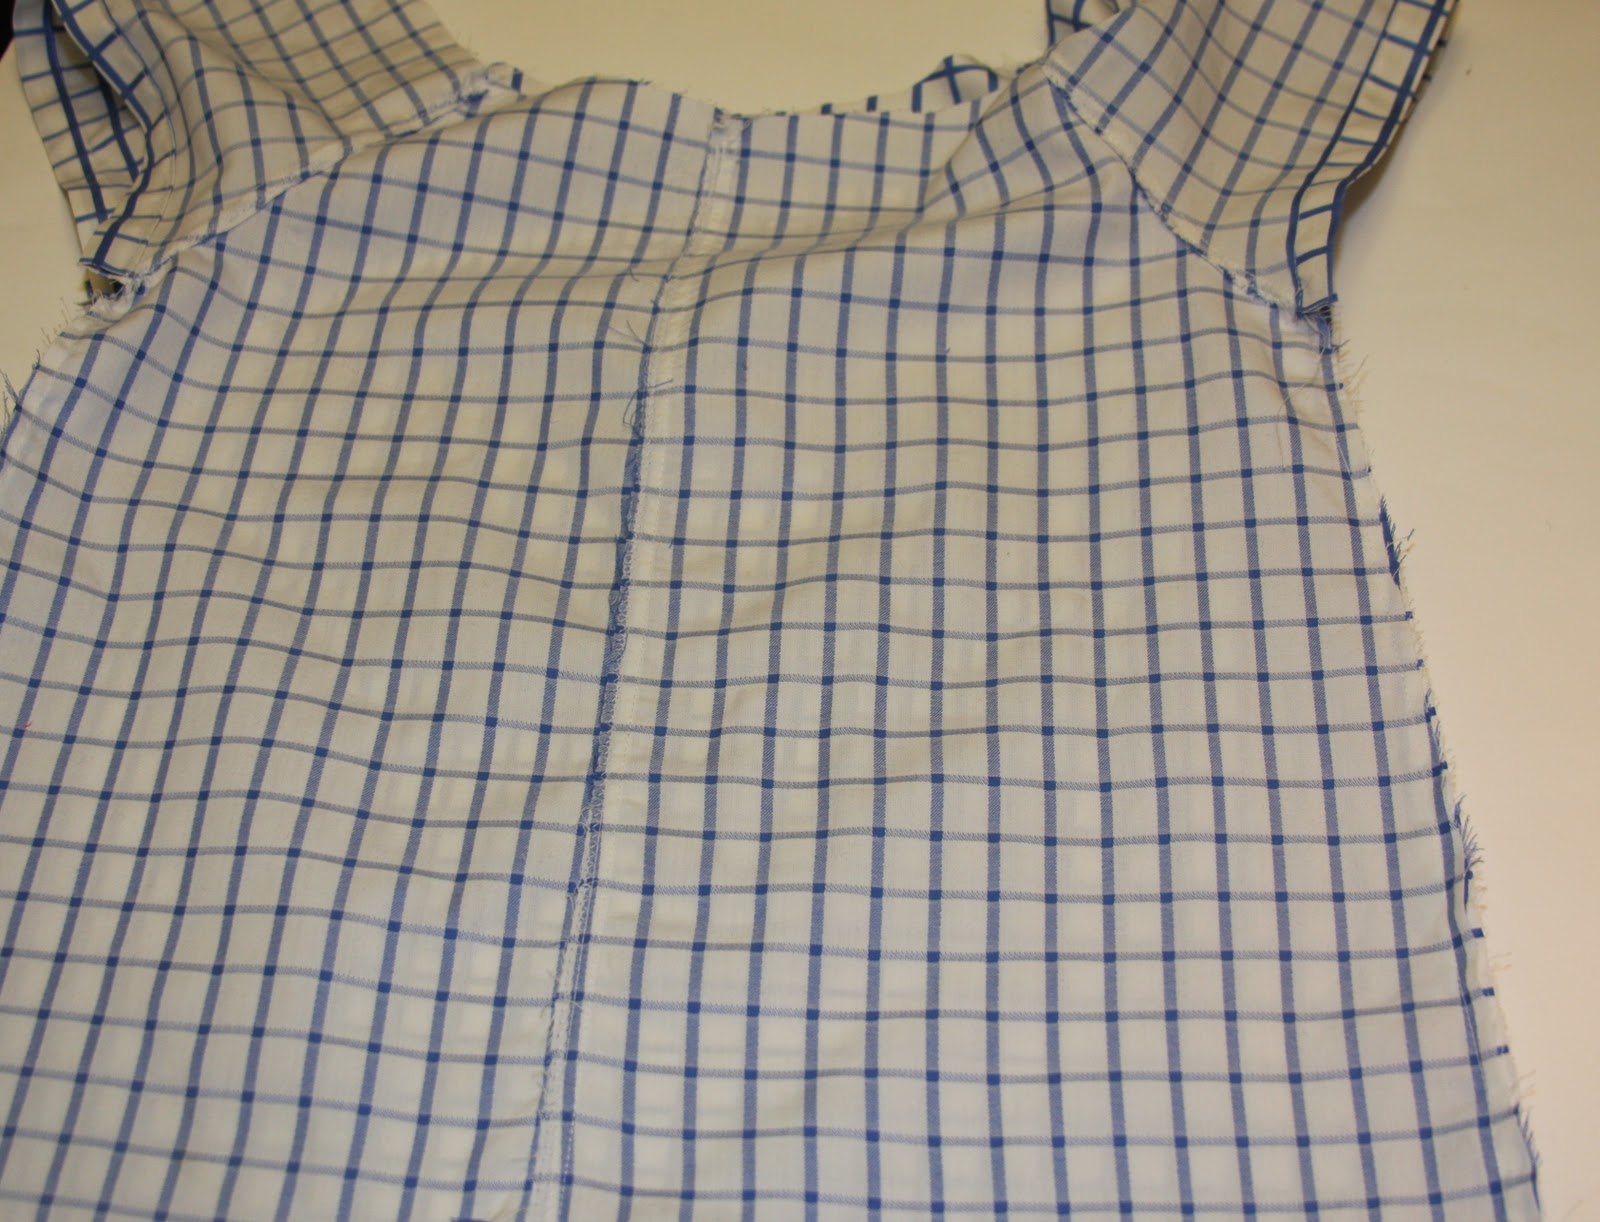
| First I sewed the back pieces together and topstitched the seam. |
 |
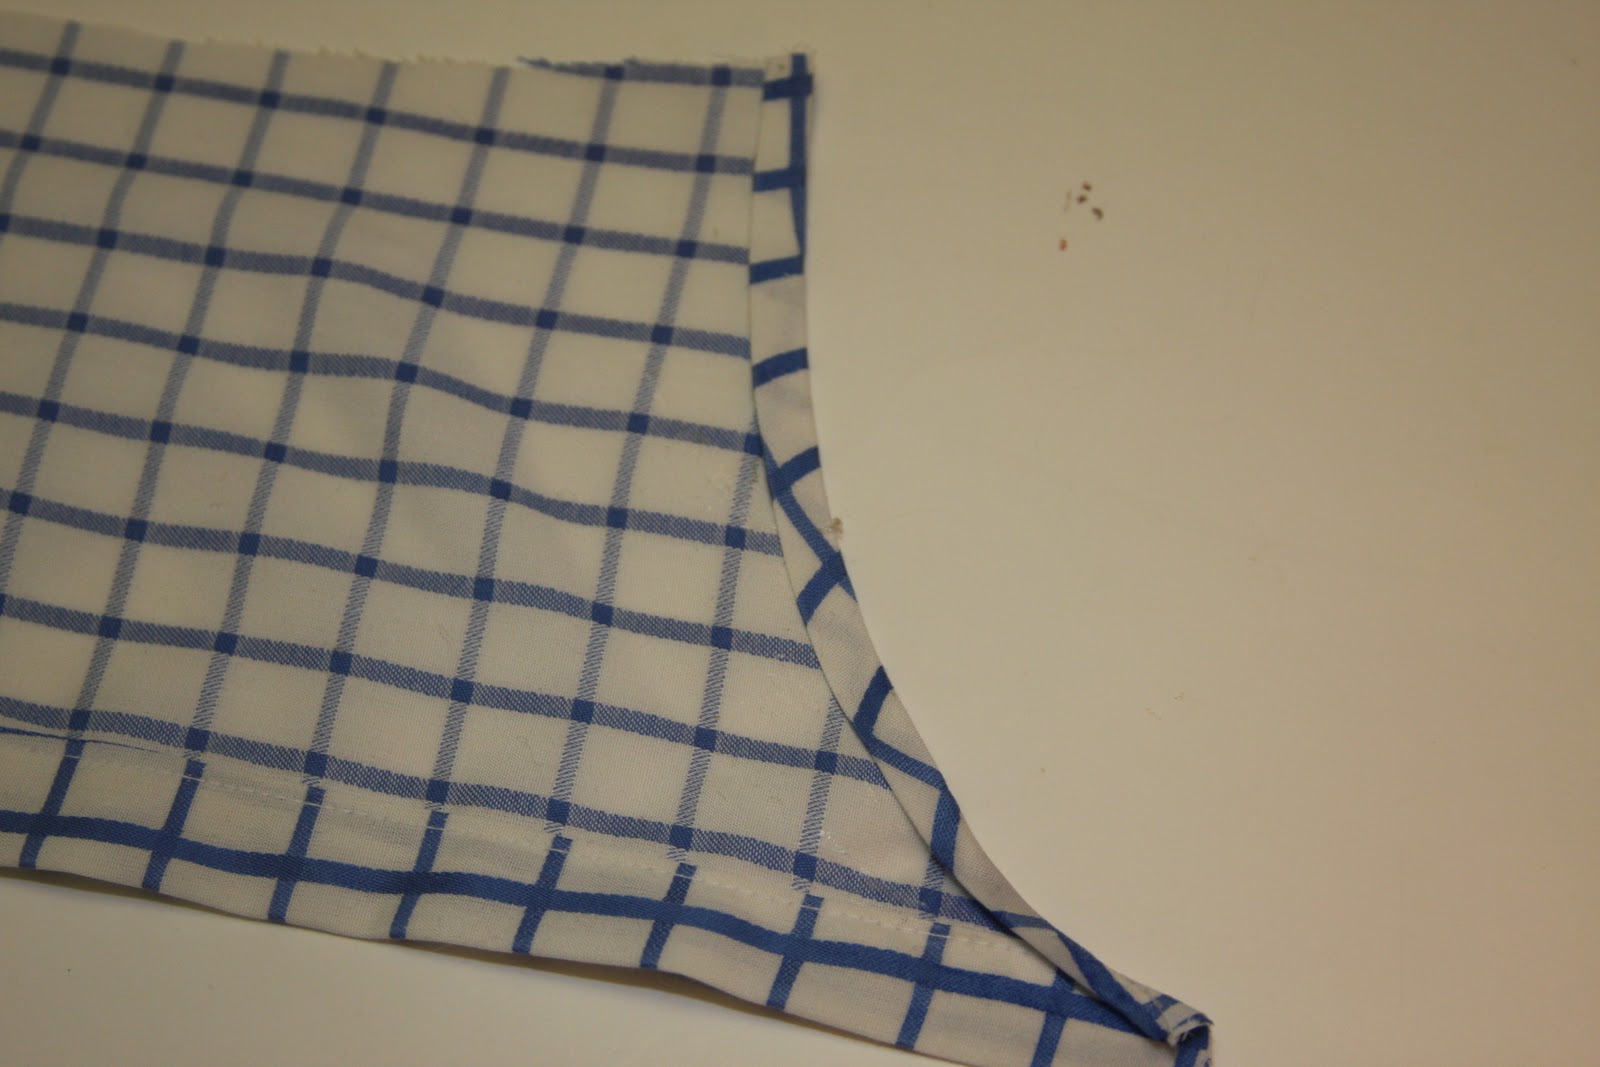
| Then hem the sleeves so they have a casing for the elastic. Then sew them to the back piece as shown above. |
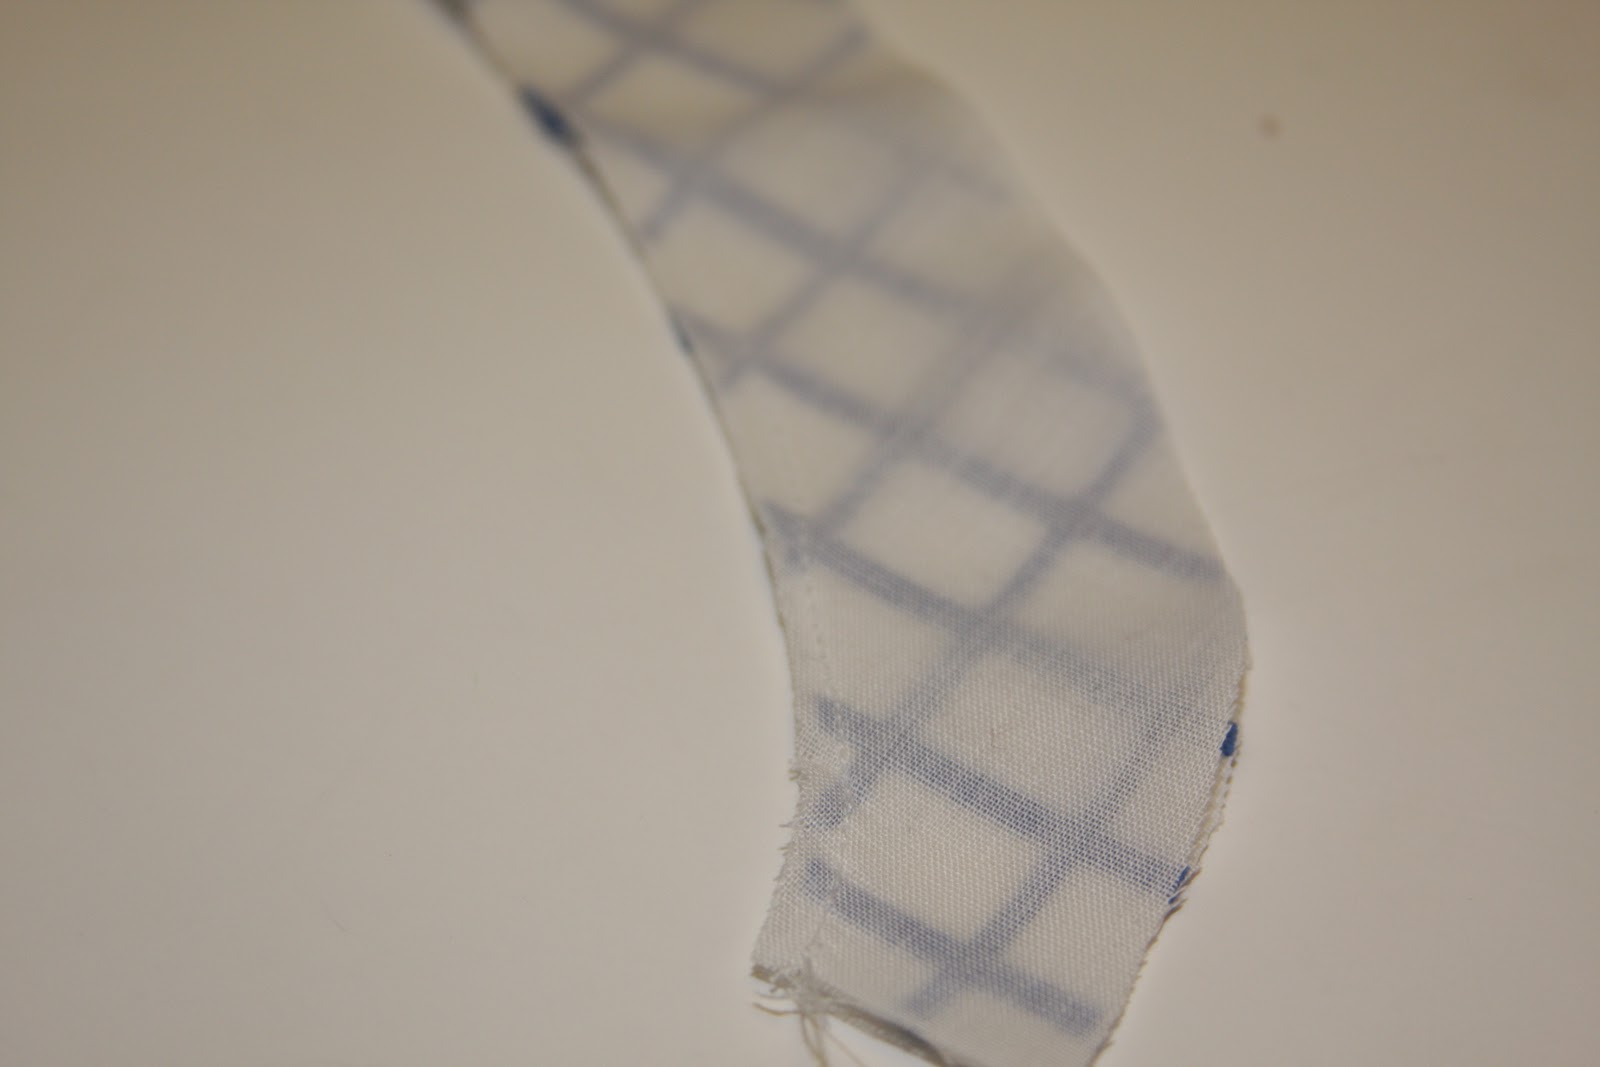 |
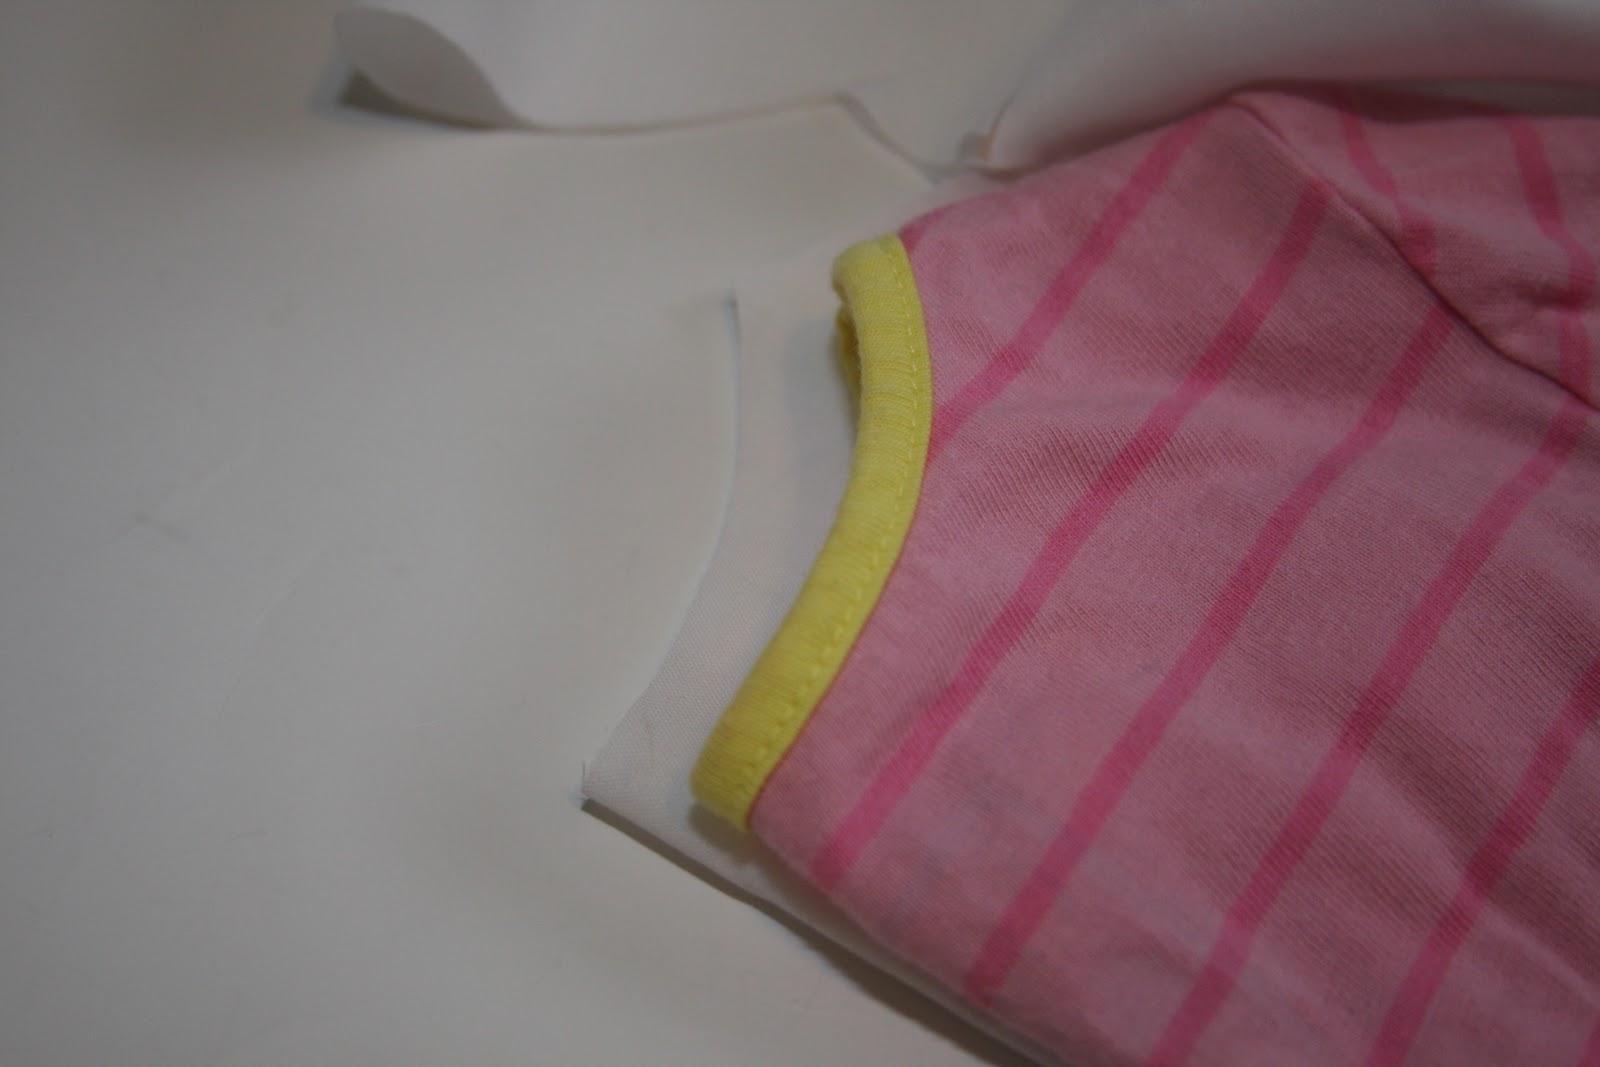
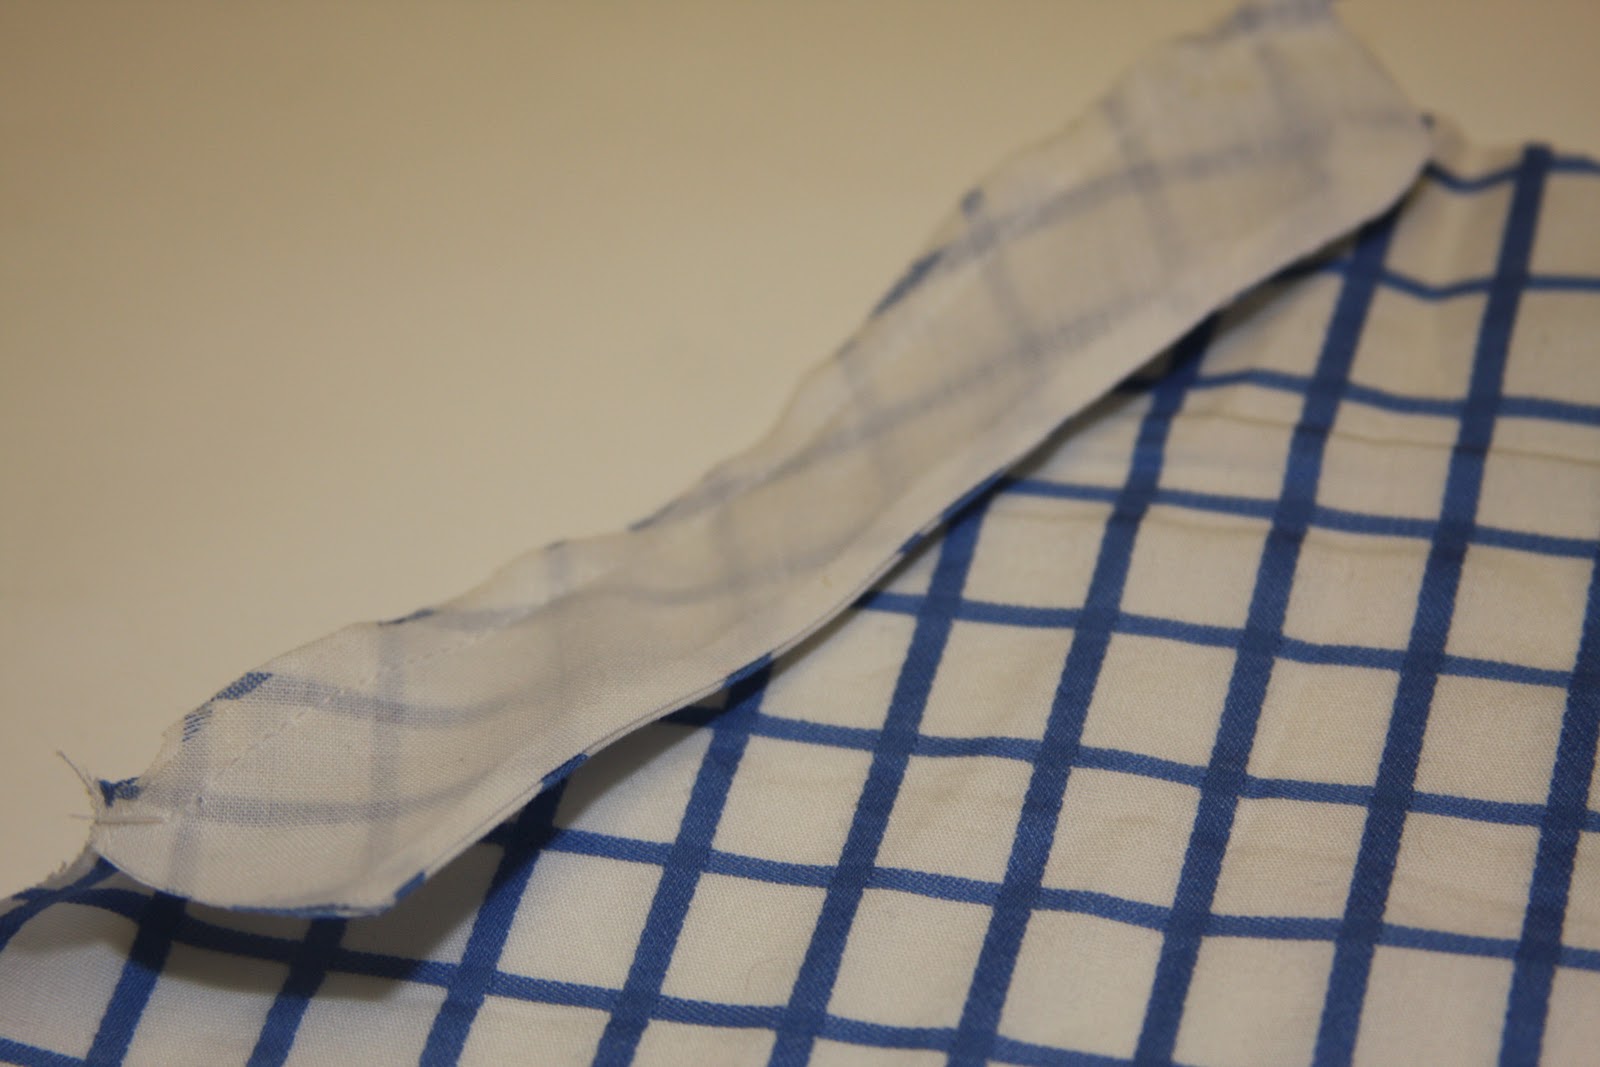
| Next sew the lining to the fabric of the little strip for the arm seam. Turn it around to the right side. |
 |
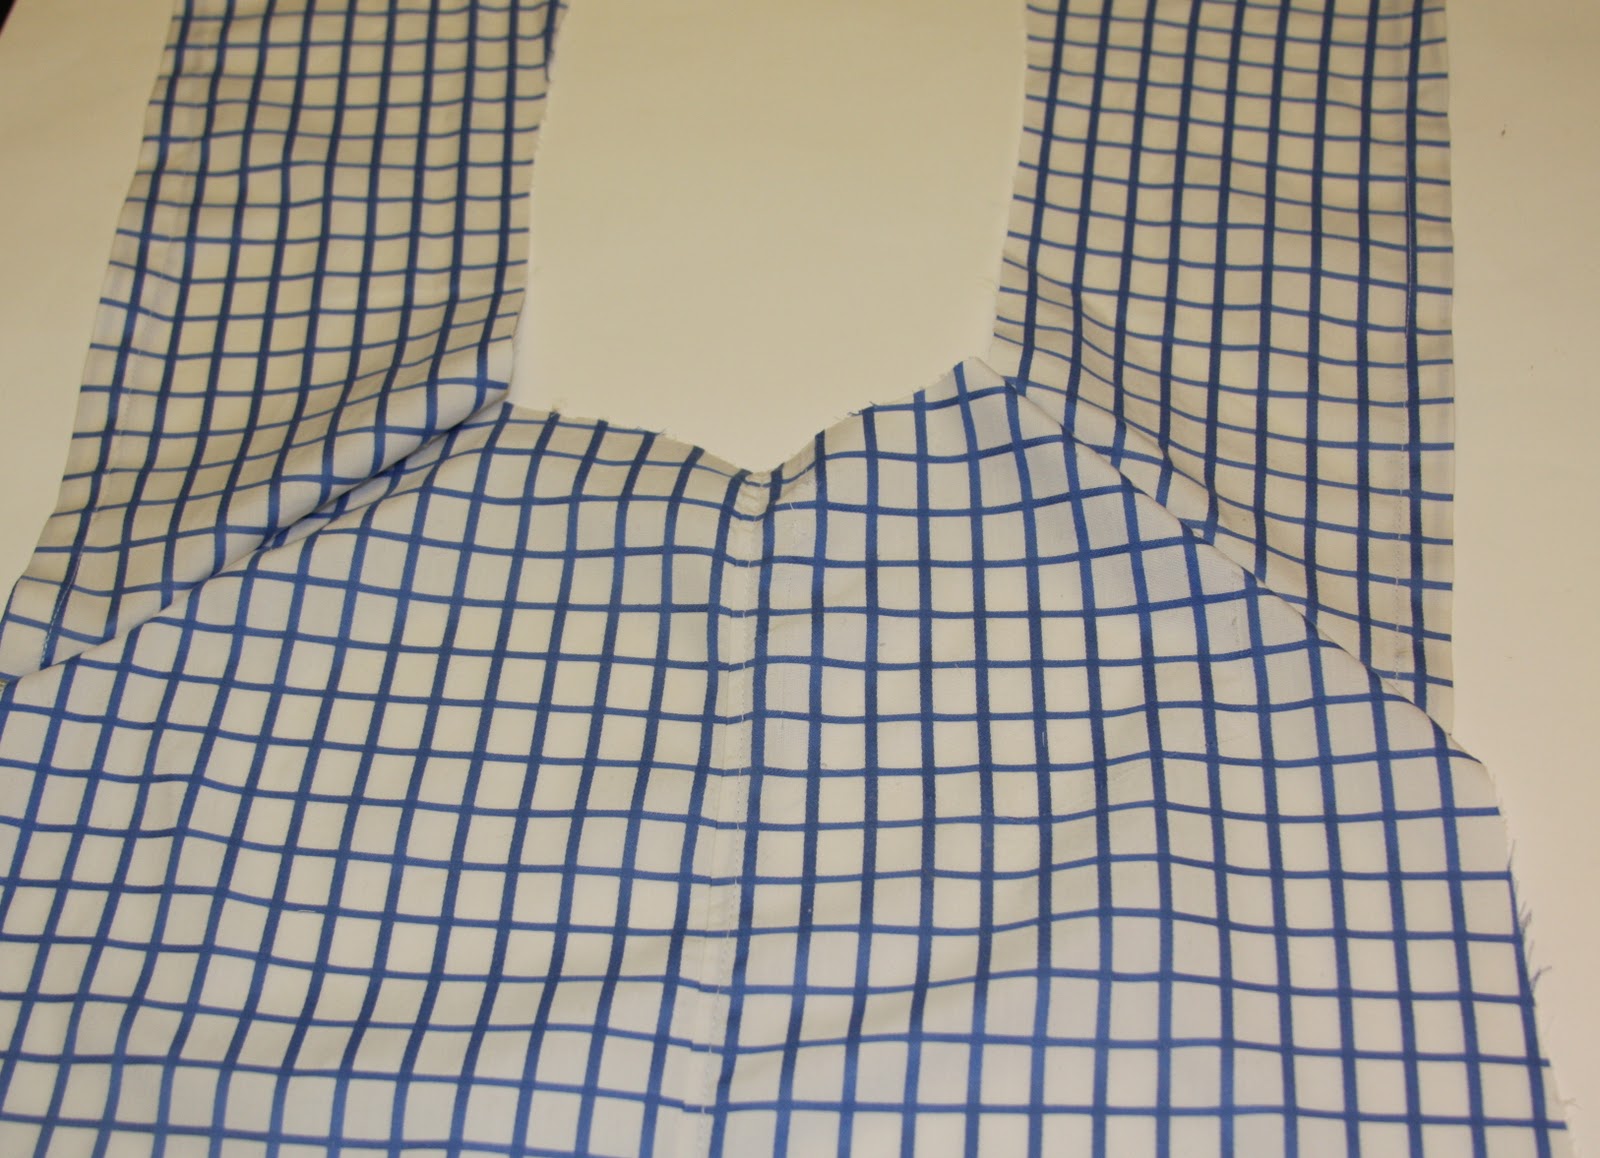
| Then sew the piece to the front piece. (both sides) |
 |
| Then turn over and hem the side of the sleeve that is not sewn down. |
 |
| Then place both sides right sides together and sew along the sleeve and side seam. |
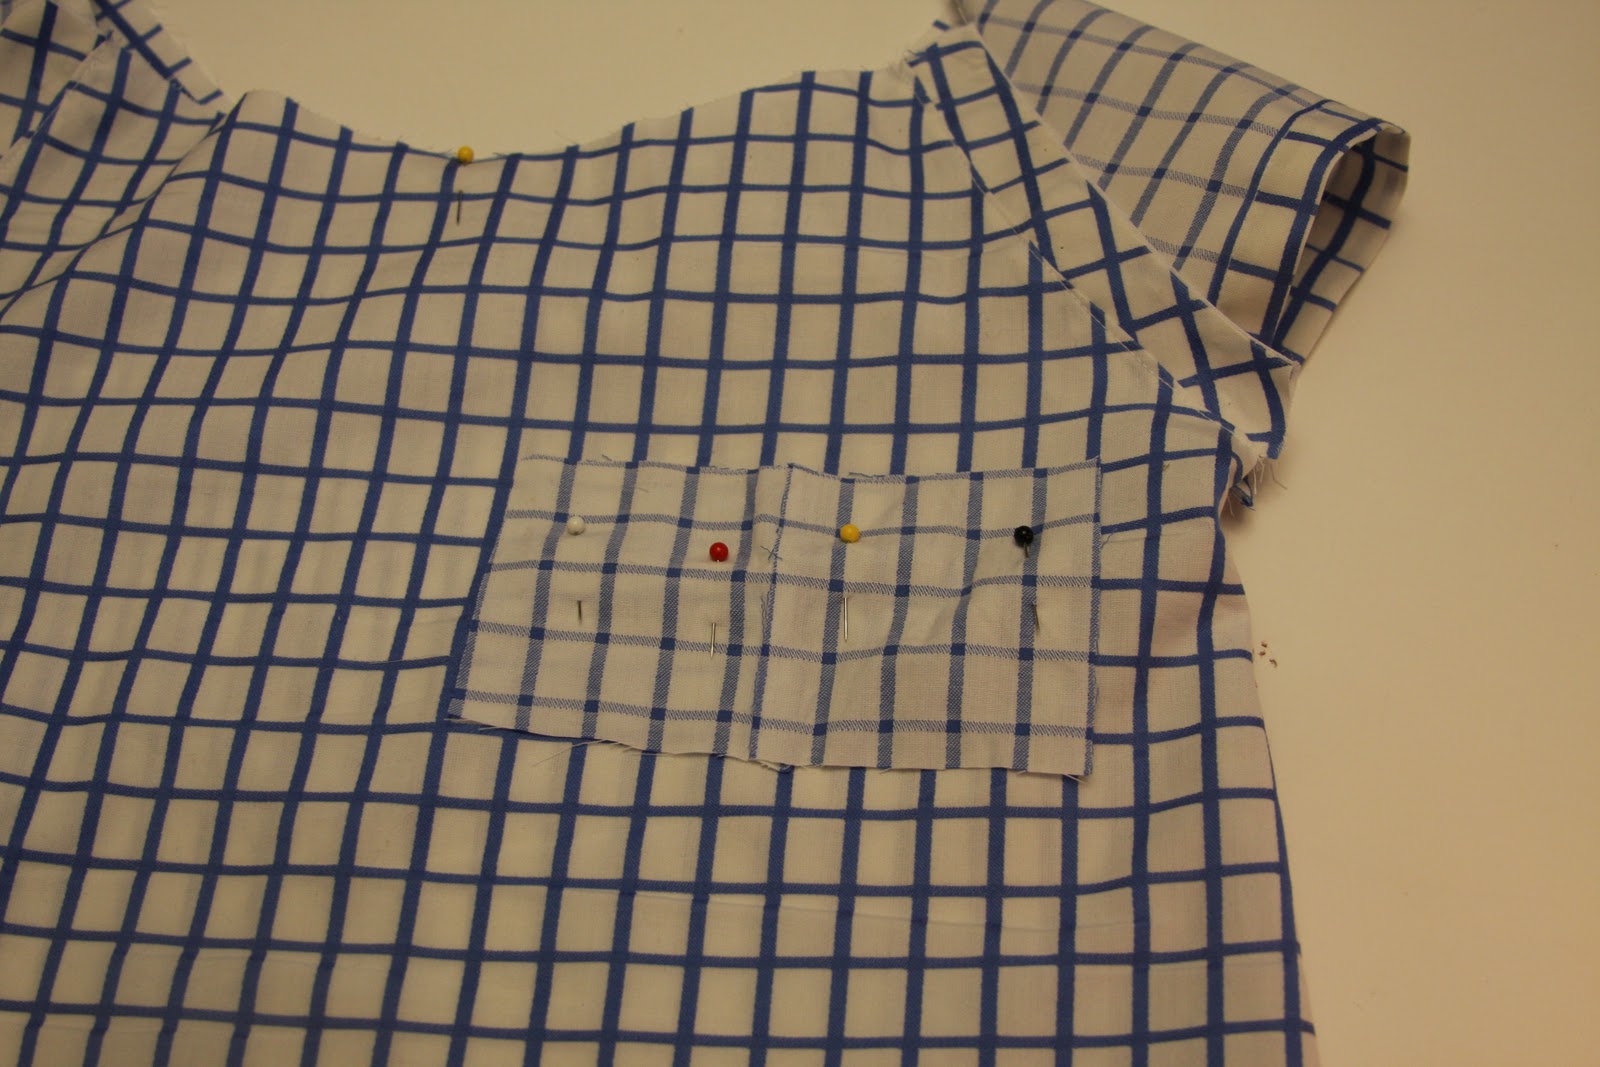 |
| Next I took two small rectangles and sewed small slits in the middle. |
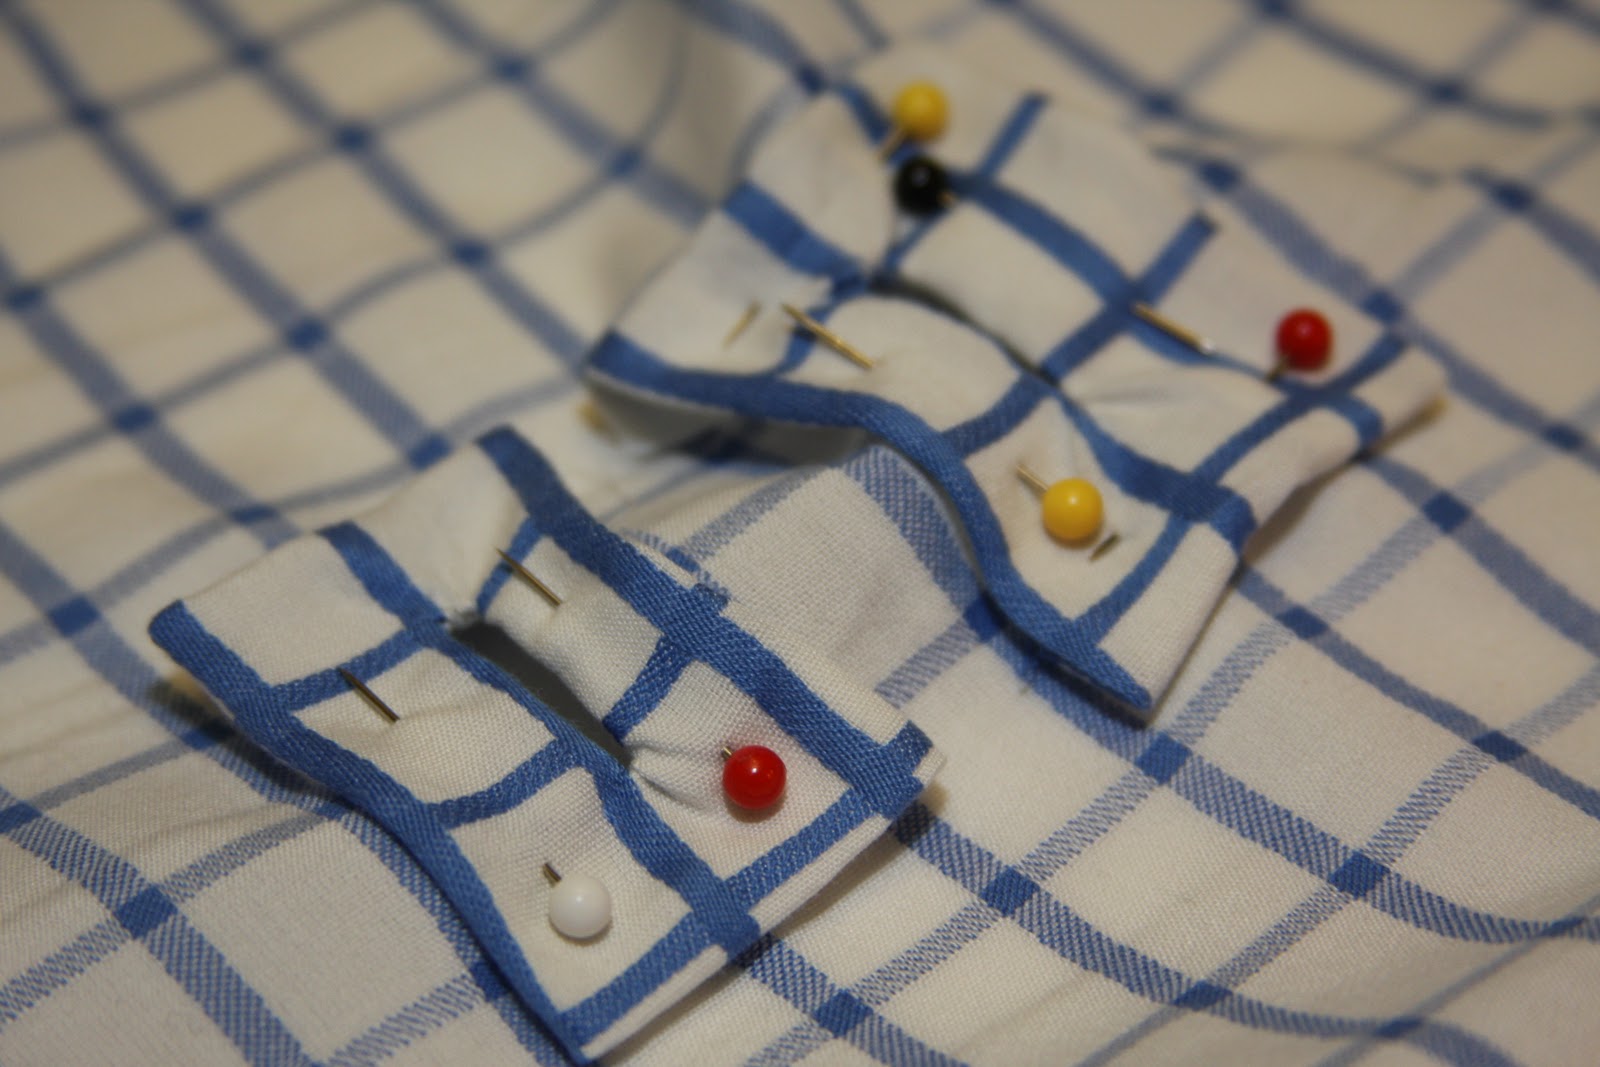 |
| I cut the slit and then turned the fabric around to the back and turned under the edge. |
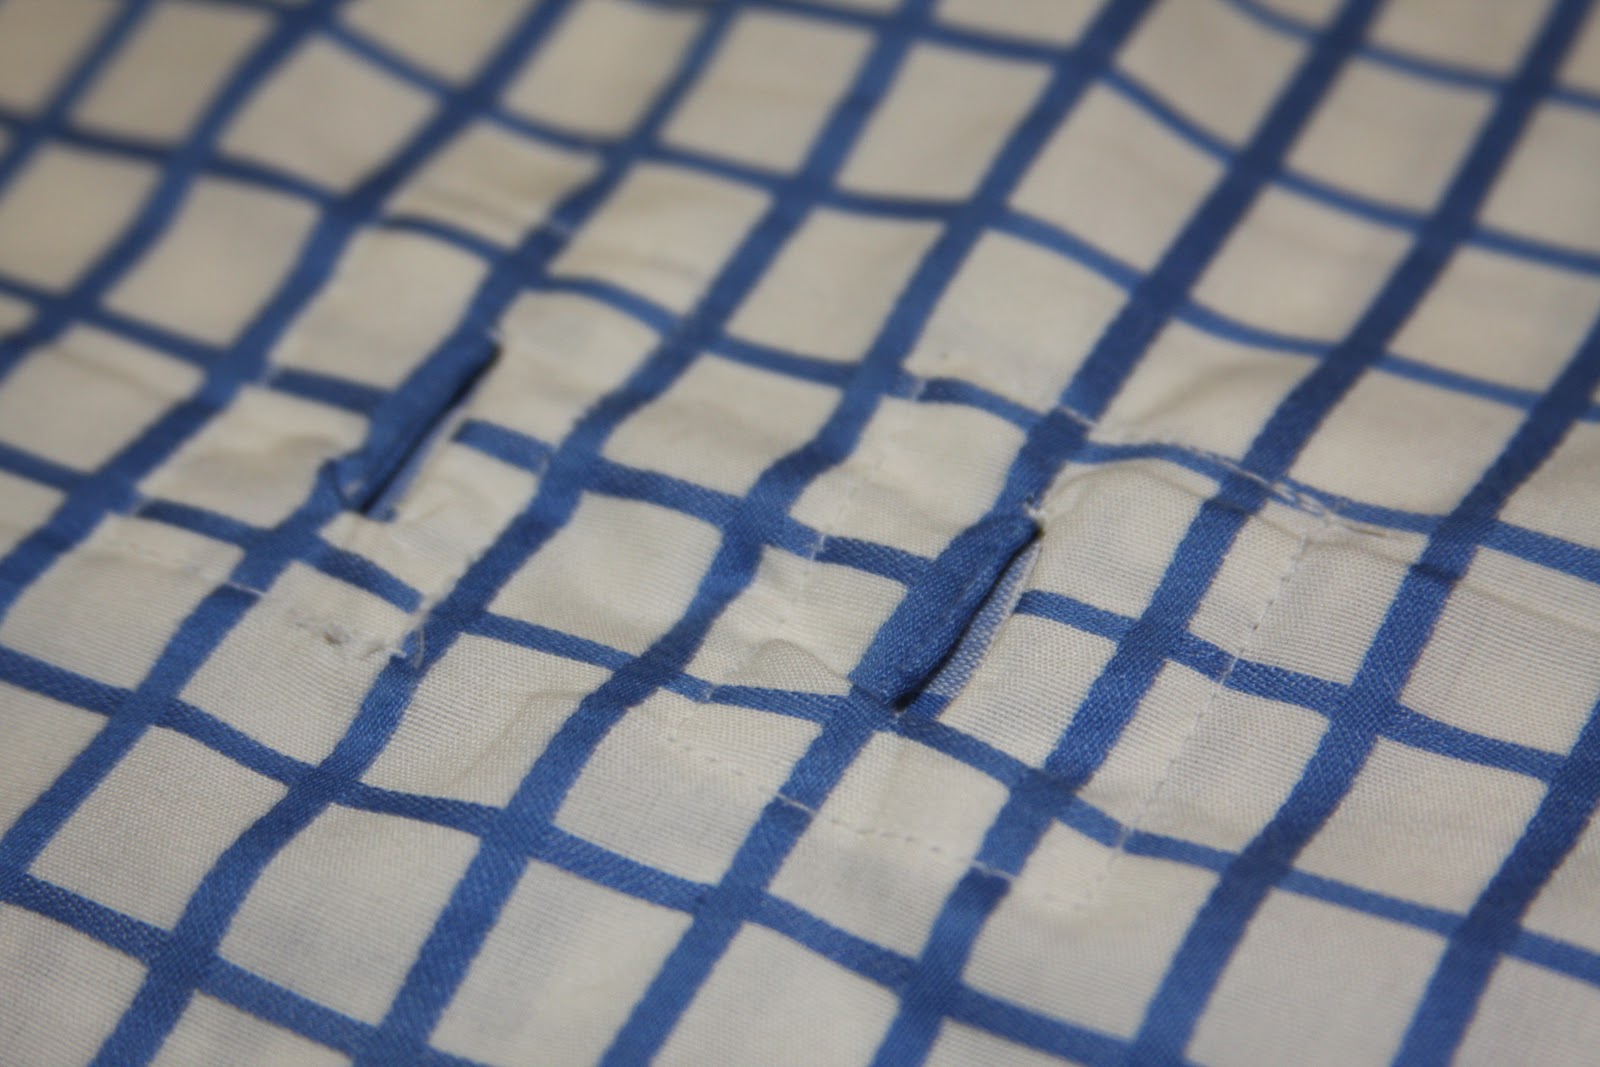 |
| Then top stitch the rectangle down. |
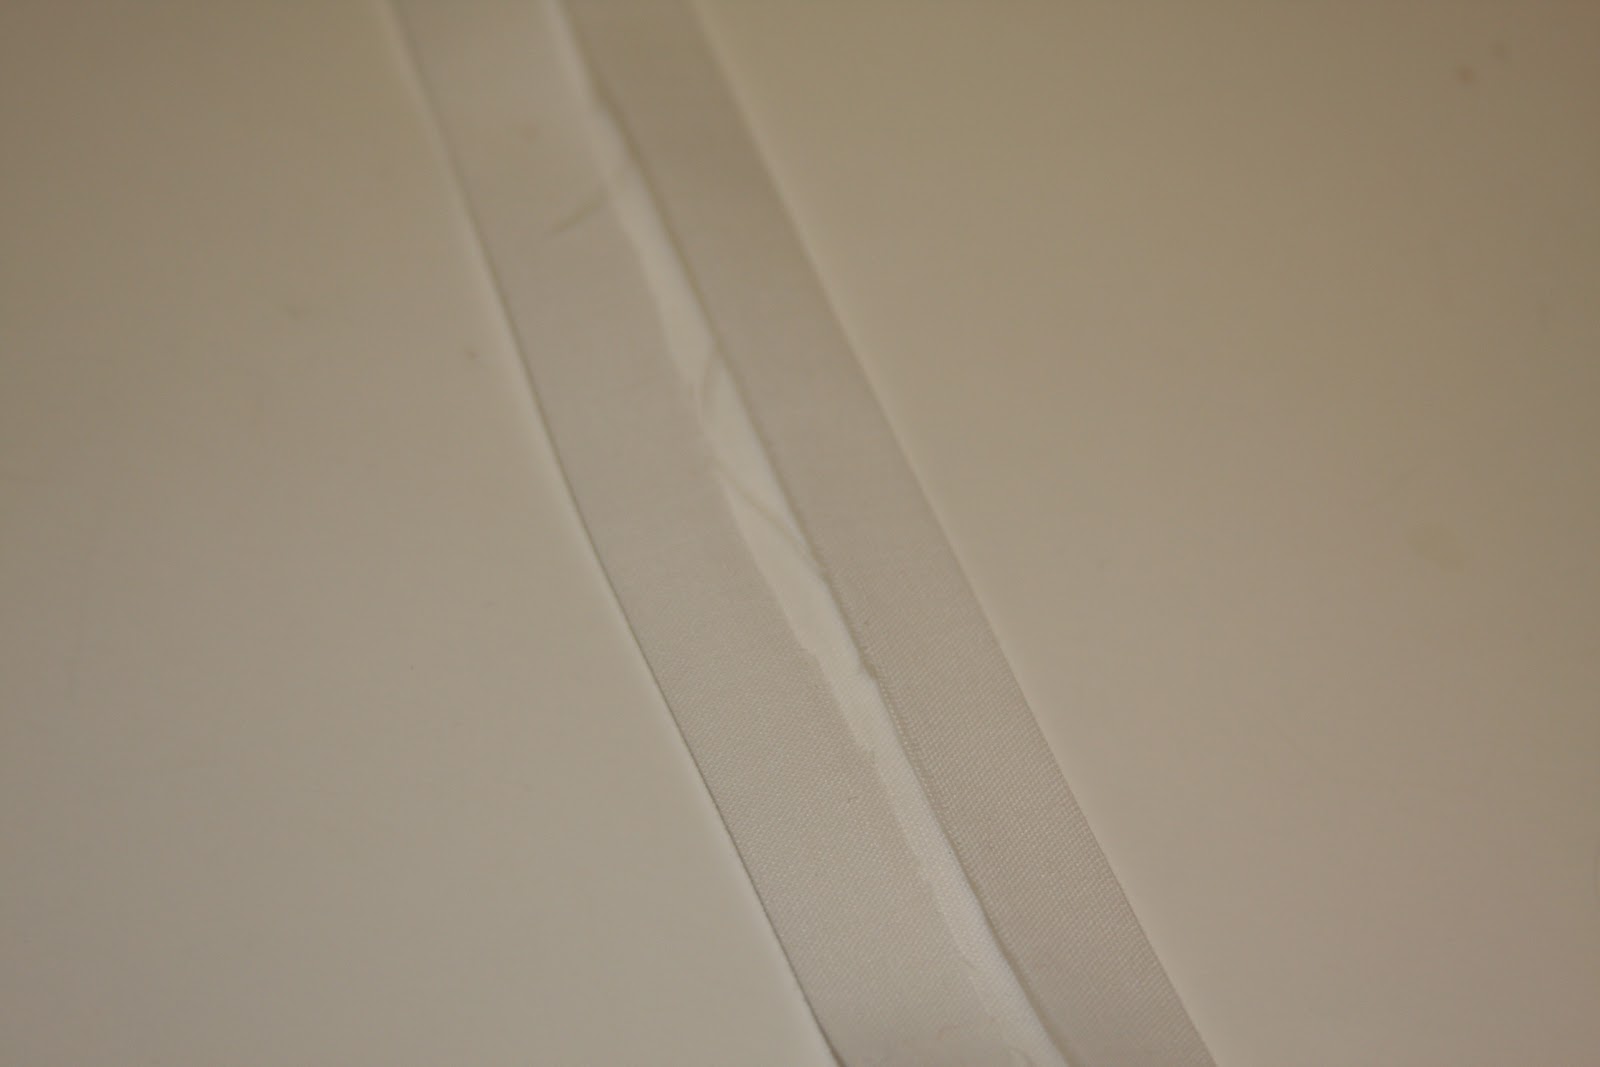 |
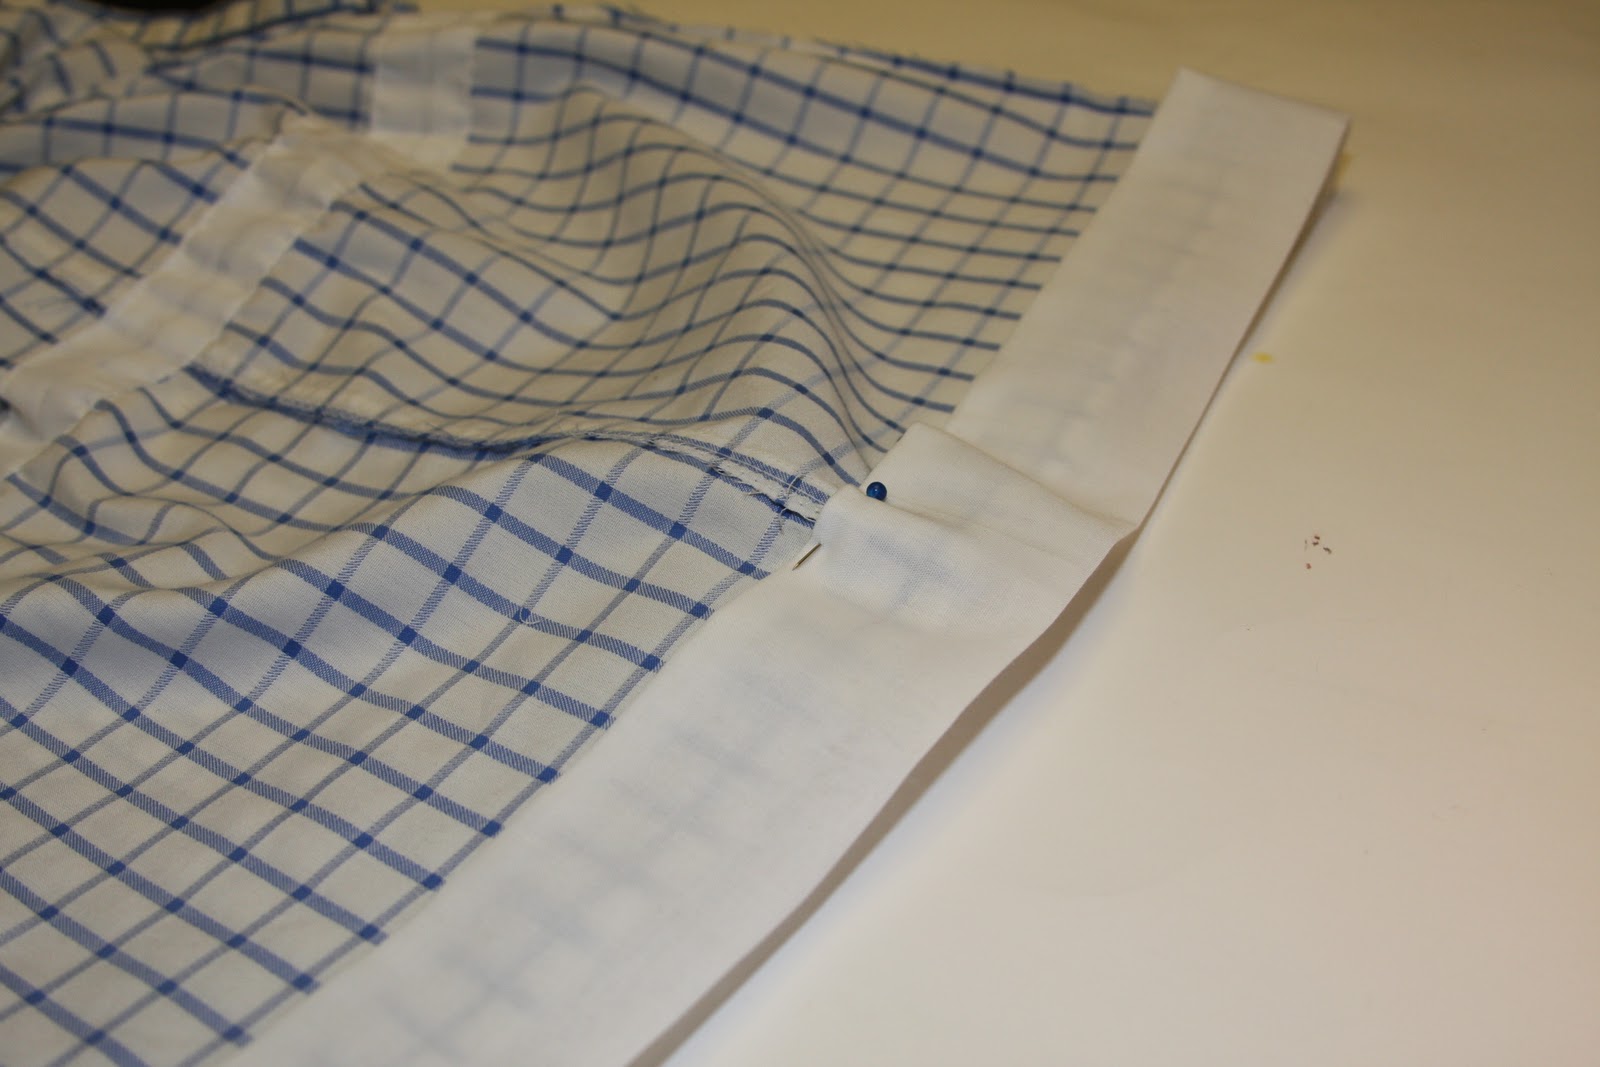
| Next Fold under the edge of the casing strip. |
 |
| Then pin it in place so it goes over the two slits you made. Sew the top and bottom. |
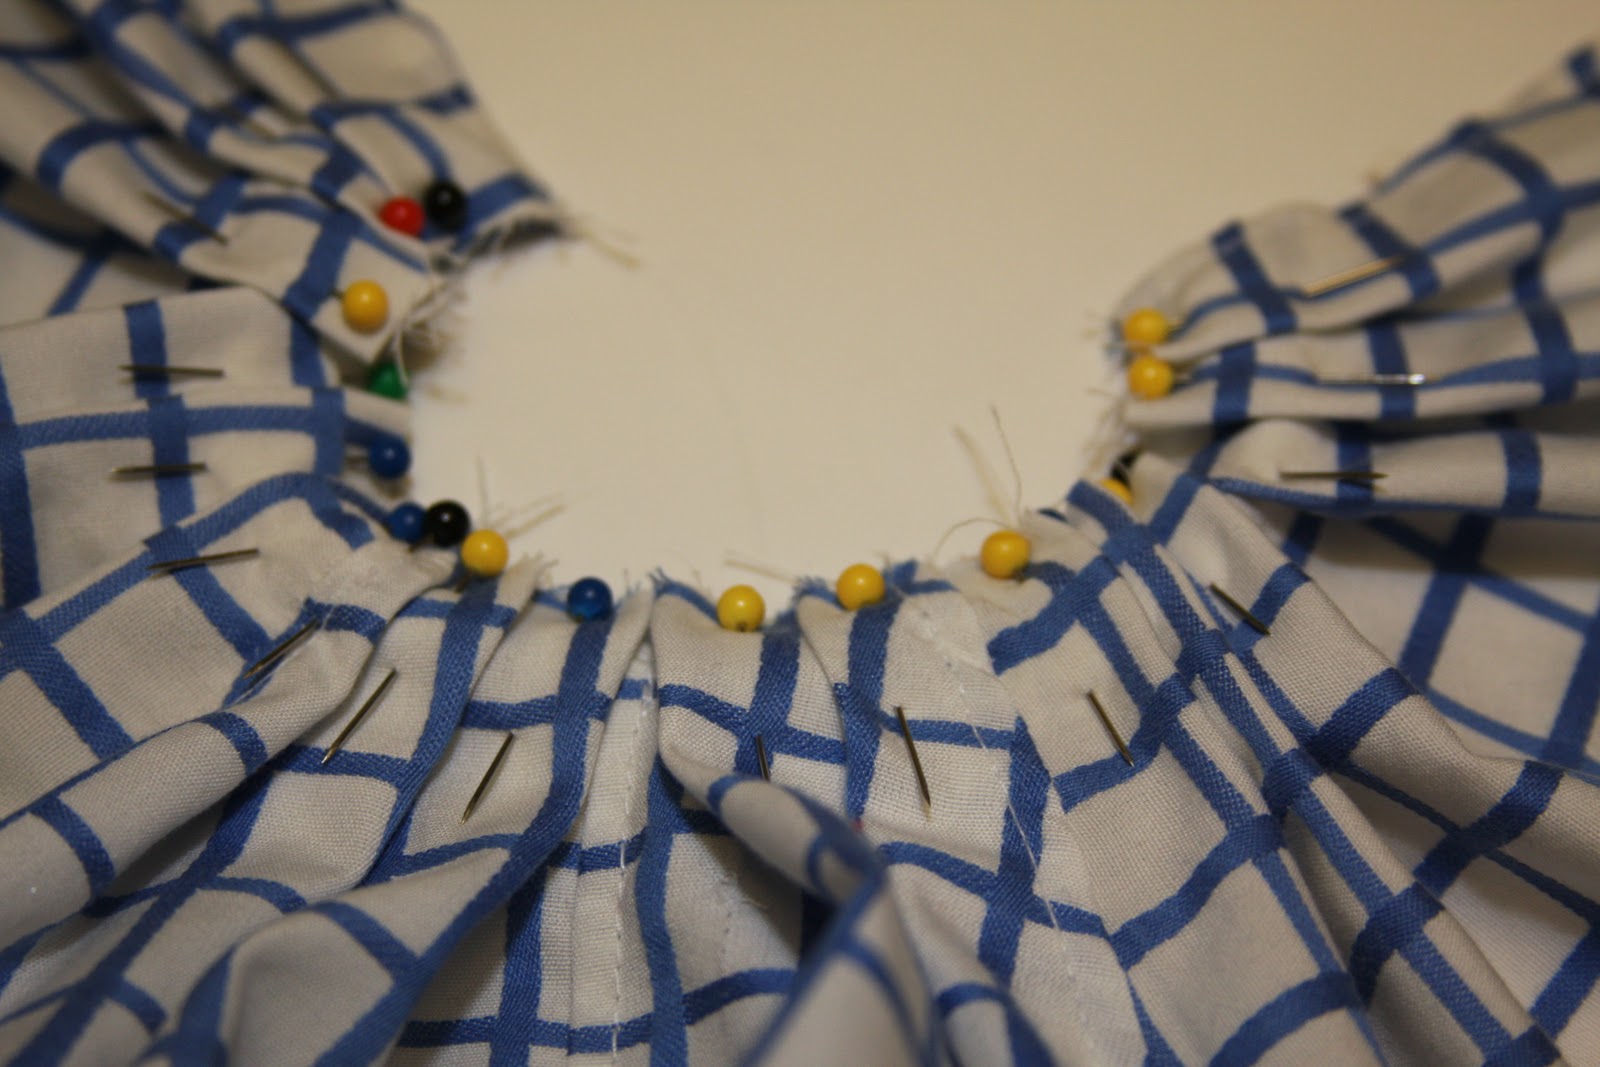 |
| Next I pleated my neckline. I sewed the neck lining piece to the back and turned it under and then I turned under the front edge. (sorry I missed taking a picture in there) |
 |
| Next I folded up the bottom of the top and sewed the strip to the bottom so it looked like a floating hem. |
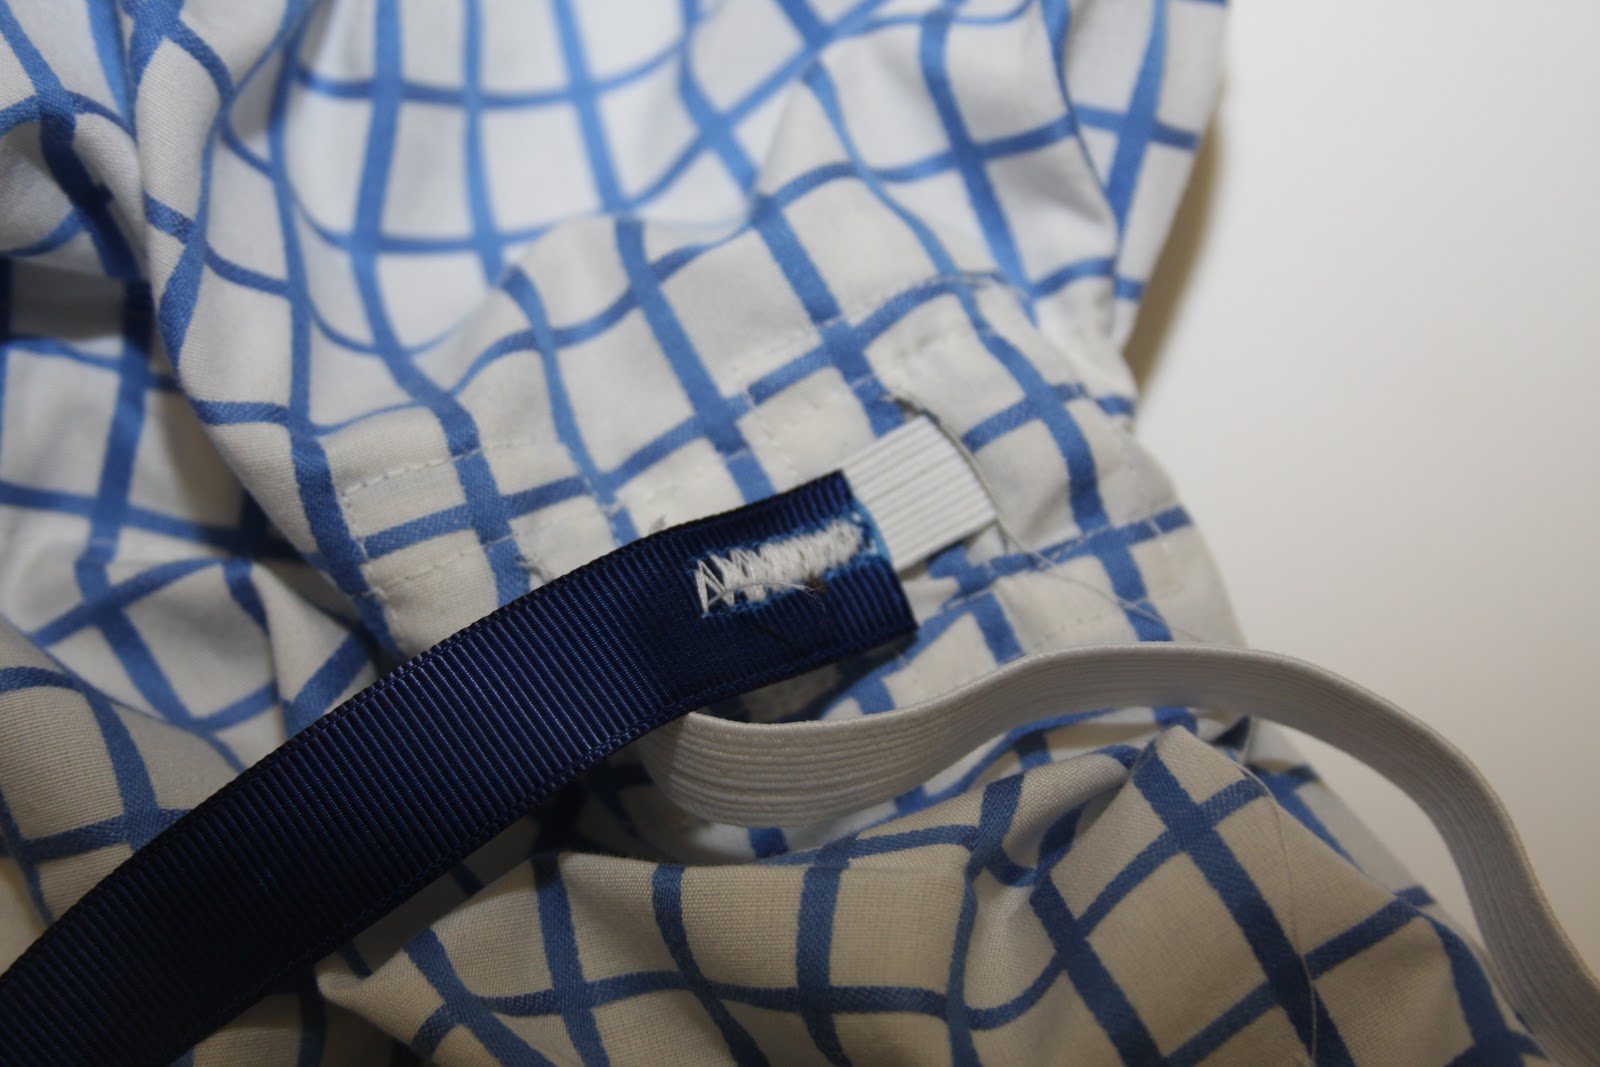 |
| Lastly I sewed ribbon to the elastic and fed it through the casing. I did most of this since I was originally planning to have a tie, then I made the bow stationary. You could do either. |
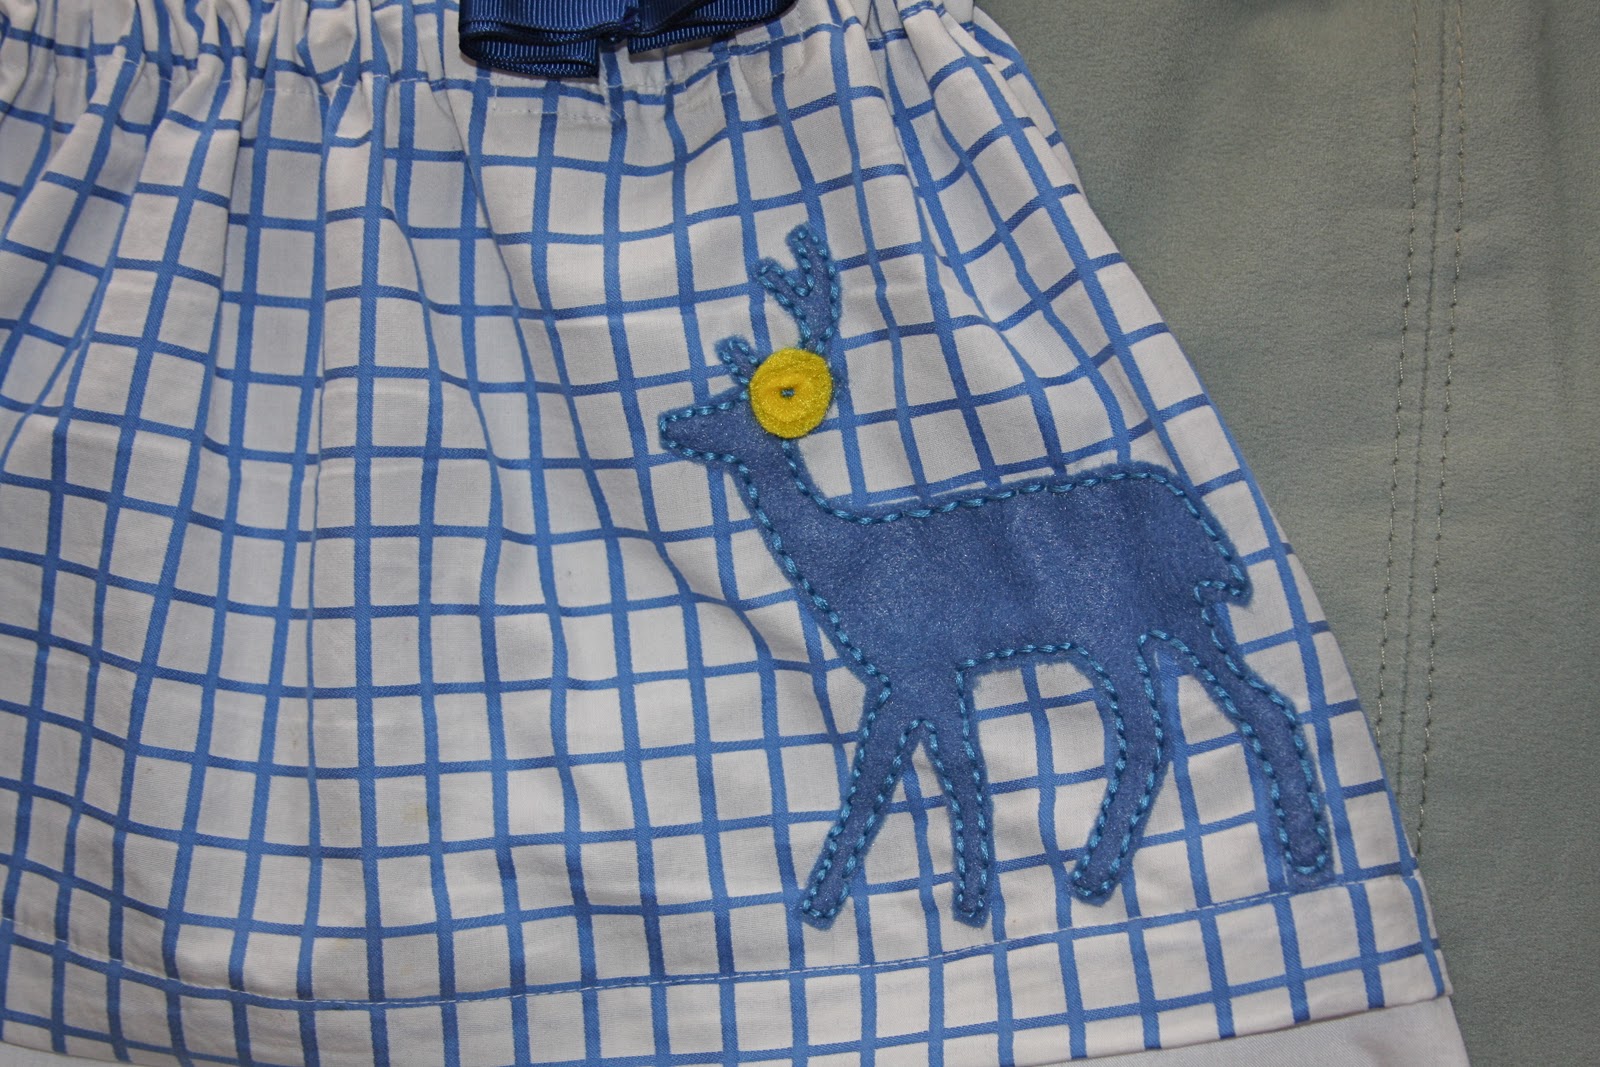 |
| Then I found a picture of a deer I liked and I copied it on to freezer paper and ironed the freezer paper on to some felt and cut out the design. Then using some embroidery thread and using a basic up and down stitch I sewed around the deer. |
 |
| Then I sewed elastic loops and buttons to secure the bib front. |
 |
| That’s all for today. Pants, Shoes, and Hair piece will come at another time.
ENJOY! |
casserole
I'm lovin' the details on this! Sooo cute!! I linked to your tutorial over at Craft Gossip Sewing:<br />http://sewing.craftgossip.com/tutorial-doe-a-deer-top-for-little-girls/2011/01/27/<br /><br />–Anne
Refugee Crafter
This is my favorite of your submissions so far. Love the color combo, the bib front, and well, everything. Great job! Thanks for the tute.
Kat
Oh my this is adorable, and so well done!!!! Thank you so much for sharing 🙂
Stephanie Cameron
I too adore (or adeer!) this outfit. The pants are to die for and the top is just too cute. The top looks a teensey bit complicate…wonder if it makes more sense as you are doing it.