 |
| Spring has officially began! (not that we are totally out of the clear of a cool day) We officially had tee shirt only weather for the past few days and it has been heaven! So it was time to bust out our spring wardrobe and well nothing completes a spring wardrobe like a skirt. I love skirts! I love them on myself I love them on my little miss! I just love them! So I put together a little collection of skirts that I will share over the next few days, some for my little one and some for me, but all of them could be made in any size. |
 |
| The pattern for this first fun skirt is super easy to make. You will need a few measurements to get started. Waist, and hip. (length as well but that is just for hemming) Start with the hip measurement and divide it by 4 then decided how tall you want the waist band of the skirt to be, I went with a nice tall one for this skirt but it is up to you. That is your pattern piece. Cut out on the fold a front and back piece. Shown above is the back piece. Then cut off about an inch or so (again totally up to you) of the bottom and then you are going to make a piece that will be the elastic casing so it should fit just inside the rectangle. |
 |
| Next the front piece. Take the rectangle piece you made in the first step (same as the back piece) and cut it up. I made my angle you can cut it up however you wish. Then take your waist measurement and divide it by 4. Take that measurement and measure across the top of the piece, then angle the side to go from the hip to the waist measurement. |
 |
| Last piece is the skirt part, and for that I folded the fabric and made it a few inches wider than the hip measurement. Those are your pattern pieces. Simple enough? |
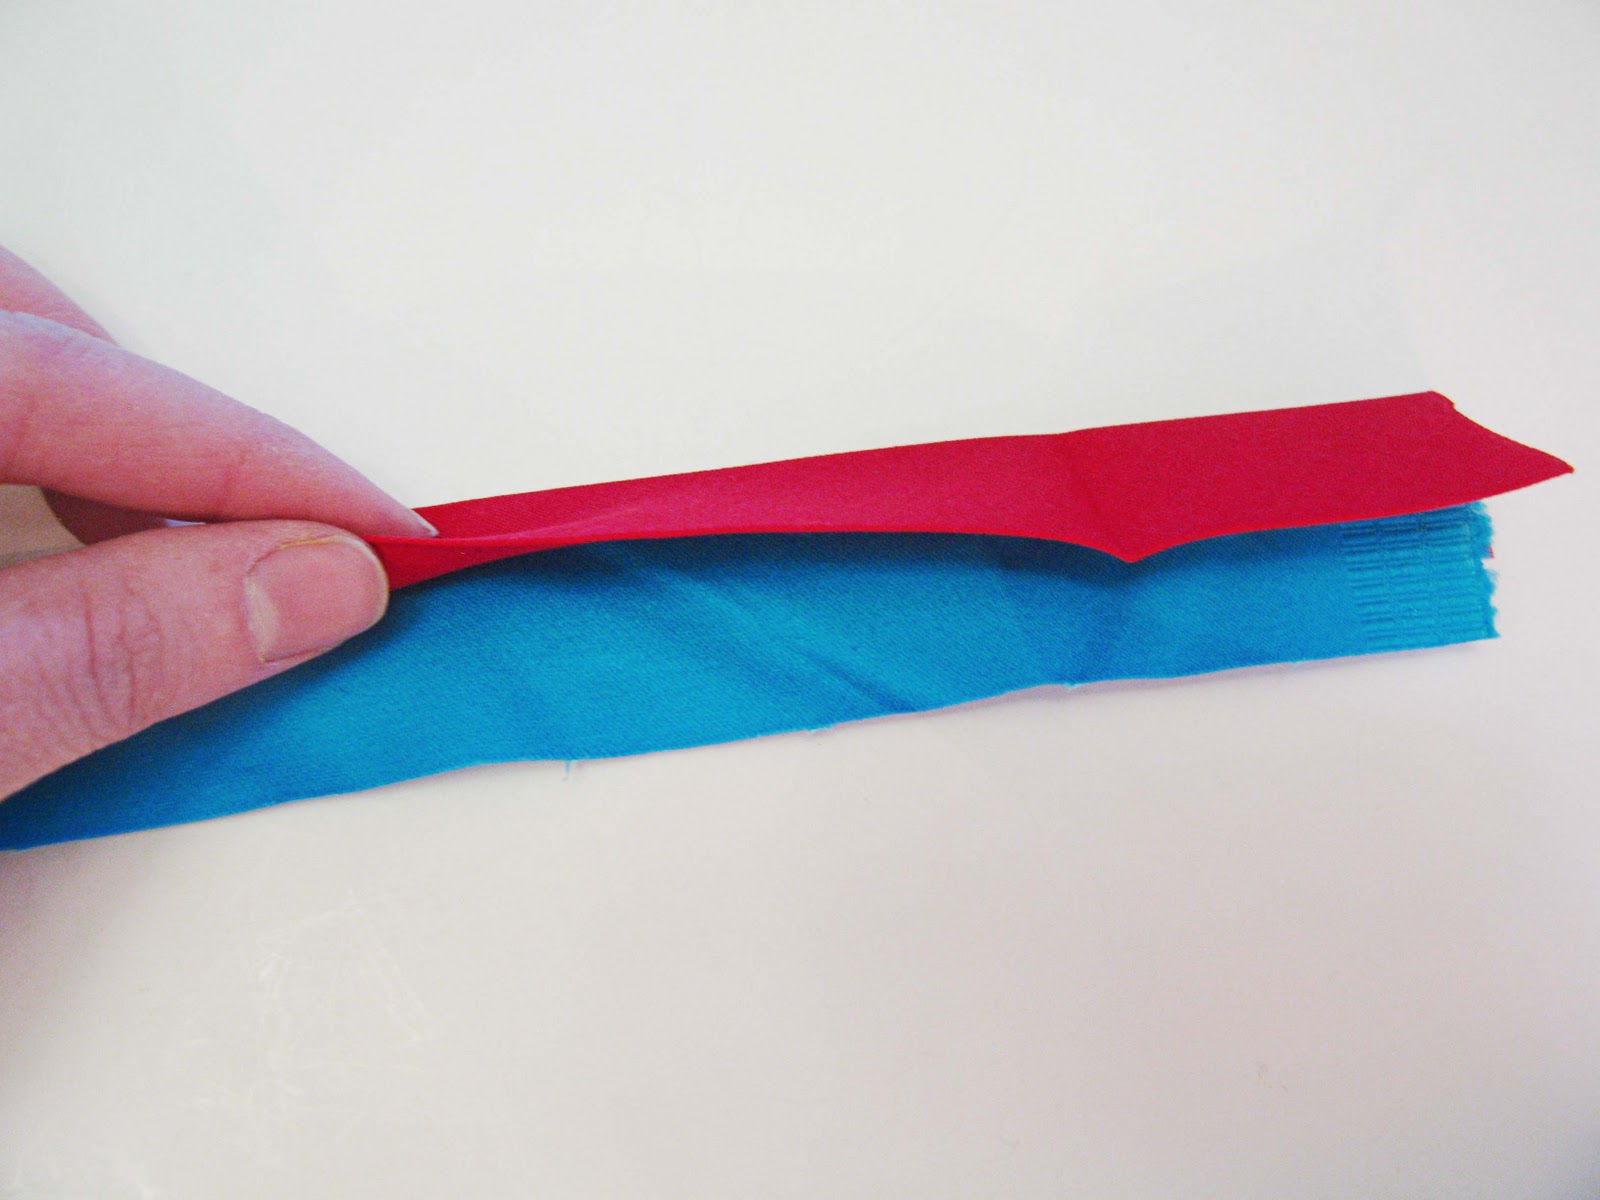 |
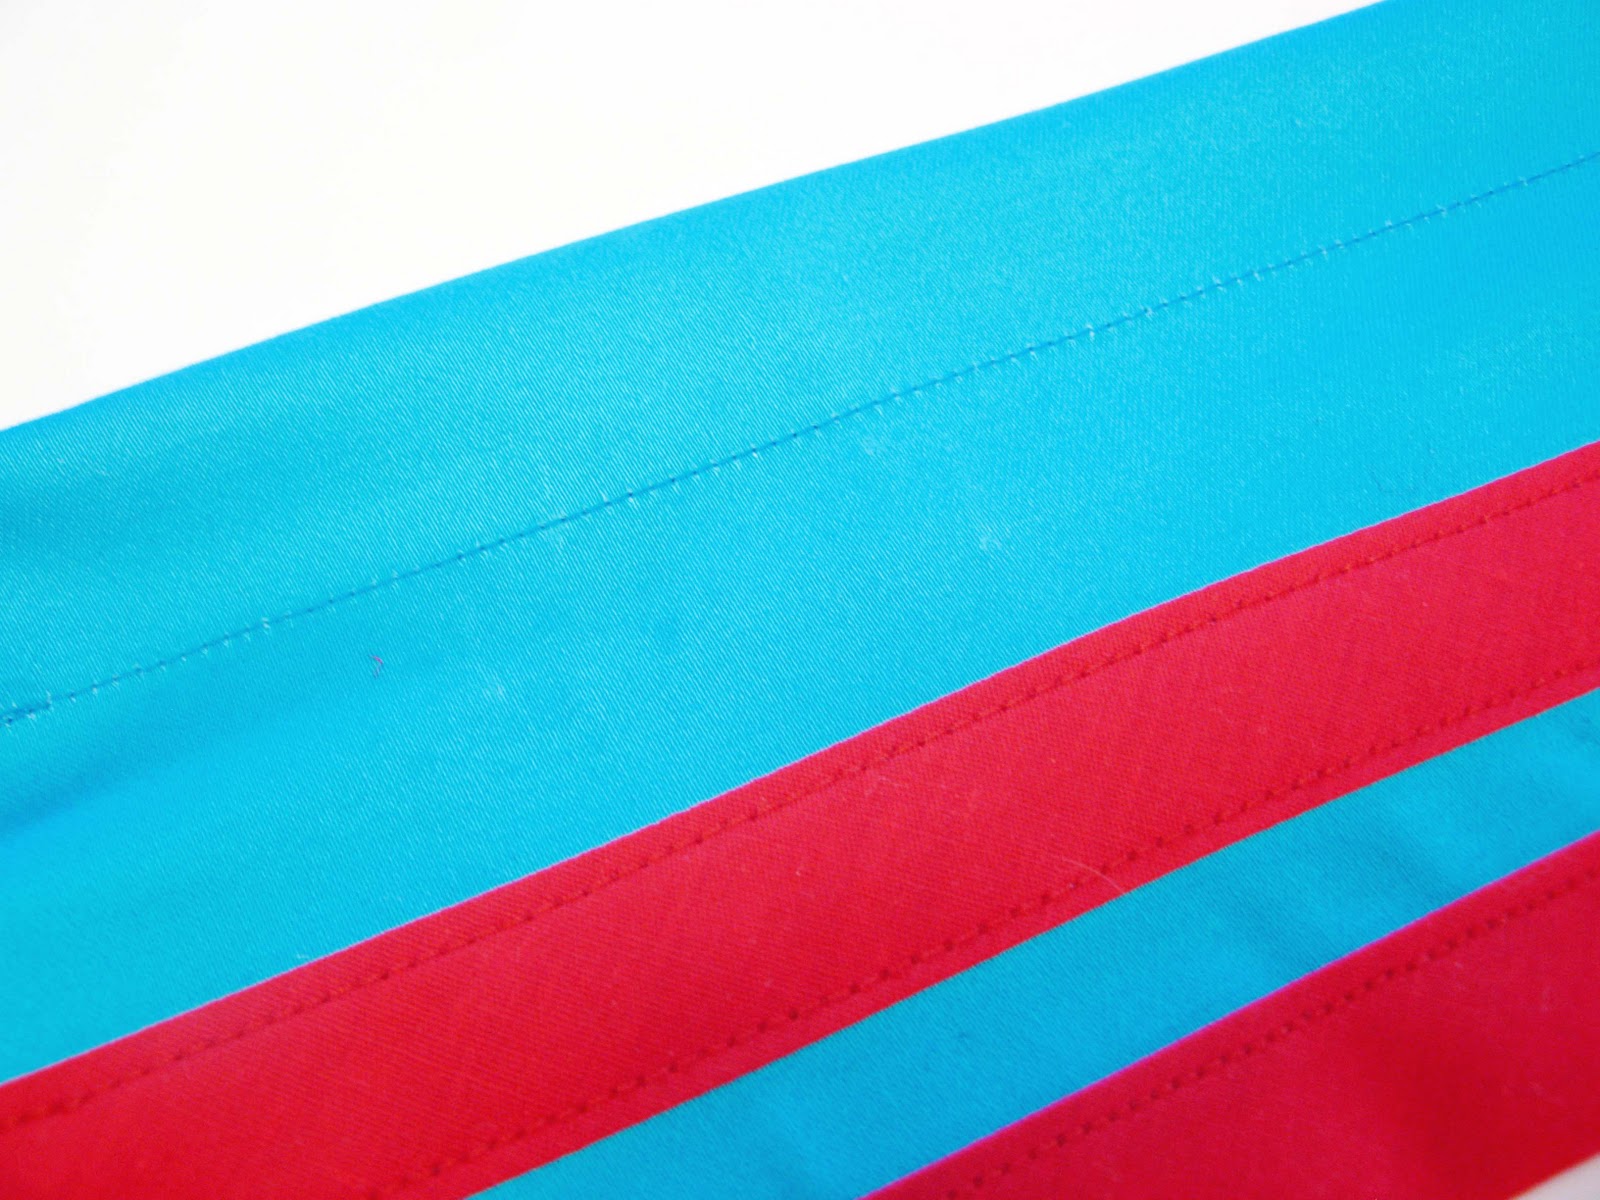
| Now take the first strip from the front waistband and grab some bias tape, sandwich the strip with the bias tape. |
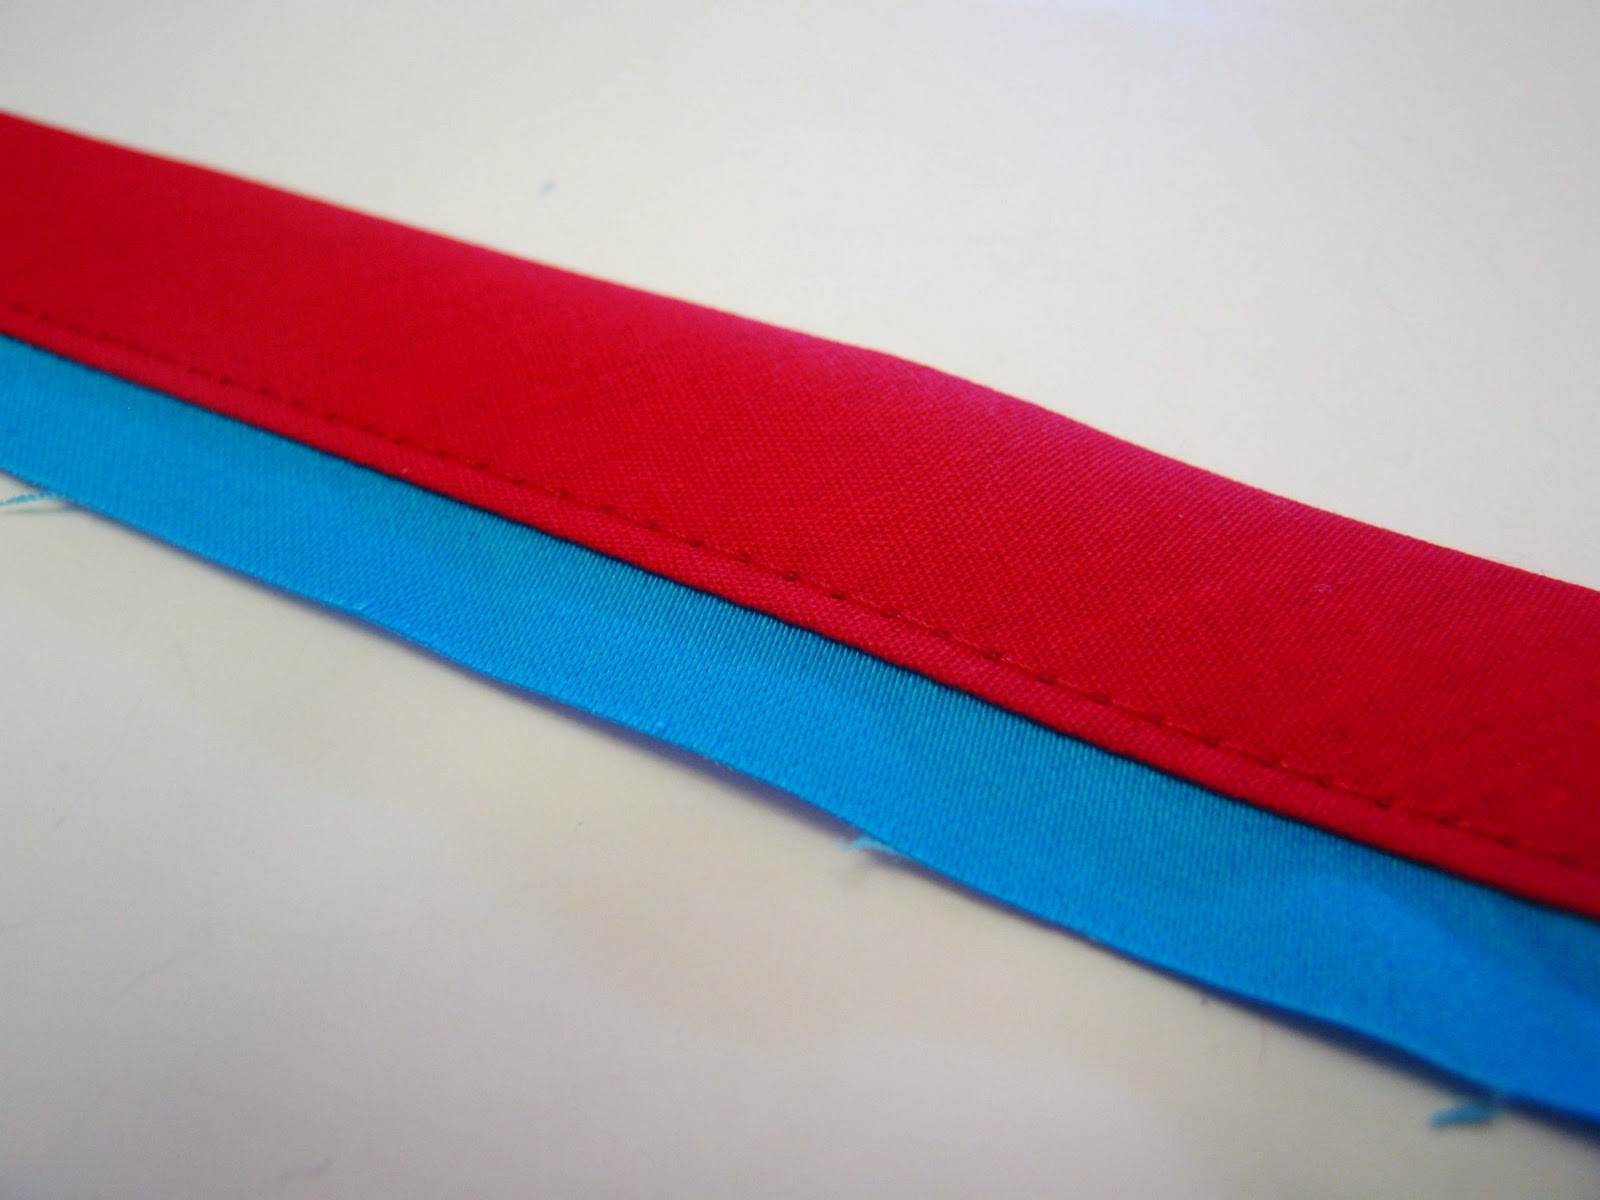 |
| Sew along the edge of the bias tape to secure. |
 |
| Continue doing that until all of the pieces are done. (top only) |
 |
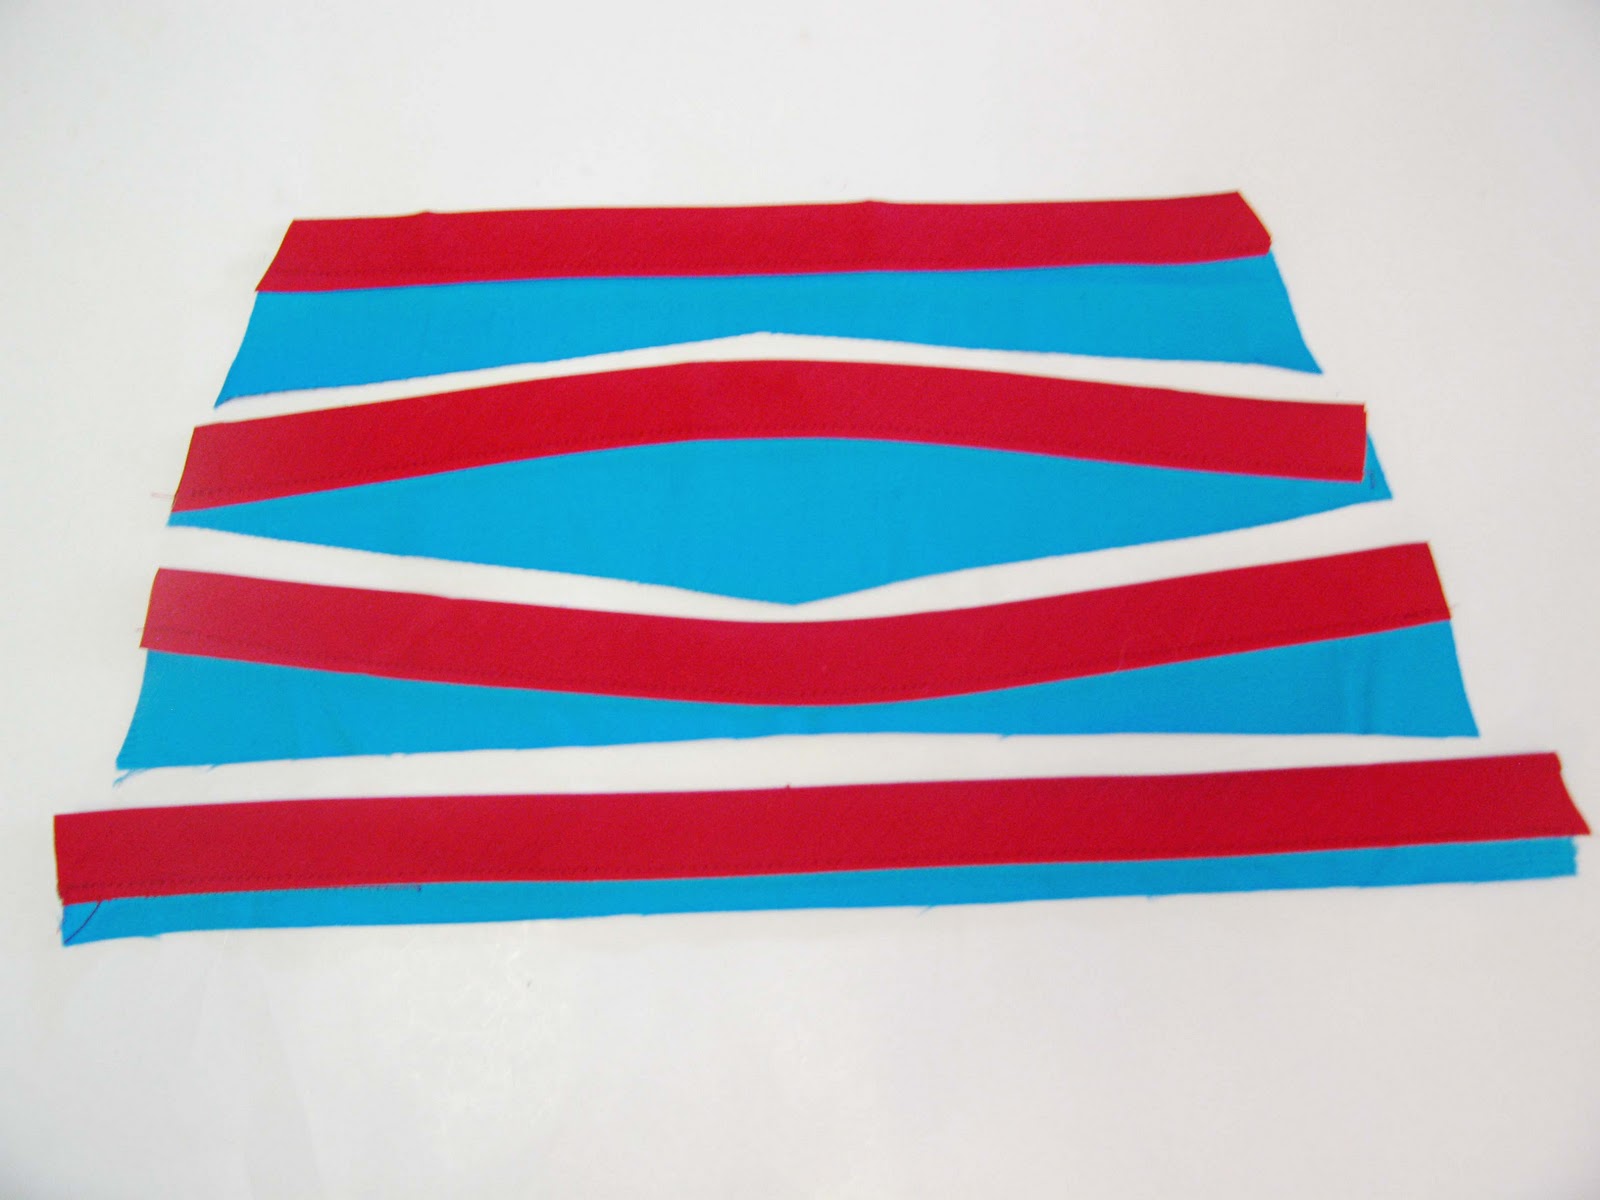
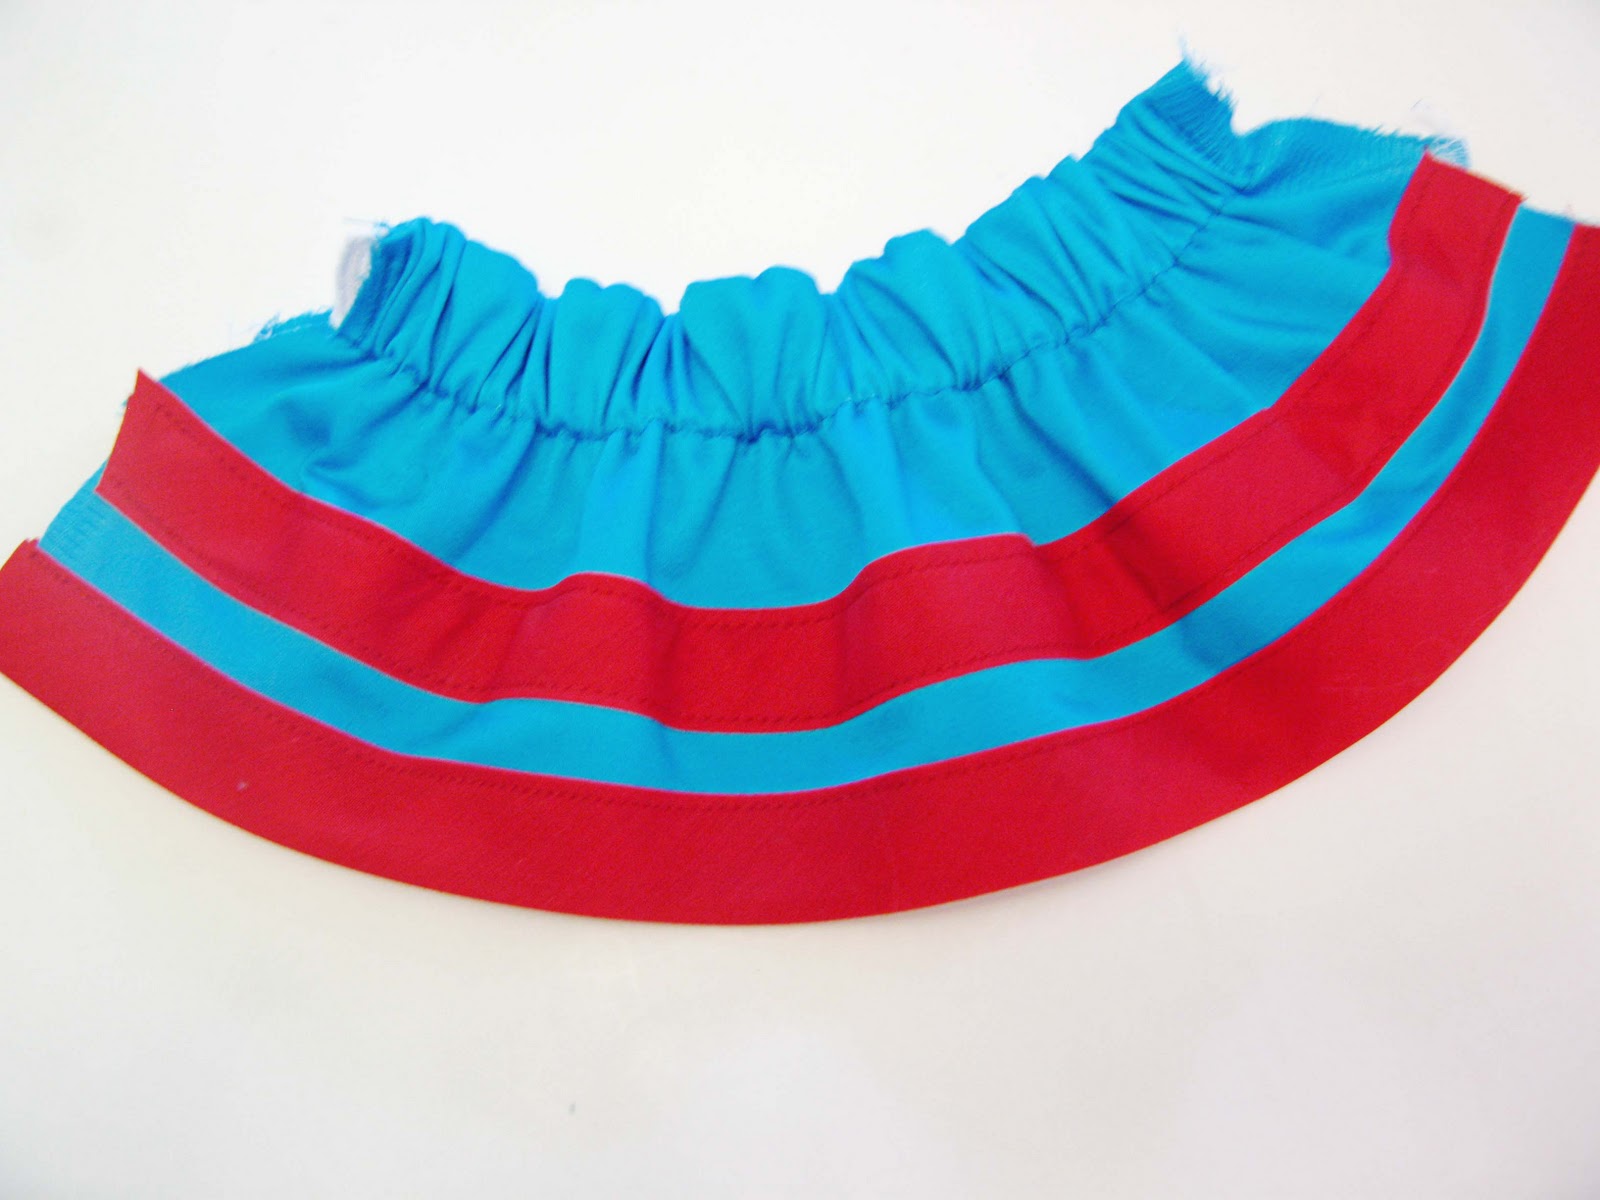
| Then lay the pieces so they just overlap and sew in place. |
 |
| When you are done you should have a front waistband with some strips of bias tape through it. |
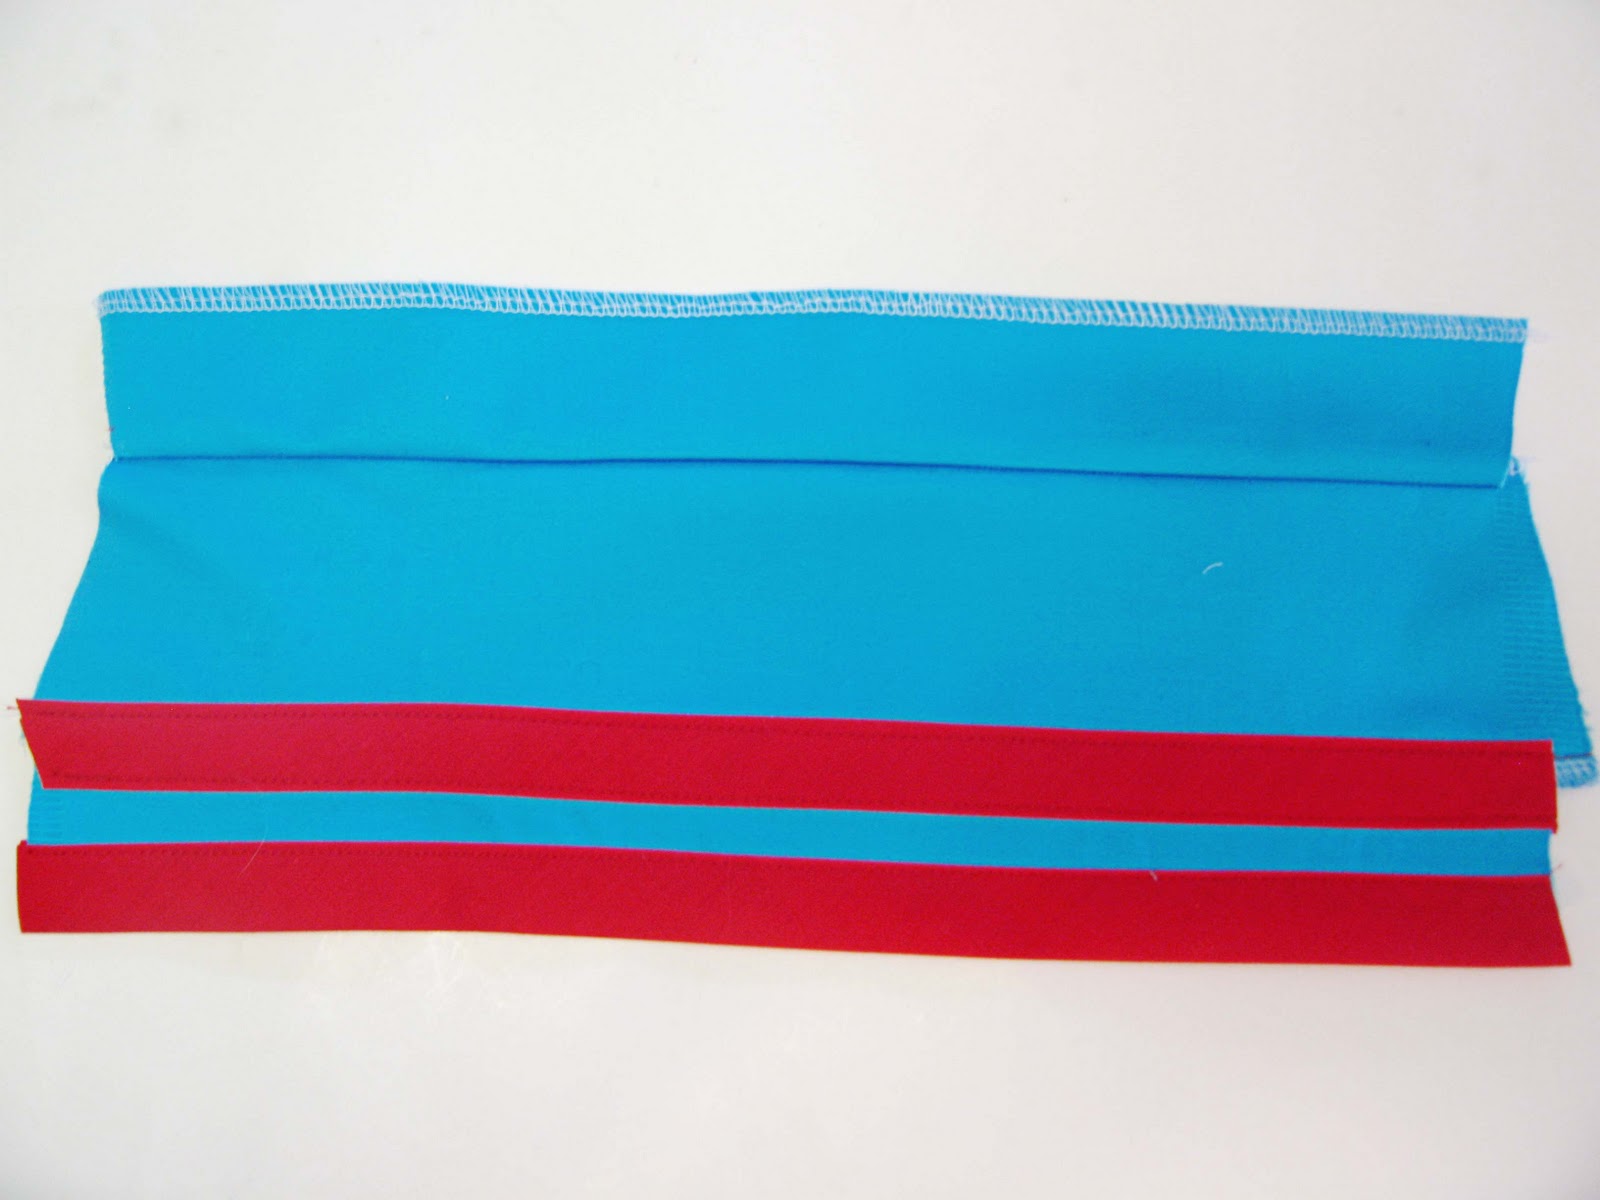 |
| Do the same for the back piece and then sew the strip for the elastic casing to the top of the waistband. |
 |
| Then fold it to the back and sew a line to create the casing. |
 |
| Slide in the elastic and sew in place at both sides. |
 |
| Next with right sides together sew the front and back waistbands together. |
 |
| Then sew the edge of the skirt piece together to make a large tube. |
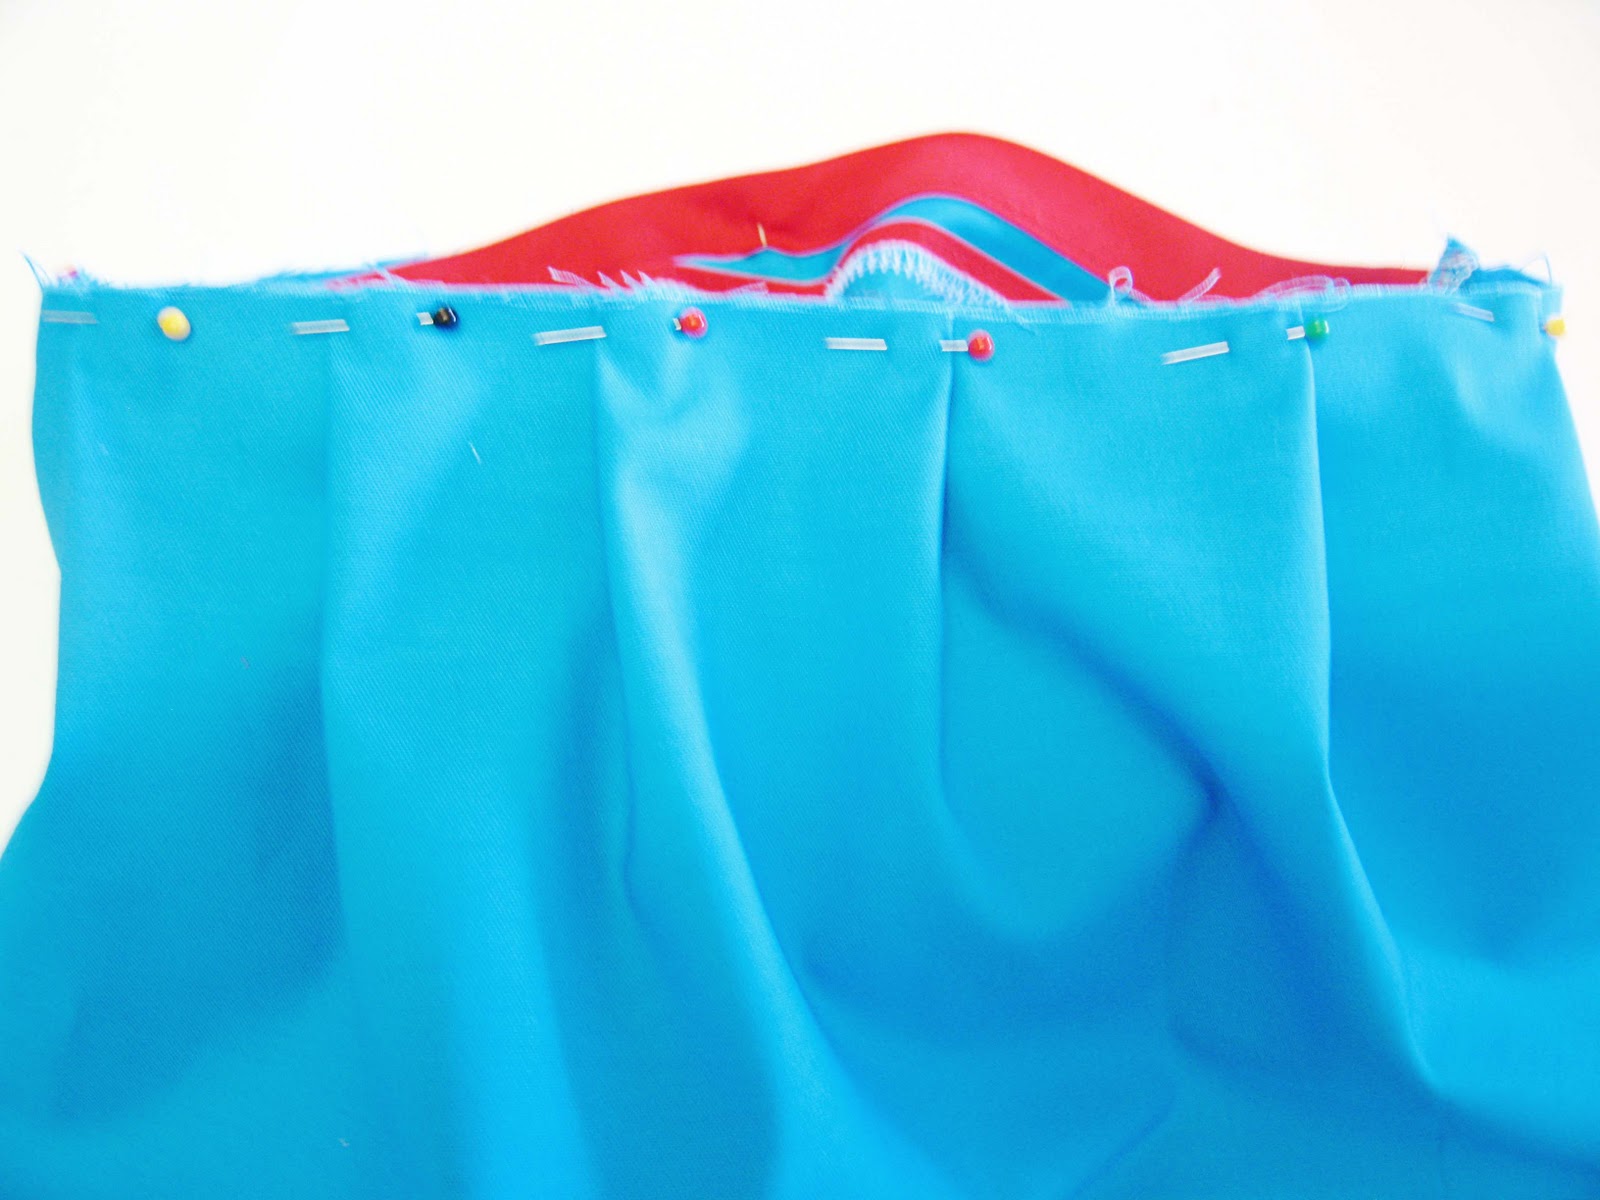 |
| With right sides together pin the skirt to the waistband. I made the seam meet in the middle back and had it flat in back with pleats to fit the skirt to the waistband in front. |
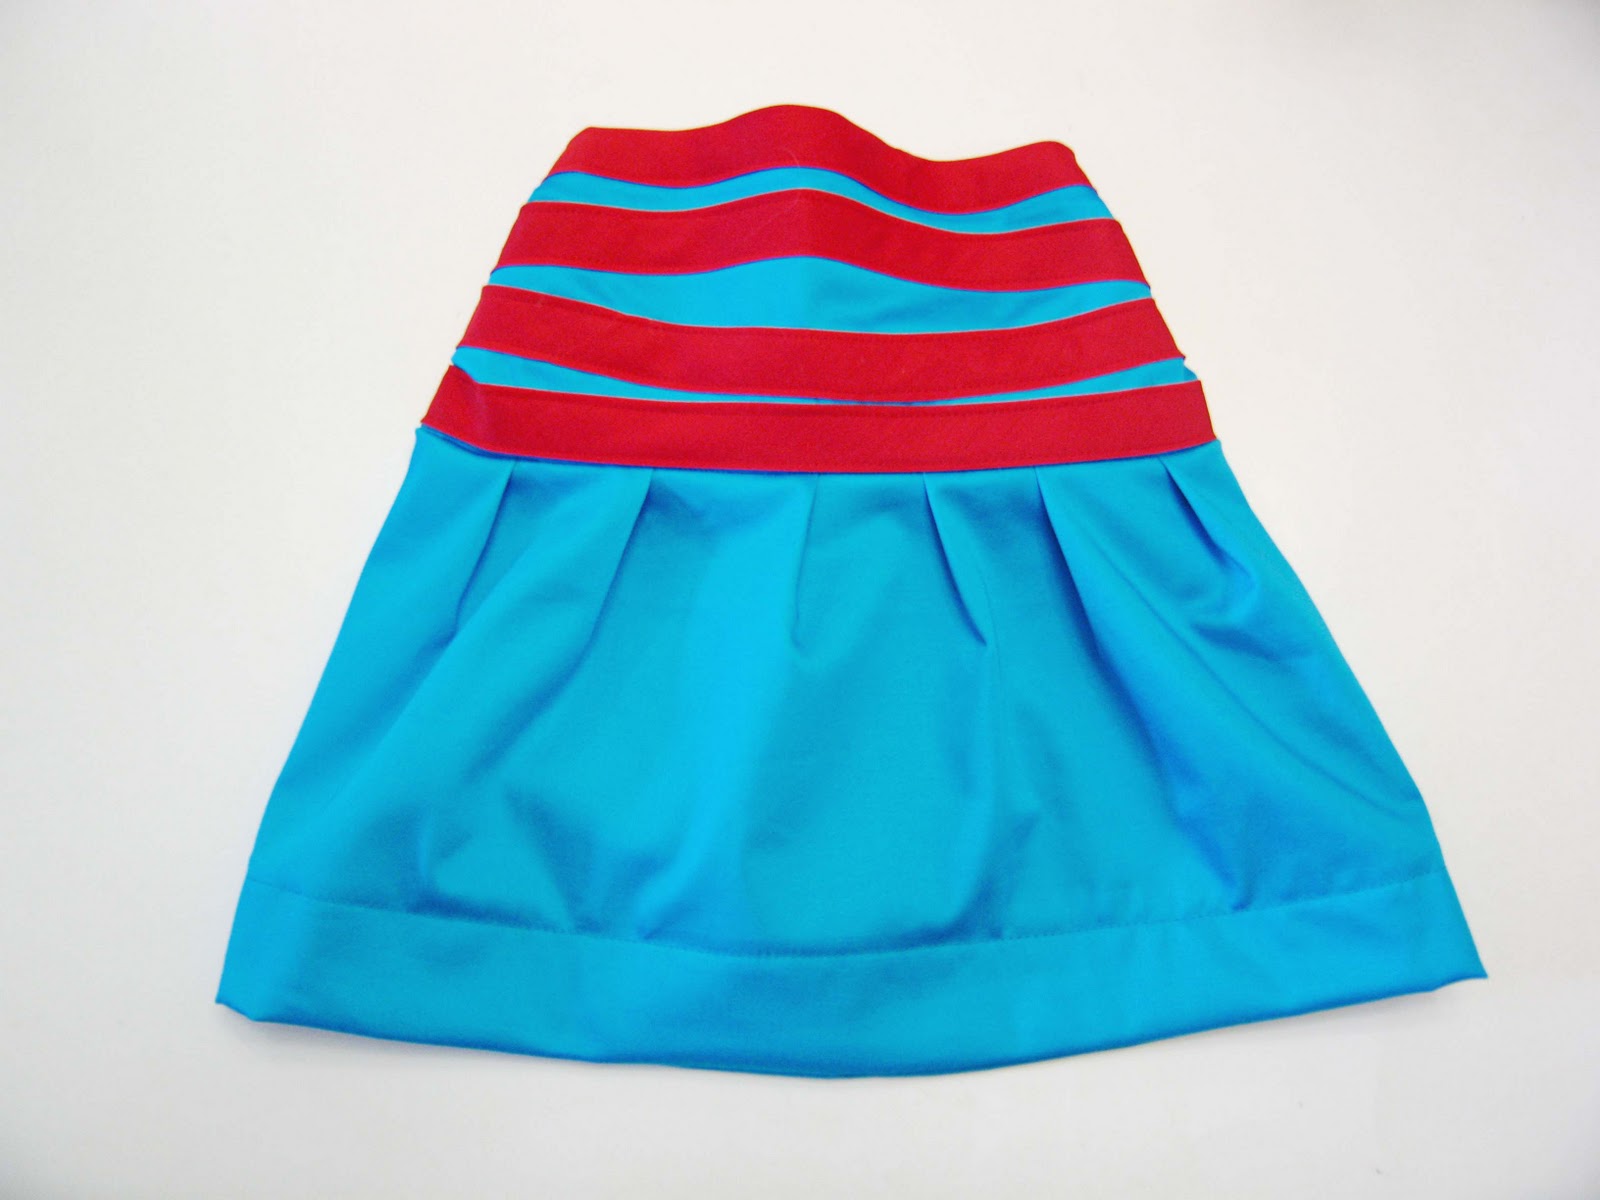 |
| Then hem the bottom to your liking and you are done. |
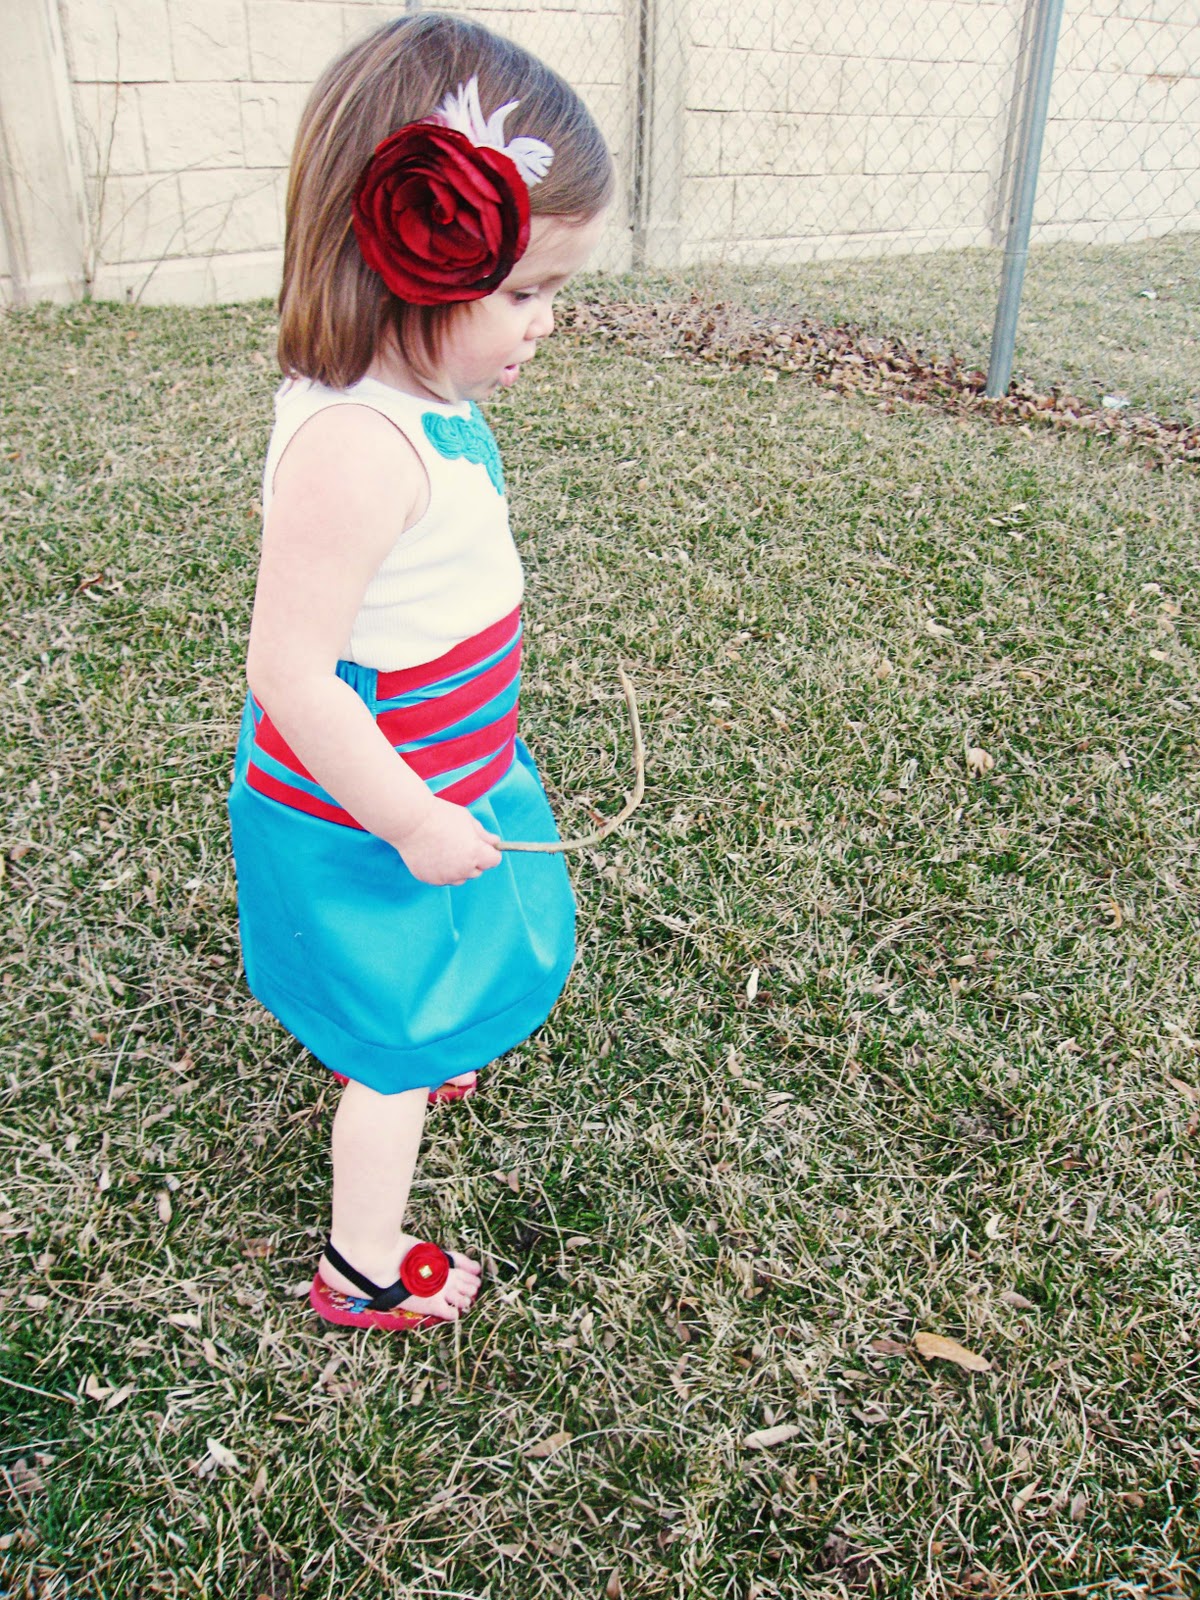 |
| Skirt number one with some nice pops of color |
 |
| It’s a simple, but fun detail that you can add to any skirt. |
 |
| And we just love how a skirt welcomes spring! More fun skirts are coming up! Enjoy! |
Lacey
OH MY GOSH!! This is adorable!!!
casserole
Love this idea!! I linked to your tutorial on Craft Gossip Sewing:<br />http://sewing.craftgossip.com/tutorial-skirt-with-pieced-drop-waist/2011/03/16/<br /><br />–Anne
Shanna
How Delicious is that color combination!??!! I absolutely love this one! I think I am going to use it for Easter for the two girlies!
Stephanie {Luxe Boulevard}
Darling!