Today is the last Photoshop tutorial. Although the giveaway is still open until April 25th so there is still plenty of time to enter! I tell you we are overwhelmed with the response for you all, we wish we could just give one to everyone, but maybe we will just do a repeat of this for our one year blogaversary… for now two last tricks that I love about photoshop. One as I said, I am not a photographer, I work with nothing fancy just a simple point and shoot camera, (although a DSLR is on my list) However I did break out of manual mode, and it helps at least a little. So I can get decent shots from the camera, and photoshop helps make them better. Like this shot for example. Jude hanging out in a tree, the background which would be blurred if I were using a fancy camera is pretty clear and distracting to the cute little boy hanging out in the tree. so let’s blur that background shall we…

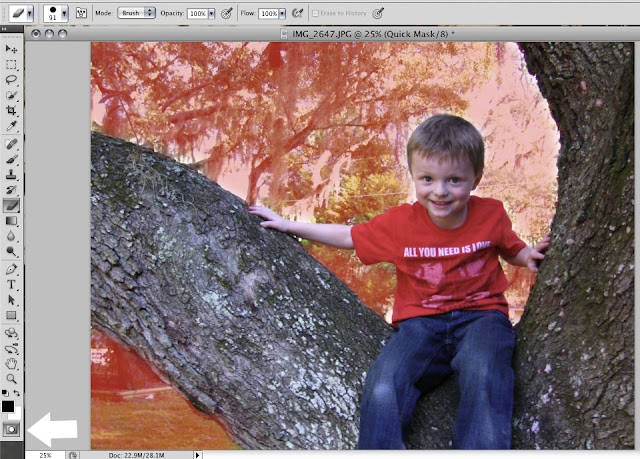
In photoshop it is super easy you just click that little button at the bottom, the rectangle with a circle in the middle. Then select your paint brush tool and paint the background, it should be a red tint. You can use your eraser to remove any over spill you have on anything else.

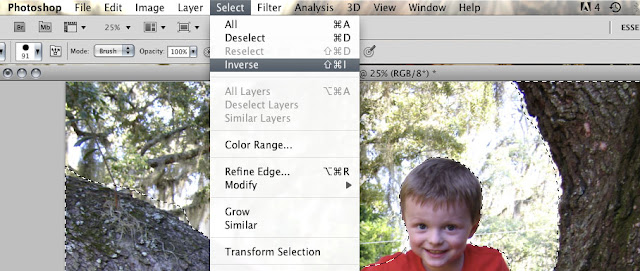
When you are done press “Q” this creates a quick mask. there should be a blinking dotted line. Now you want to inverse this by going to “select” then “inverse” this means that only the background will be selected. Then go to “edit” then “copy”

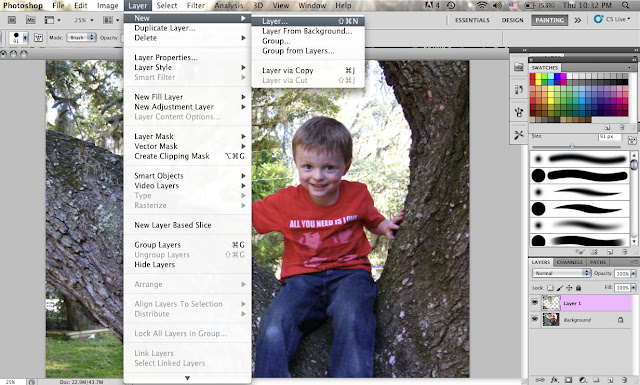
Next create a new layer. Then on that new layer go to “edit” then “paste” 

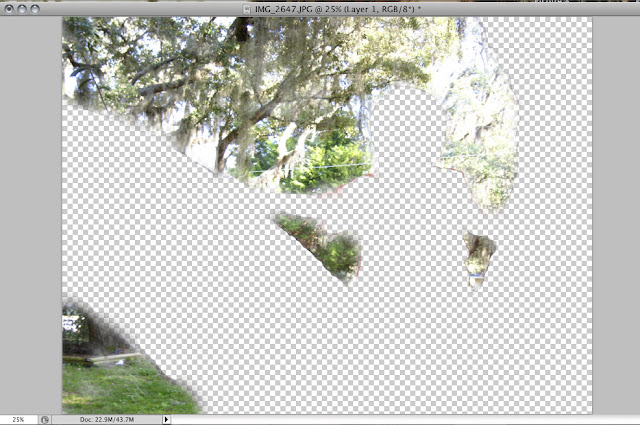
If you select to only see the new layer you should see your background. You can clean it up a little if you need to.

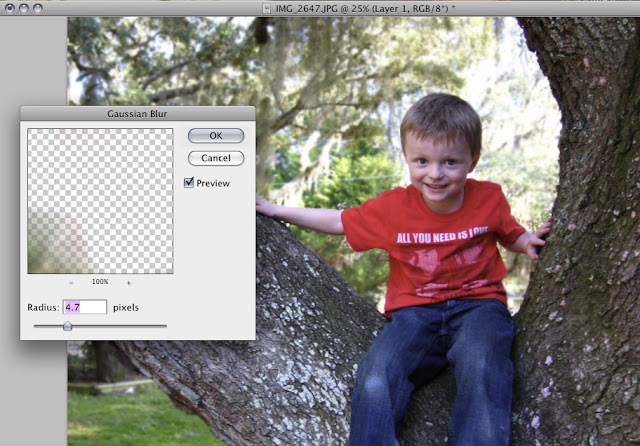
Then select “filter” then “blur” then “Gaussian blur” Then play around with how blurred you want the background. I like around 4 or 5, but you can do what you like.

Then flatten your image. I did some additional editing to make the picture “pop” but you can see how the subject is now the center of attention and the background fades away.

Next up let’s remove un-wanted objects. Which is really easy and you likely already know how to do it but, let’s share anyway.

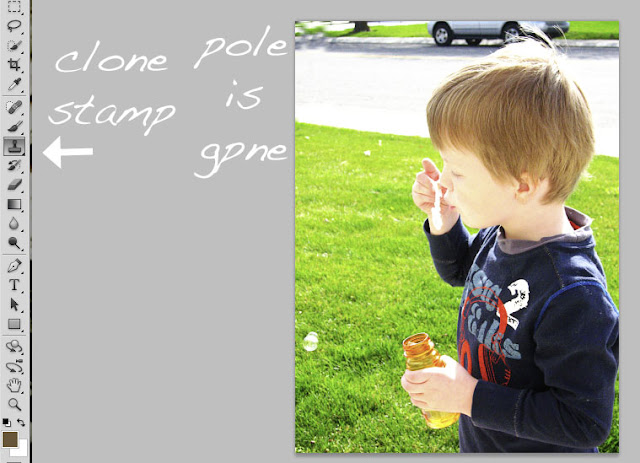
Take this photo, it’s fine, but the pole and car could go without… So you select the clone stamp. Then “control click” next to the item you want to remove.

Then drag the clone stamp right over the item and watch it magically disappear.

Then with a little additional editing like blurring the background, and enhancing the colors, the photo is foreign object free…

I hope you all have enjoyed the photoshop series! We have enjoyed doing it and seeing what all the creative guests have come up with as well. Don’t forget to enter to win photoshop!