Are you like me? DO you have a pile of jeans sitting in your closet that you don’t wear and will likely never wear due to some sort of fit issue. Take this pair, they were three sizes too big around the waist and a size too small in the thigh area. It was weird to have something skin tight and then super loose. I tried a belt and that made it worse. So there they sat in my closet, neglected and lonely. I thought I would put an end to that. Abbey needed some new jeans (growing like a weed that one is) I needed to dispose of some jeans, it was perfect. There are a few tricks you can do when making jeans, to make them look more “designer” and a little less “home-ec”
Like fancy pockets and some fancy stitching on the seams, but we will get to that. Plus they are designed by you, so that makes them designer right? Well I will go with it. So these pants will finish up the pants I started earlier with the Pants Pockets 101 tutorial. We will pick up were that left off there so hope on over for the drafting and sewing of the front of the pants…
One quick note when cutting out the pants pattern I cut then out starting at the bottom of the jeans so I could use the original hem. You don’t have to you can always hem the pants your self but the factory hem always looks so nice. This particular pair of pants, (funky as they were) had a really small front of the leg and a really wide back so when I cut out my front pieces I had to include some of the side hem in order to cut out my piece, it adds a little design element I suppose, but not something you have to do.
Ok now for the back pieces. Start by placing them right sides together and sew the curve together.
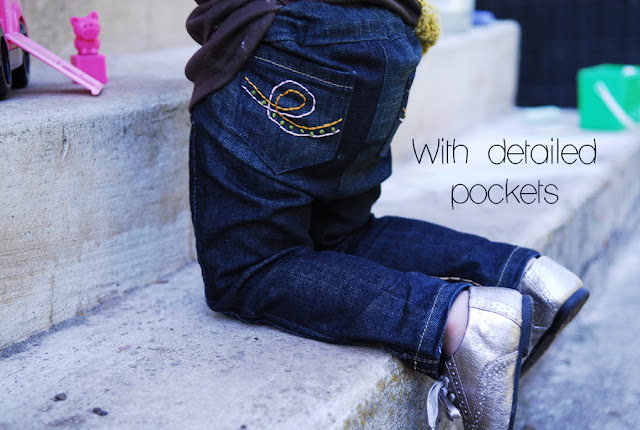
Now lets do the pockets since it is easiest to sew them on when the pants are still flat. We are going to make sewn on pockets, I cut them out from the original pockets I just cut them to the size I would want, I included the top hem of the pocket to make my job a little easier. Then fold under the edges of the pocket and press. This is where you will want to steam for sure. Denim is a little hard to press flat, but you put a little steam on that and it will be flat and lay so nice.
Next I took a pencil and sketched the design I wanted on the pockets. Then using embroidery floss I followed the design. I mixed it up with some different colors, but you can do what ever you like, get creative.
Then you will pin the pockets to the back of the pants. As a warning I put my pockets a tad to high… They are fine but I may lower them someday since I think they look a tad high. If you need help placing your pockets line up the front piece with the back piece at the side seam. Then place your back pockets at the same level as the front pockets.
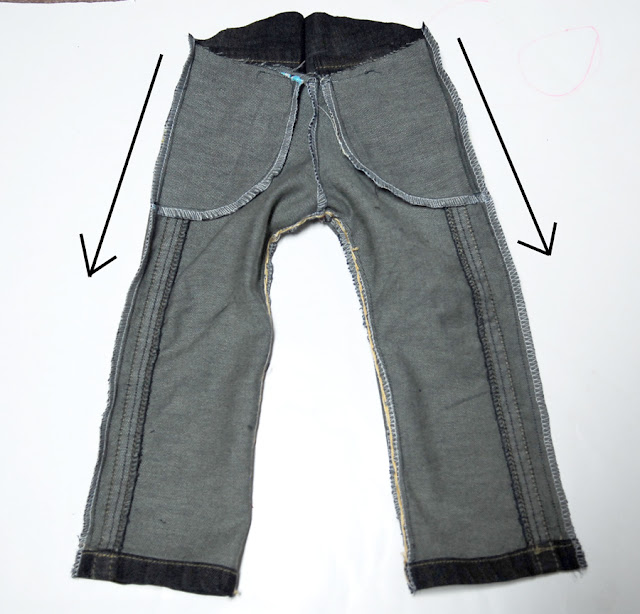
Next put your front piece and back piece right sides together and sew the inside leg seam.
I wanted a big chunky stitch on the inside leg so I took some embroidery floss and stitched the same seam.
Next with the pants right sides together again sew the side seams. You should notice the back is higher than the front. That is good.
Turn them right side out and you have some pants. Well without a waistband… so let’s make one.
I am not going to be making any fancy waist band, not today anyway since for a toddler it is just not needed. So to make the waistband cut two strips, one the width of the front of the pant (include seam allowances) and one the width of the back of the pants (include seam allowances) The height of the band needs to be twice the height you want the band to be (plus seam allowances)
Start by sewing your waistband pieces right sides together at the sides. This will create a tube.
Then with right sides together sew the band to the pants lining up the side seams.
Then fold under the top edge of the waist band. Then fold the waist band in so it is folded in half and just covers the seam on the inside.
Then sew the waistband in place along the bottom edge starting only by sewing from the side across the back to the other side. The creates a casing for the elastic. Slip the elastic in place and sew to secure at both side seams. Then sew the front waistband in place.
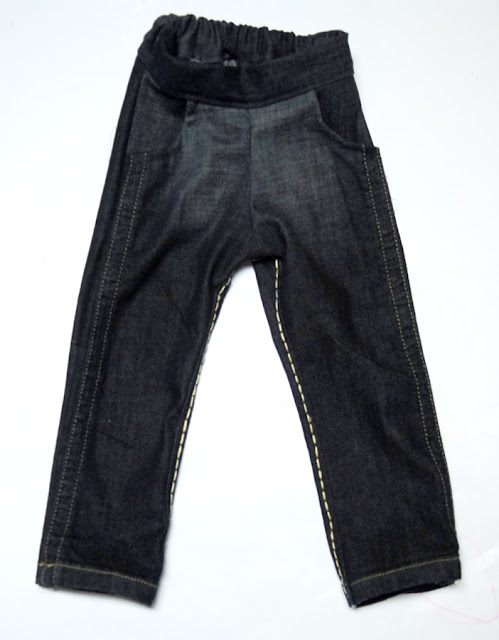
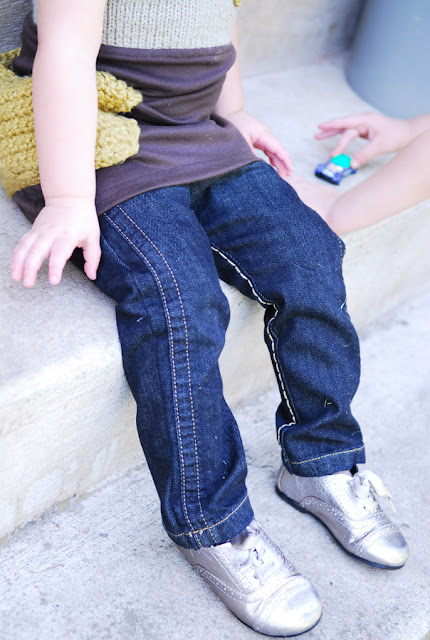
There you have some jeans
With a little designer flair.
Your little one is sure to look stylish in the up-cycled jeans. I love the nice little relaxed fit, it’s a nice change up from the skinny jeans she usually sports.
And I love seeing the pop from the chunky stitches at the inside seam.
And of course a darling little pocket pulls them all together.










Mommafo
I love her top too! Did you knit that?
jenna
You have the best dressed daughter! Love the stuff you make her!!
Helene
apart from the fact that the jeans are so gorgeous, and the fact that the little top is absolutely darling, …what is that fantastic font you've used on your images? I'd love to know!
Mammy Made
I love these!! Well done you!!<br /><br />- Ellie @ Mammy Made
MelanieElla
I just found you (From a post on pintrest) I'm so glad I did! I'm a few years away from having babies, but I always love to look at little kid fashion and dream of the day I can dress my little one in head to toe cuteness. I've had some basic sewing lessons and am excited to get back into it when that day comes. Your photo instructions are very thorough and look simple to follow.