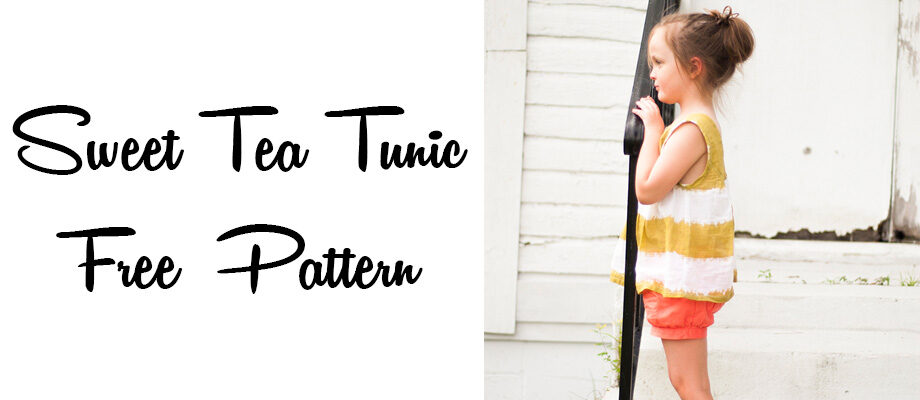
Summer time is the best time. You want to be outside all the time soaking up the sun and summer sewing projects can be done in 30 min so it doesn’t even get in your way. Because let’s face it, as much as I love summer and being outside I would likely die if I didn’t sew 🙂
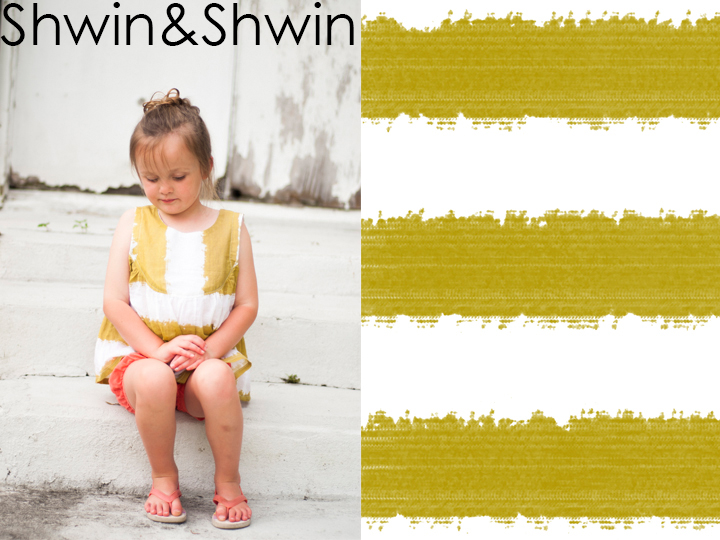
For this tunic I designed my own fabric! It was so thrilling really. Since it was my first time ever designing fabric and I wasn’t sure about colors or fabric I went simple with the design. I love stripes and if it were up to me I would have a fabric line with every color of stripe and in every style under the sun. It would be all stripes all the time. For this one I did a water color stripe. It turned out so heavenly it’s almost like it was ti-dyed but cooler and more modern. I used Spoonflower, and I printed it on the voile. Which is nice and sheer and light weight for summer, but be warned it is sheer, like see right through it.
The design for the top is just a quick and easy slip over the head and go tunic. That was perfect for the fabric. I even have a free pattern for you. In roughly a size 5/6
Get the pattern HERE
You will need:
1 yard of fabric
about 20″ of single fold bias tape (store bought or hand made)
3/8″ Seam allowance included
To start sew one front and one back yoke piece right sides together at the shoulders. The repeat with the other yoke pieces for the lining.
Run a basting stitch along the curve of the front and back skirt pieces. Then pull to gather loosely.
With right sides together sew one skirt piece to the front yoke along the bottom curved edge. The skirt piece with come to the points that were marked on the pattern piece. Then repeat with the back piece. Press the seams toward the yoke piece.
With right sides together place the main yoke and yoke lining pieces together then sew along the neckline. Clip notches in the curve.
Fold lining to the back by pressing it through the neckline. Then fold the bottom edge of the lining under by 3/8″ top stitch along the folded edge to secure.
Back view of what the lining will look like so far.
Take your single fold bias tape, or as I used a 2″ wide strip cut on the bias, and sew right sides together from the underarm to underarm. Then press out flat.
Repeat with other side.
With right sides together sew the front and back together at the side seam sewing through the bias strip.
Repeat with other side.
Finish these seams as they are the only exposed seams.
Fold the raw edge of the bias in half toward the underarm. Then fold the whole thing in towards the back so the bias tape is along the inside. Sew along the folded edge to secure. Repeat with other side.
Hem the bottom by turning it under by 1/4″ and then again by 1/2″ and sew in place along the folded edge.
That’s it. Easy right.
The low dipping back makes it easy to get on and off but still keeps the front neckline from being too low.
I just love how easy it was to make and how easy it is for her to wear. And even though the fabric was sheer, it has enough body in the skirt and the yoke is lined so it is still plenty modest for a little girl.
Tunic || Free Pattern
Fabric || Designed by Me || Printed by Spoonflower
Shorts || Target
Sandals || Old Navy


Lucinda Poel
This is just the cutest! And I adore the fabric you designed – well done! I agree with you on the joy of stripes – never can have enough:) Thanks for providing a pattern as well. Luckily, my daughter happens to be six:)
Elisabetta
Thank you so much for all your lovely ideas and this free pattern too!<br />My little girl is four, but still wears size three, I'll save this for the future, can't wait to sew something. We moved to our new home few days ago and I want to properly organize my laundry with a pressing/sewing table too, it's a tiny room so it has to be well organized! ^_^
Rebecca McAfee
That's so lovely. You should start making patterns for women! Hint hint. I would love some easy breezy summer tops. 🙂
Deb
Love your fabric! Thank you for the free pattern….love it too!
LUCIA RUA
Esta hermosa felicidades.
Sharon Collins
Great job. The pictures explain the places to sew very well! Your little one looks adorable in her new top. Thanks for sharing.
Eliana
lovely
sisforsewing
This is so lovely! <br />I love your fabric: Way better than ti-dyed 🙂
20 FREE sewing patterns for - Andrea's Notebook
[…] Designer: Shwin & Shwin […]
Tina Barry
I love this pattern. I “shrank” it for my daughter (age 7, but unusually skinny) by narrowing the bodice slightly when cutting on the fold, and by trimming down the sides of the bodice and the long sides of the dress by about half and inch, before adding the arm binding. Worked like a charm!
I also lengthened the “skirt” portion by a few inches, because I like to do a blind hem, but those tend to gobble up the length a bit.
Thanks Schwin & Schwin for another great FREE pattern!