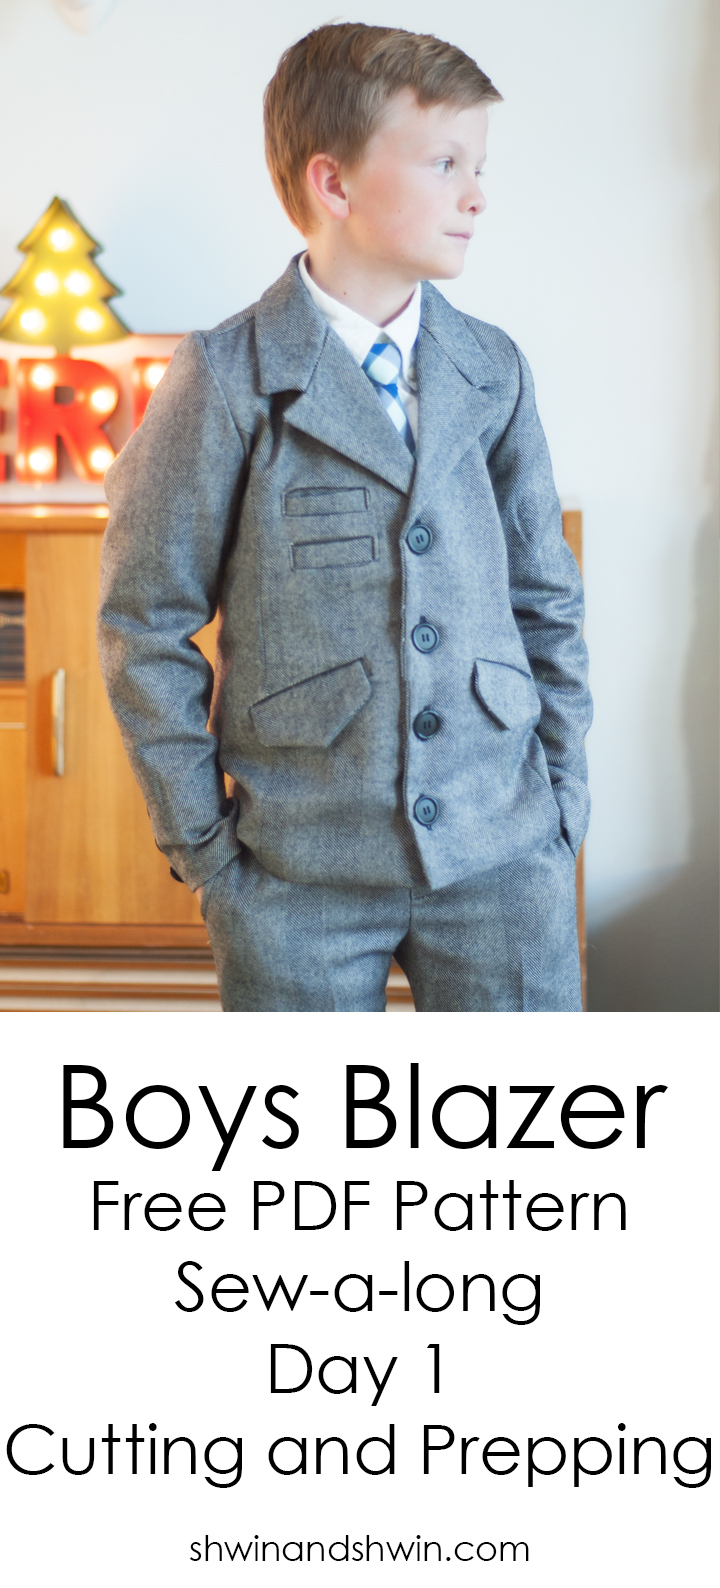
Today we start the boys blazer sew a long! If you missed our post about patterns and fabric check HERE.
I have a Free PDF Pattern for you today in a size 8. Designed for a 27″ chest and a child 51″ tall. Now Jude has a much narrower chest (24″) and is 52″ tall. I did not adjust any of the length of the pattern, since it is drafted long, however I did alter the fit a bit so it fit him better, I did this instead of drafting it smaller so I could share with you how to do that, it’s really quite easy to do and whenever you are sewing something especially a tailored jacket it is wise to take the time to fit your child.
You will need:
1 1/2 Yards of main fabric (wool suiting is highly recommended)
1 Yard of lining fabric (something silky is best)
1/2 Yard mid weight fusible interfacing
3-4 buttons (1″ used)
6 3/4″ buttons (optional for sleeves)
An Iron (pressing will be crucial)
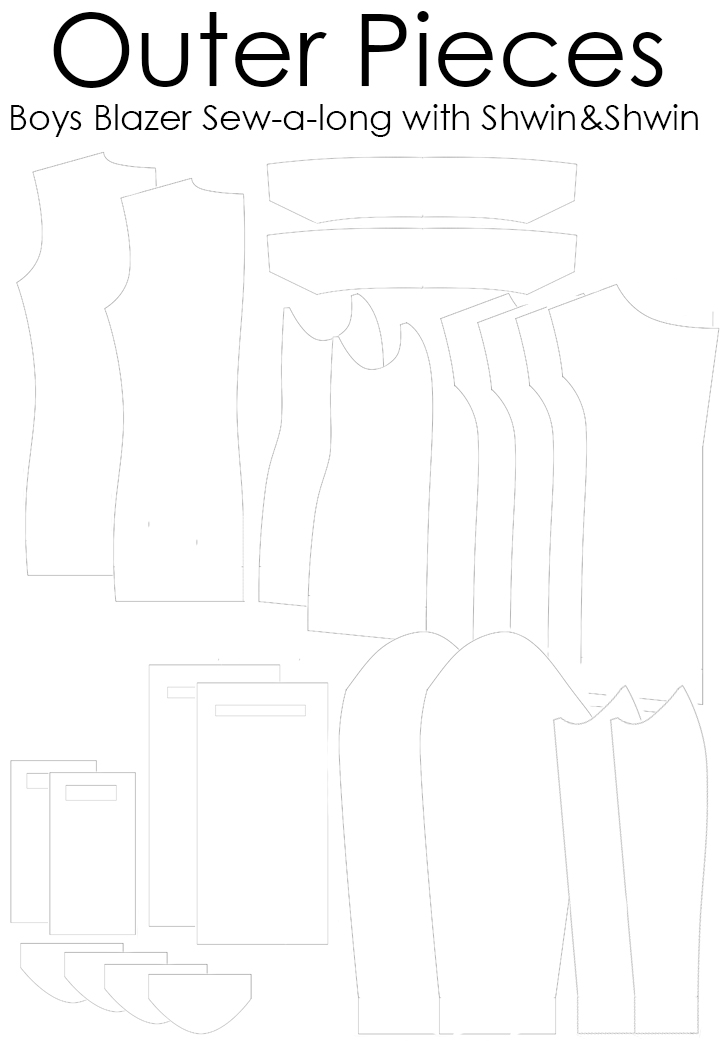
For the outer pieces, you will be cutting the pieces shown above.
Few notes:
- To adjust the Length see notes below for lining.
- For the Front piece you will cut ALL 4 from the MAIN fabric however cut 2 at the lining line and 2 at the outer line.
- Reverse one simply means you need the 2 cut pieces to be mirror images of each other. You can do this by cutting two at the same time with your fabric folded so the right sides are together.
- If you are using a print be sure that your print matches across the bodice pieces, and check that the pocket pieces match up with the pocket placement in the fabric. You can do this easiest by making sure the bottom edge of each pattern piece matches the print.
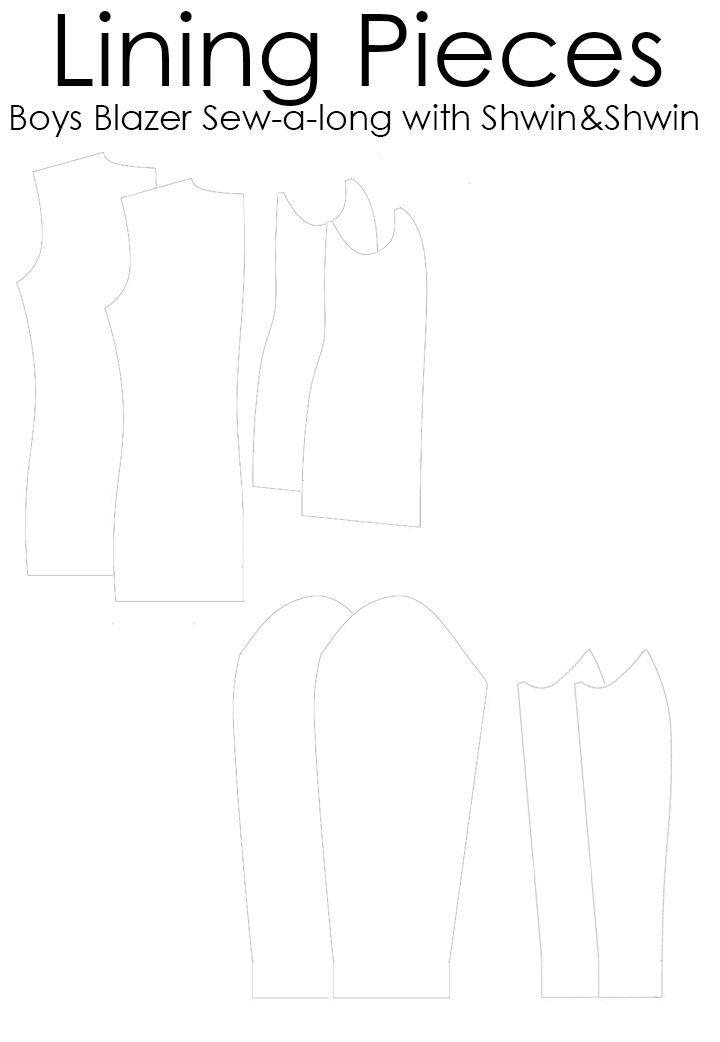
For the lining pieces cut the pieces as shown above.
Few notes:
- Be sure the lining piece are all cut at the lining line.
- If you are unsure about the sleeve length, measure the lining sleeve piece from “center sleeve” to the bottom lining edge. Then measure your child’s arm from the top of the shoulder to the wrist with a slight bend in the elbow. If you need to add or subtract length do so ABOVE the lining line and be sure to add and subtract the same amount to ALL of the sleeve pieces included the outer pieces.
- To check the length of the blazer, measure the lining from the top of the shoulder of the BACK piece to the bottom LINING hem, then measure from the top of the child’s shoulder to the hip line. If you need to add or subtract length do this ABOVE the lining line and be sure to add of subtract the same amount to ALL of the bodice pieces, including the outer pieces.
- Be sure to use a silky fabric at least for the sleeves even if you choose a different fabric for the rest of the lining, this will help for the ease of wear.
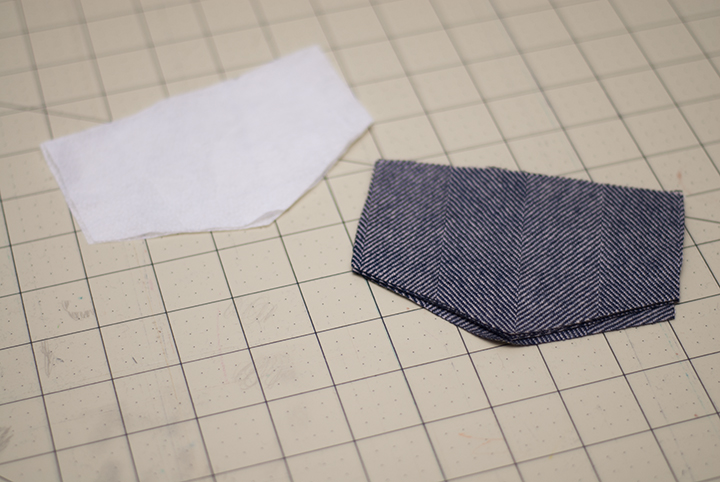
Now let’s prep the pieces. For the best results it’s important not to skip on the interfacing. I use mid weight interfacing so everything will have a bit stiffness to it, which you want in a blazer. First up the pocket flaps. Press interfacing to 2 of the 4 flaps.
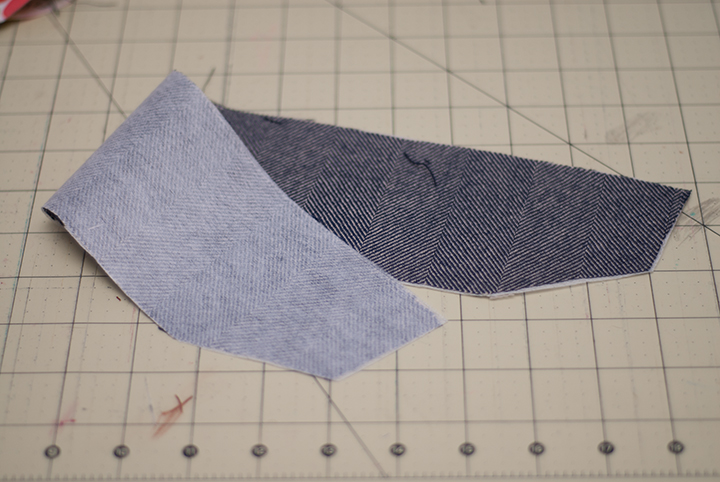
Next up is the collar. For any blazer pattern you may be working on, you will want to add interfacing to BOTH the collar and the collar lining. Why? So the collar keeps it’s form and doesn’t stretch and warp. No one likes a sloppy collar.
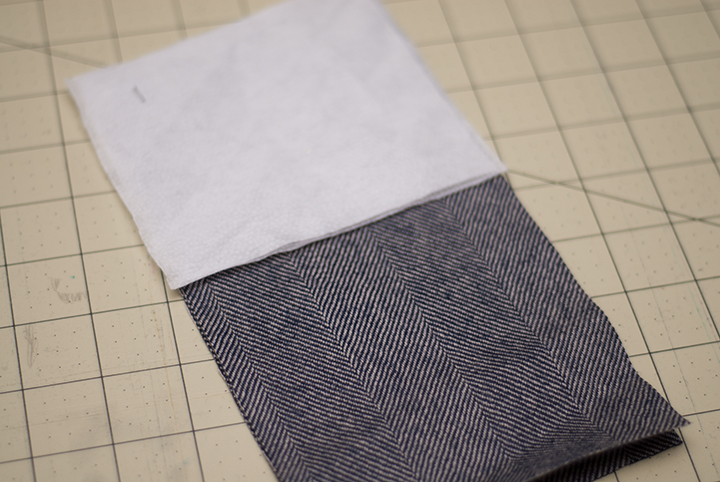
Next up is the welt pockets. You don’t need to add interfacing to the whole pocket piece, just the top half. I do this so pleat from the welt and the opening stay nice and sharp, and again, no warping.
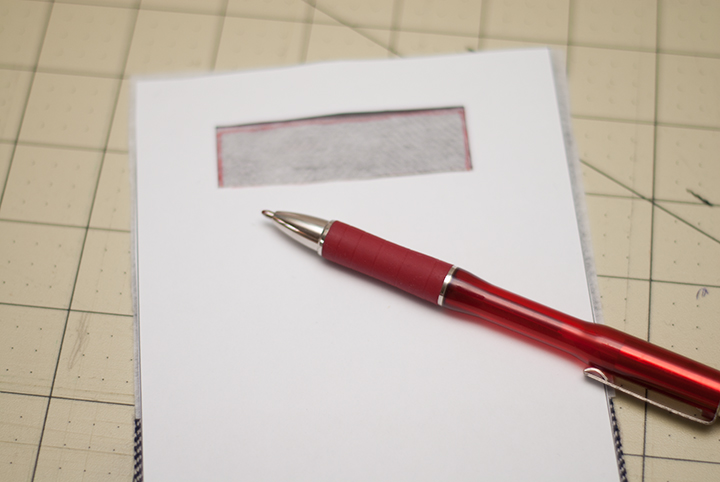
Now is also a good time to trace the sew line/ cut out to the pocket piece. The interfacing helps with this since you can easily see the line on the white. To do this simply cut out the rectangle on the pattern piece, lay the pattern piece down and trace the rectangle on to the fabric. Do this for both chest pockets and hand pockets.
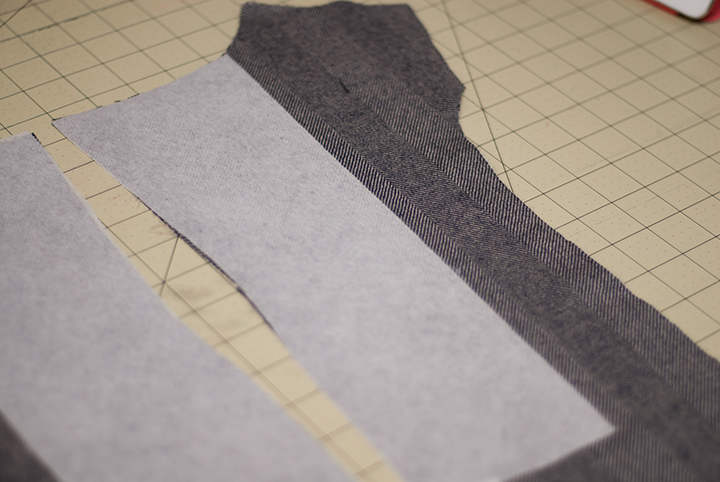
Lastly, add interfacing to ALL of the front pieces. You don’t have to do the whole front piece, just the front center (where the fold of the neckline will be) and the point, as well as a strip down the front center (where the buttons will be) I do this to all the pieces the outer and lining again for the same reasons as I do the collar, you want this area to stay sharp, hold it’s shape and not stretch and warp on you. For the buttons and button holes it offers stability. So even if you are using a different patter I recommend adding interfacing to these areas.
Ok that’s all for today. Come back tomorrow and we will start sewing!
ReBecca
So excited… Also baking a zillion cookies today, so I am looking forward to cutting!
Joy
Why do you need 4 pieces of the front section from the main fabric? I don’t have enough of my main fabric to do that. Will some be hidden? Can I cut two of that piece from a different fabric of the same weight? Help please! Thank you.
Joy
I can’t find details about seam allowance. Is the seam allowance included in the pattern and how much is it? Thank you. 🙂