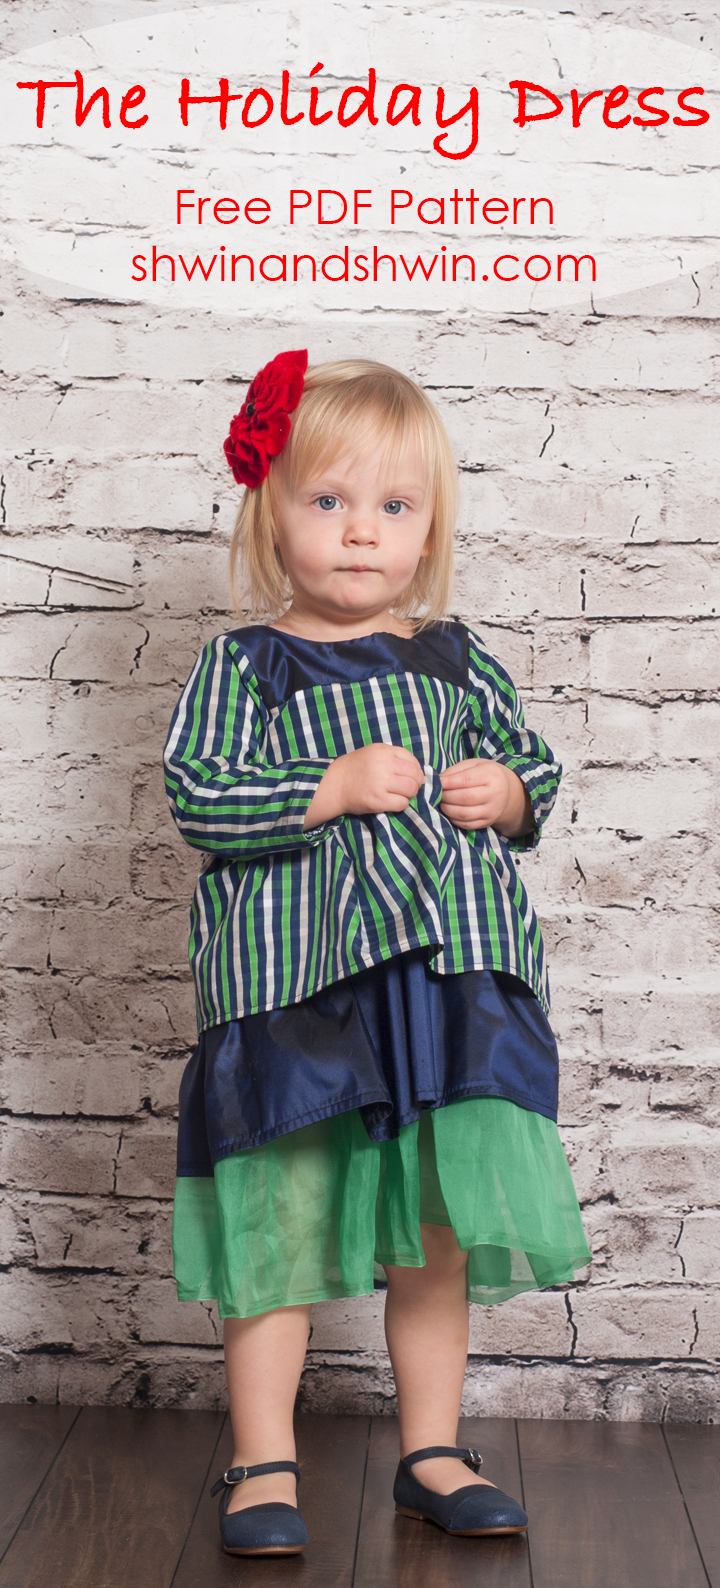
The holidays are just around the corner (like 13 days away!) This means a lot of fancy parties, fancy pictures, and wearing the perfect holiday dress to church right? If you are anything like me then you have the intention of sewing all of your kids the perfect cute little matching outfits. You buy the fabric even, maybe months in advance. Then suddenly you wake up and Christmas is 13 days away and you haven’t started yet. (to be fair this year, clearly I am done)
Then perhaps you think I will just buy the dresses. You totally can, but if your kids are like my kids then perhaps they delight in the idea of a mommy made creation, just as much as I love to create something for them. So my Christmas gift to you this year, a free pattern for a simple and quick holiday dress that can be whipped up quickly (last min even)
You can make it as fancy or as plain as you would like. I have several variations planned, but today is pretty simple and straight forward.
Don’t be freaked out, but we are even going to put in an invisible zipper. You can easily sub it out for a regular zipper if you would rather.
You will need:
The pattern includes sizes 12m-8Y
It includes a bodice and long sleeve the skirt pieces will have to be created by you. So yardage will vary. You will need anywhere from 1.5 yards-3 yards depending on size and style you decide on.
1 12″ invisible zipper
Pattern includes 3/8″ Seam allowance
The pattern pieces don’t have specific cut instructions since they are the basic pieces and I plan to share variations. For this variation you will want to cut:
- 2 sleeve pieces
- 2 front bodice pieces (1 outer 1 lining)
- 4 back bodice pieces (2 outer 2 lining)
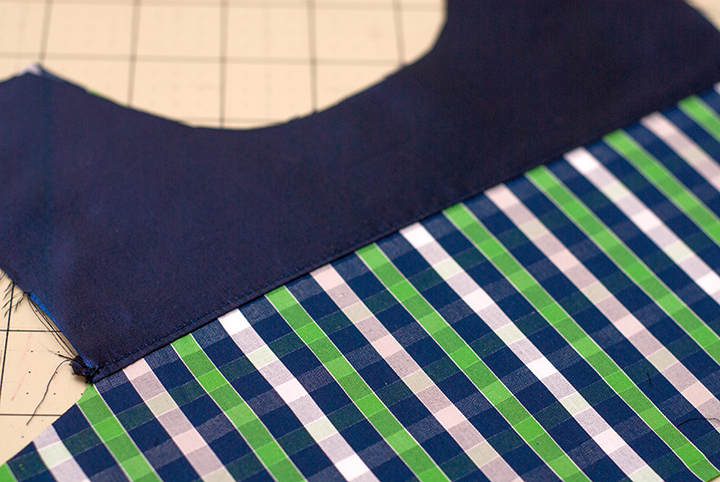
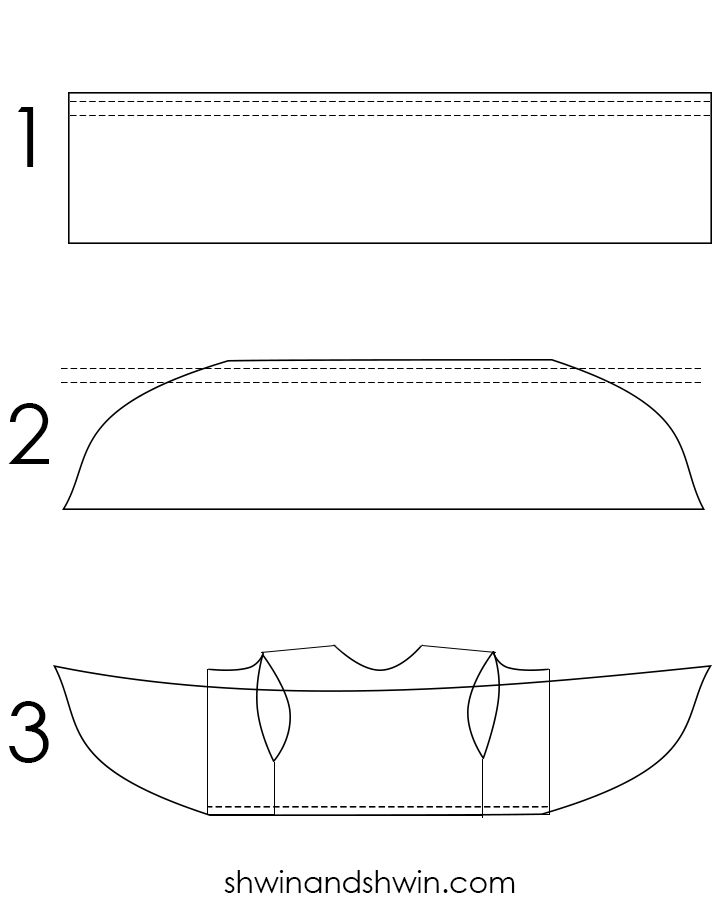
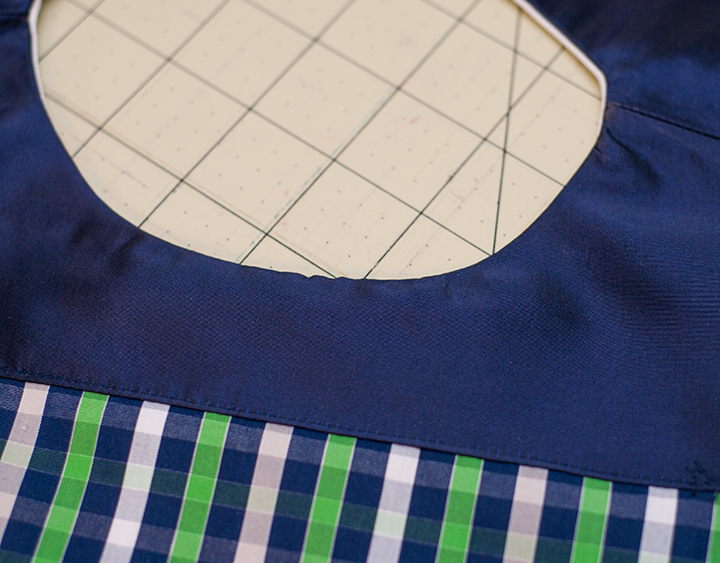
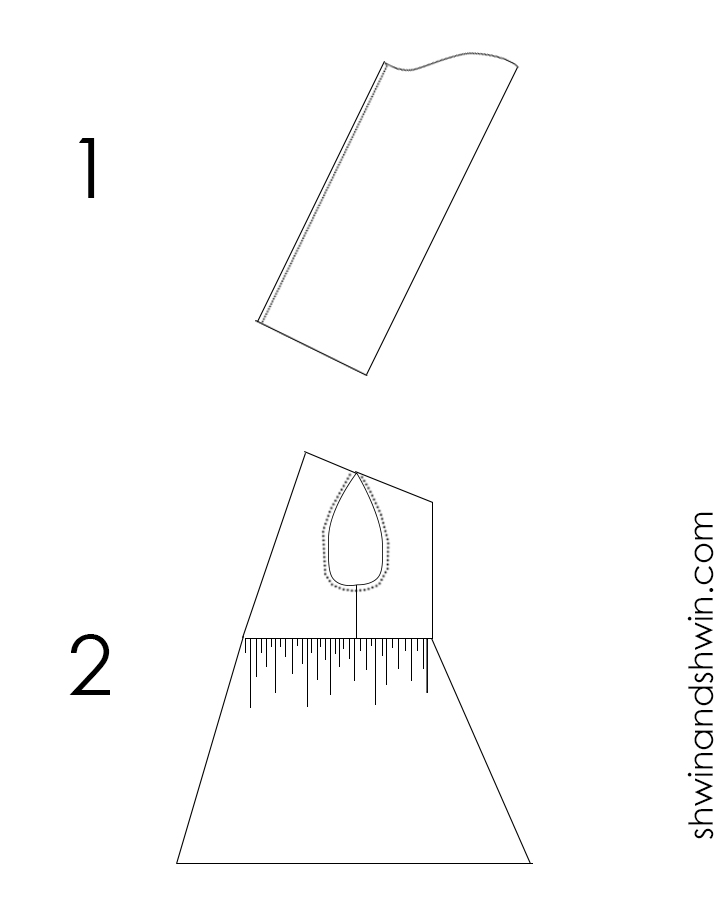
So to start things off, I did use a basics bodice and sleeve however I did decide to add some color blocking to the top of the front and back bodice. It’s really easy to do this. I just cut a regular bodice, and then a second bodice only I chopped off the bottom half. I folded the bottom edge under and then top stitched right along the edge to secure.
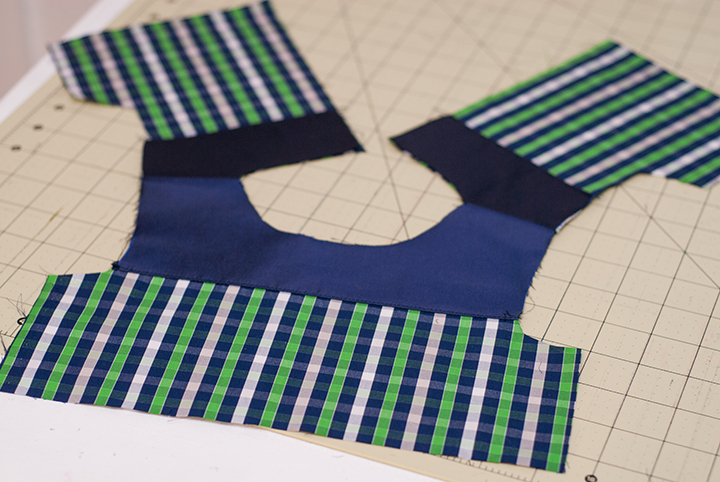
With right sides together sew the front and back bodice pieces together at the shoulders. Then press the seam open flat.
Then with the right sides together again, sew the front and back together at the sides.
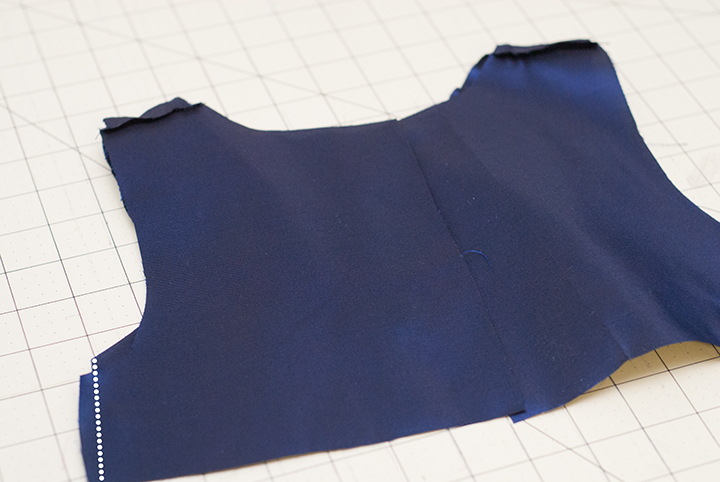
Repeat all of this with the lining as well so you have two bodices.
Now for the skirt. You need a rectangle, it’s that easy. The width should be 2X the waist measurement of the bodice. (front and back) The length should be the desired length you want the skirt portion to be. (take desired dress length-bodice height+hem allowance) For this dress I made a 3 tier skirt. To do this I cut 3 rectangles the first (my lining) was the longest length or my over all desired length. The second was 4 inches shorter and the third (the top layer) was 4 inches shorter again. You will want at least 2 skirt pieces, however they can be the same length or the “lining” piece can be shorter if you don’t want a tiered look.
Moving on. Hem the bottom edge of each rectangle. Hem them all the same.
- Sew 2 basting stitches across the top of each piece separately.
- Pull the stitches to gather the top edge.
- With right sides together sew the top skirt piece to the outer bodice, if you are doing 3 tiers place the top tier on top of the middle tier and then sew them together to the bodice. For the lining sew the WRONG side of the lining skirt piece to the RIGHT side of the lining bodice.
Now you should have two “dresses” one outer with one or two tiered gathered skirt, and one lining with a gathered skirt.
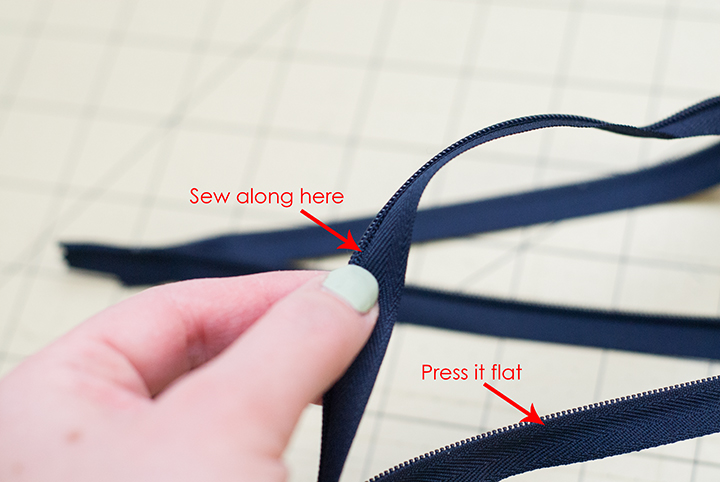
Let’s add the zipper. If you have an invisible zipper foot, I think it is MUCH easier to sew an invisible zipper, but I don’t have one and it’s still very possible. So when you take the zipper out of the package you will see that the coils are folded over. You are ironing that part flat because you are going to sew right into that fold, and it’s easier to do that when it’s been ironed flat.
Then with right sides together place the zipper along the back of the main dress piece (this shows a different dress sorry to confuse) You can see the fold line still even though it’s been pressed, which is good since you can see where to sew. Simply sew down the zipper right along that fold line. Sew slowly so you keep right in that divot. Then with right sides together sew the other half of the zipper to the other half of the dress.
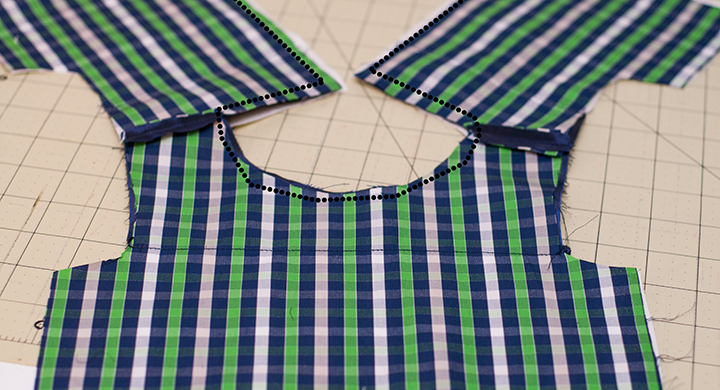
Now with the outer bodice and the lining right sides together sew along the back side along the zipper, up along the neckline, and down the other side. You will be stoping at the bottom of the zipper. Clip the curves along the neck.
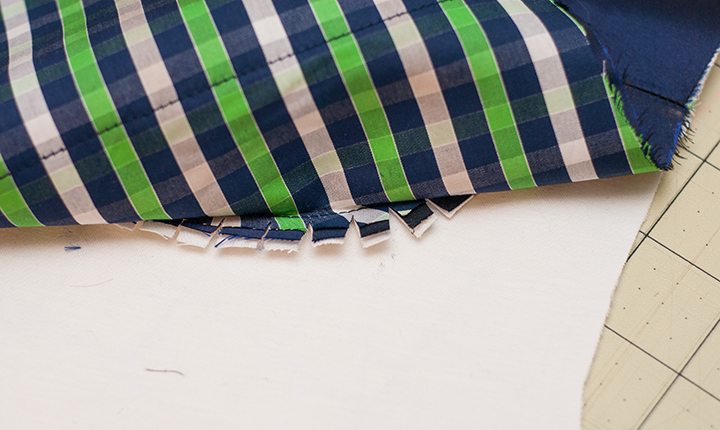
You clip notches into the curve so when you turn your bodice right side out the curve can lay smooth, you can see how the fabric spreads here.
Which gets you are nice and smooth neckline. Now I forgot a photo of this but with the dress inside out and the back right sides together sew from under the zipper down to close up the back.
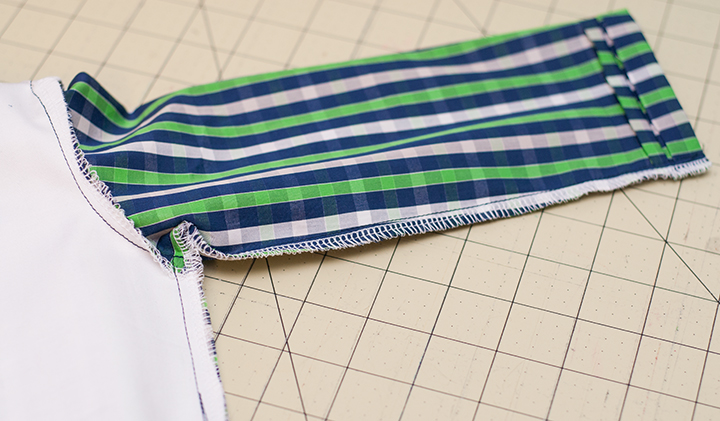
Next up the sleeves. Fold the sleeve right sides together and sew from the “under arm” down to the wrist. Finish seam as desired. Then with right sides together, place the sleeve into the sleeve opening. You want the seam in the sleeve to match the under arm sleeve in the bodice. Ease the sleeve into place and sew around the arm opening. Finish seam as desired. Then repeat with other sleeve.
Lastly to finish up, hem the sleeve by folding the sleeve edge under and sew into place.
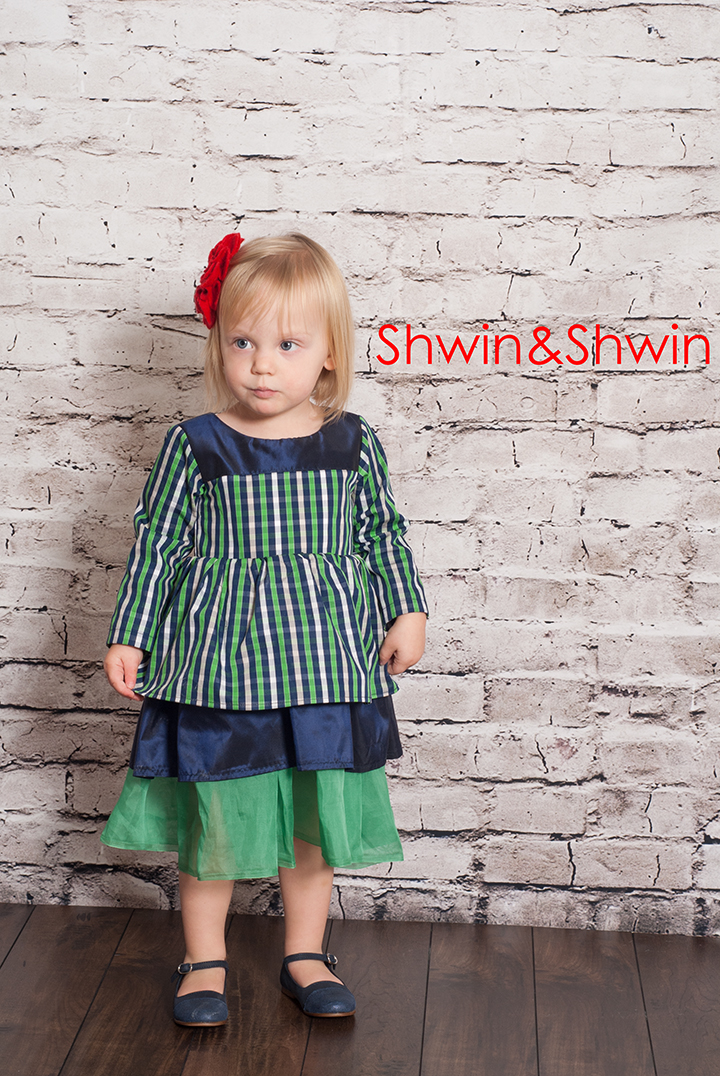
Done with one holiday dress. Quick and easy right?
A simple bodice and tiered skirt screams holiday to me. I have a variation coming tomorrow that I did for Abbey’s dress.





Christine DANNEELS
You make people soooooo happy ! Thank you so much for your patterns and tutorials. Love you !!!
Christine
Belgium
Mikea
I thought i said thank you for this. Thank you!!!!!! Im going to try this variation this weekend. Will you be making a romper with the bodice? I think im going to try it out once i see where it hits her waist so i can adjust to add shorts. Thanks again!!
carolyn williams
Thanks so much for this! I’ve been looking for a good, basic bodice pattern. I’m sure I’ll make many, many, many more dresses with your pattern. I’d love you to see my take on the dress. I did the short sleeves and buttons from the pieced bodice tutorial, and added a twirly skirt! http://andthenthey.com/new-dresses-girls/
marie-hélène amadio
je suis très frustrée car je n’arrive à télécharger vos modèles qui sont tous plus beaux que les autres!! je suis fan amicalement
Aryka
Been looking for a simple, long sleeved dress. Cant draft sleeves for the life of me. Just so you know, you made my day.
🙂
fleur
tu es géniale ! merci beaucoup !!
Atika
Thank you so much for sharing this pattern, i’ve made several dresses for my daughter with your pattern. I’m very grateful.
Alison Creamer
Hello,
In photo 3 you have the side seams sewn… yet in Another photo explaining the neck the side seams are not sewn ?
In terribleLy confused on when to have the seams sewn . Is this before or after zipper installed?
Thank you
Alison creamer
Shauna Wightman
Hi! I understand why it can be kind of confusing, I swap between 2 different dresses, since I tried to use the photos that show the step the best. You will sew the sides together first, and in the photo later showing the neckline being sewn together you can pretend the side seam is already sewn together. Hope that helps 🙂