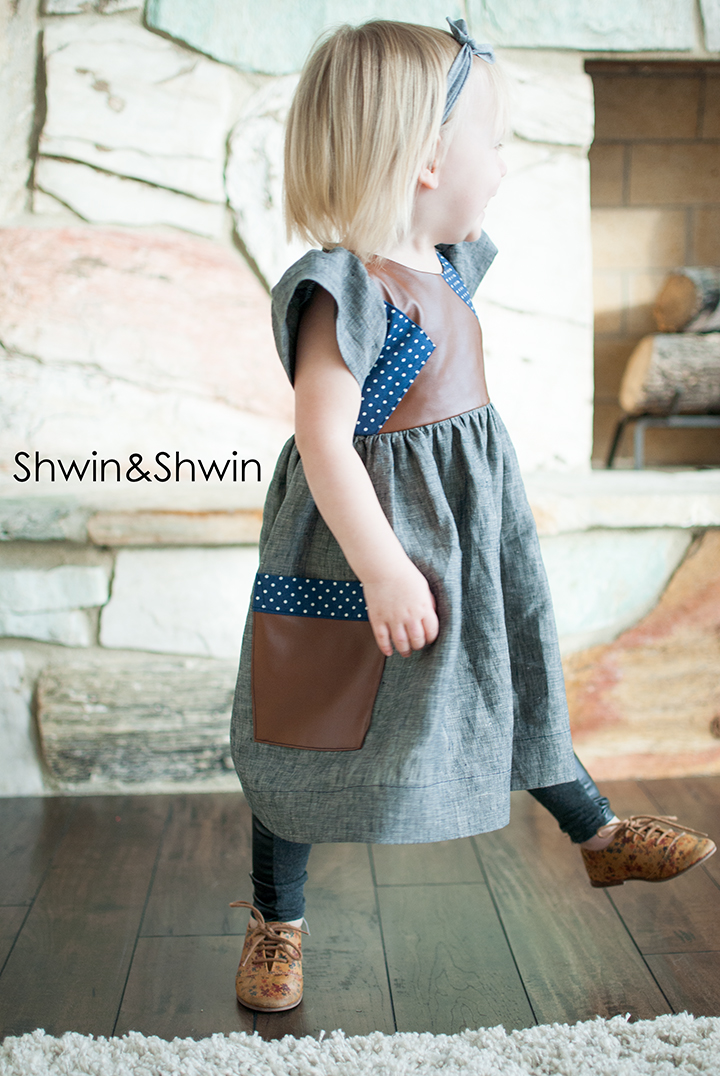
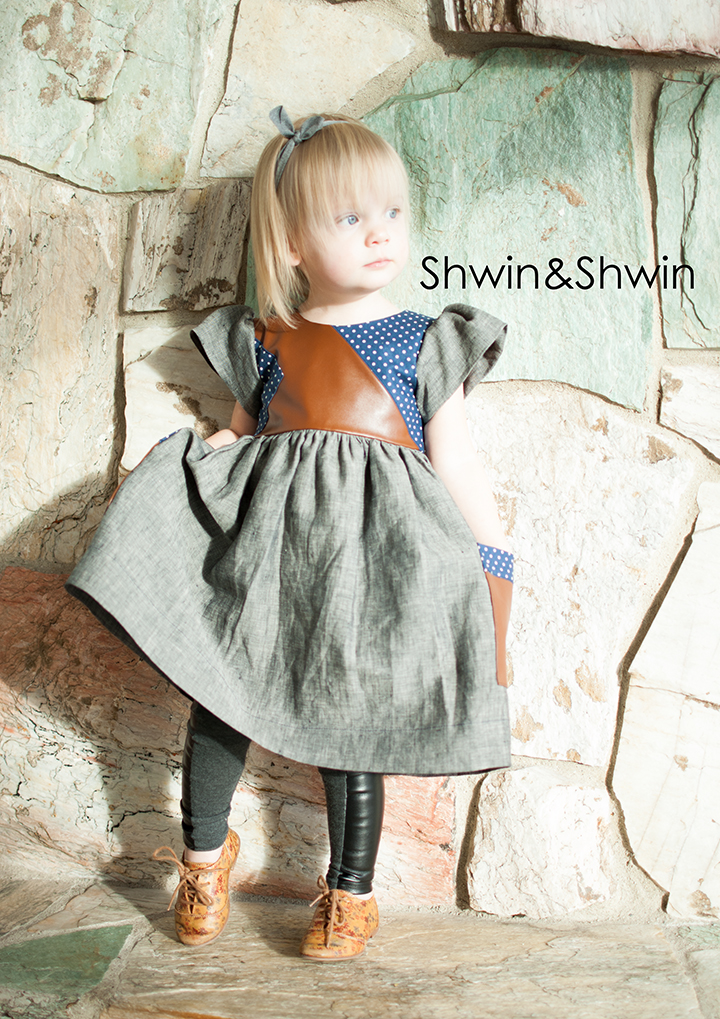
Penny has reached this age where she actually knows and cares that I make things for her. When I walk up to her with a fresh from the sewing machine garment she immediately starts taking off whatever she is wearing, then she walks around showing everyone pointing proudly and saying “mama” It melts my heart, and since my other two are hit and miss with their love of my home made pieces Penny got an onslaught of new dresses.
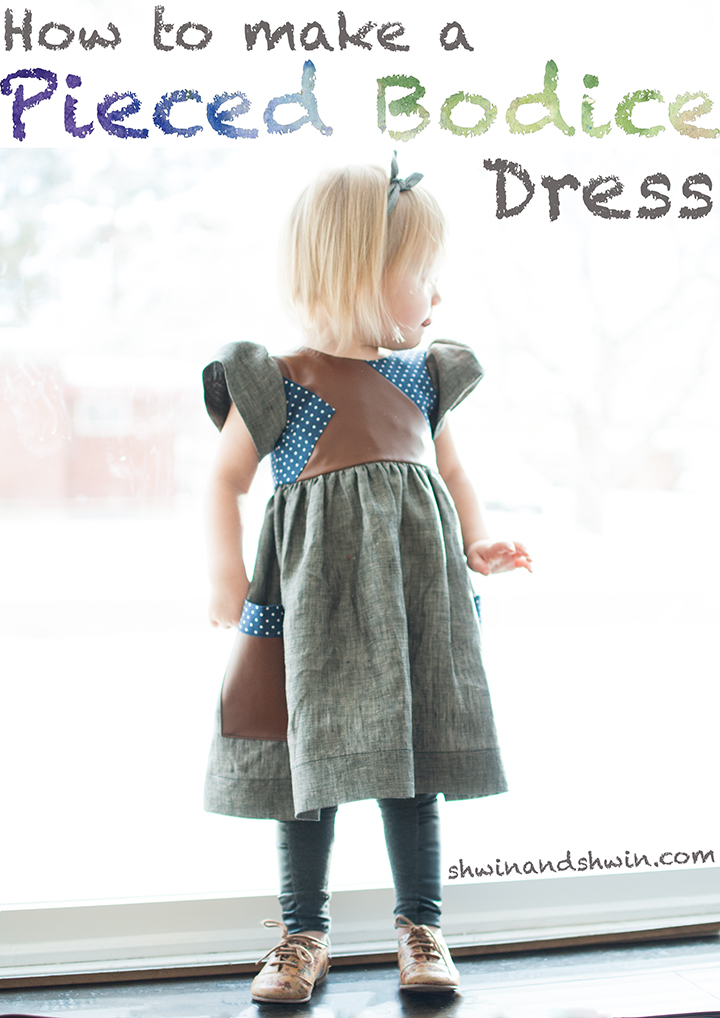
Since one of my goals this year was to try new things I have several tutorials changing up the basic bodice. Today is the pieced bodice.
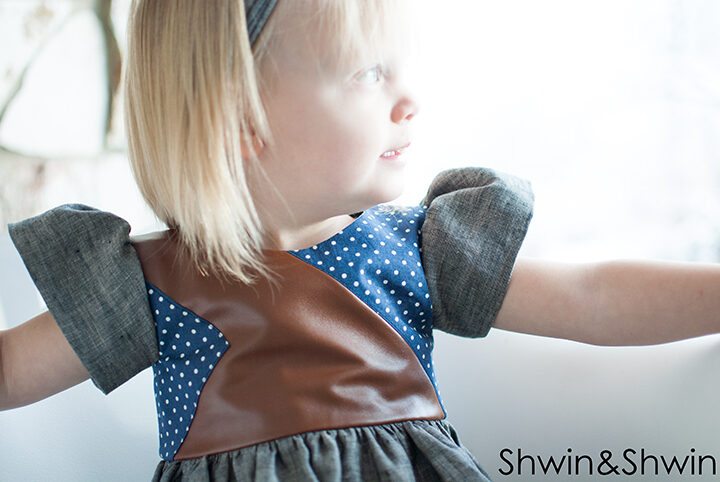
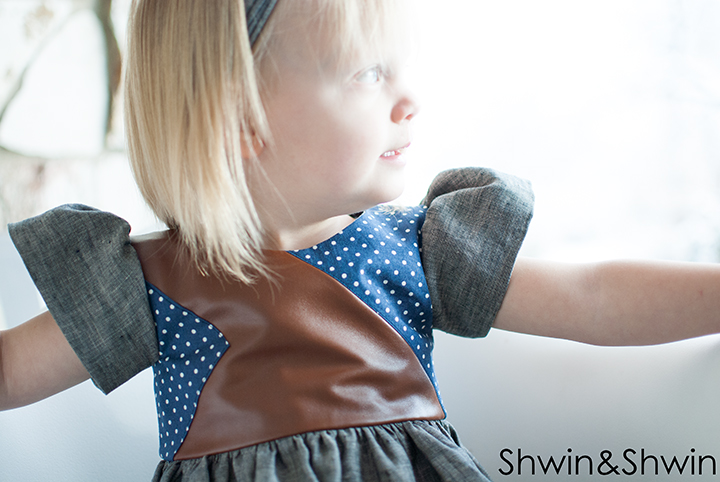
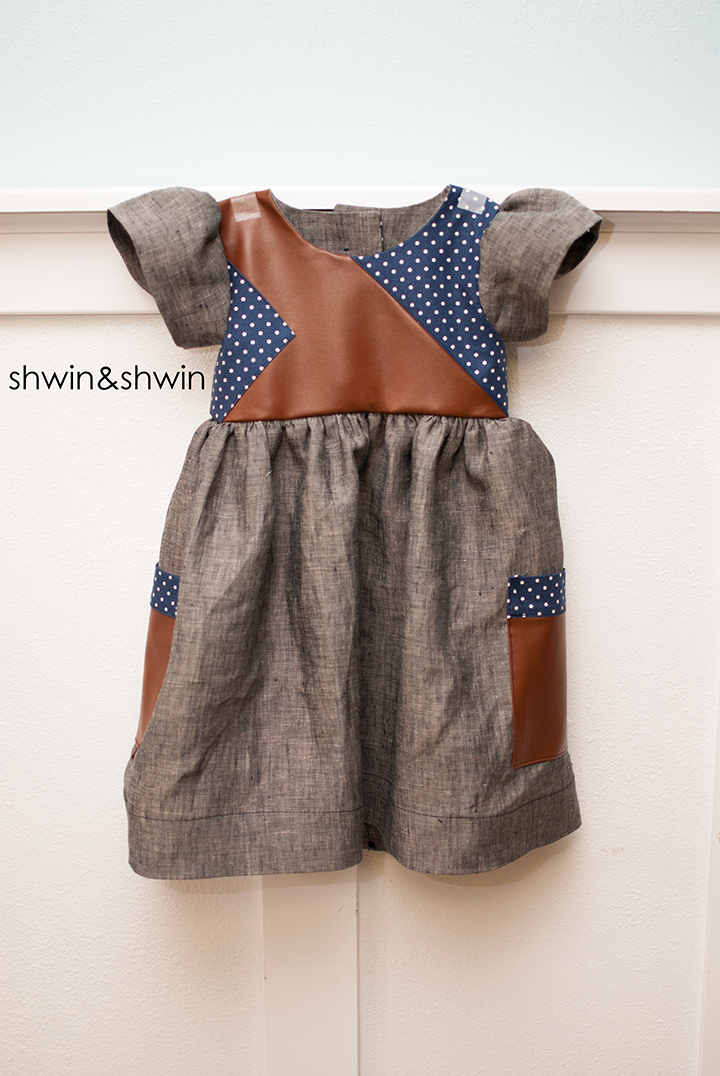
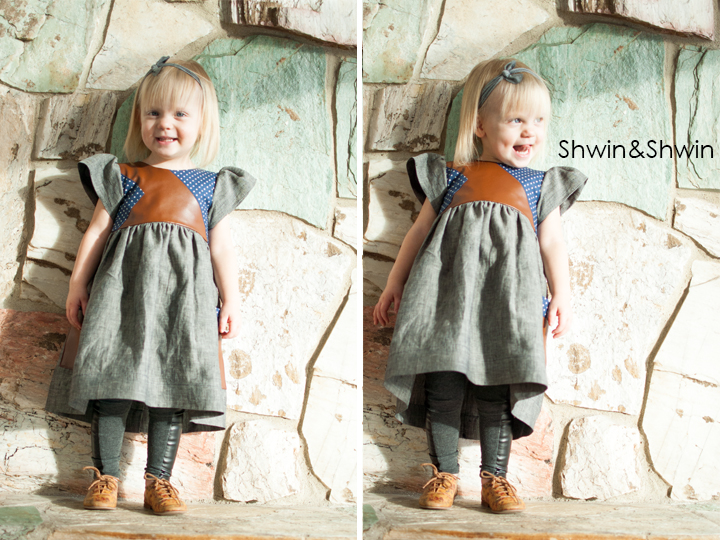
I did a pieced bodice for a few reasons, one I had limited scraps of the blue polka dot but I really wanted to use it. Two, I wanted to mix textiles what is more fun than (vegan) leather, linen, and cotton? Three I wanted to mix colors in a different type of color blocking. Mixing brown, black, and navy, I am living on the edge 🙂 but also it allows me to mix and match leggings and shoes, no need for black shoes if there is brown in the outfit right?
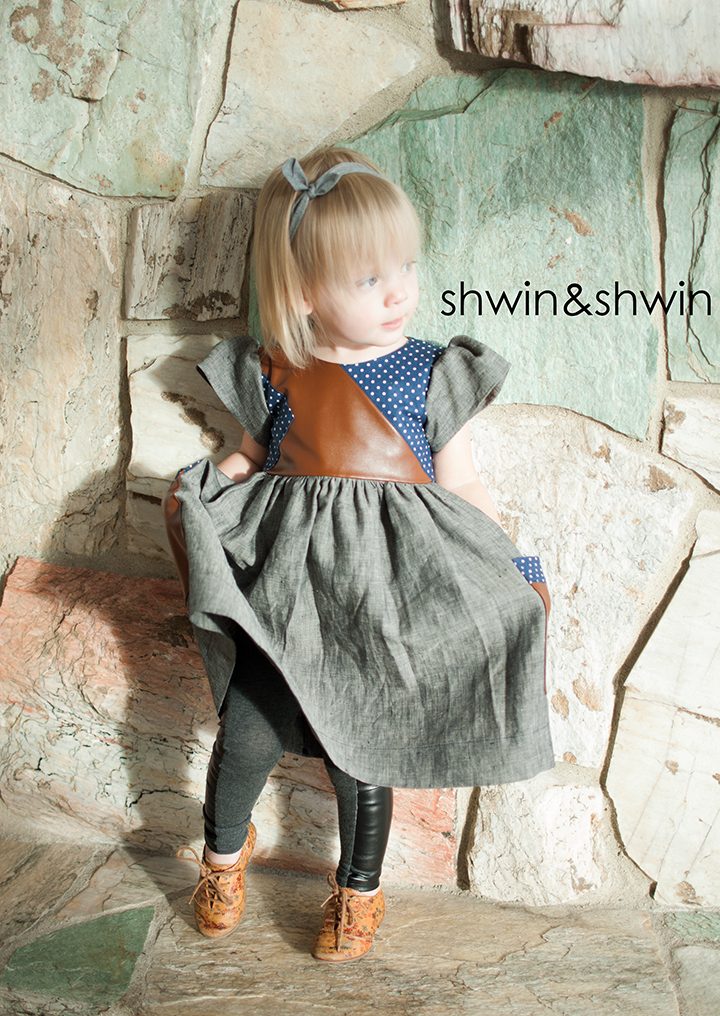
Also super big pockets because Penny just discovered that things like candy and toys can be stored in pockets. (lunch too but let’s not talk about the PB&J sandwich I found in there)
To make the pieced bodice dress you will need?
The pattern found HERE (sizes 12m-8Y)
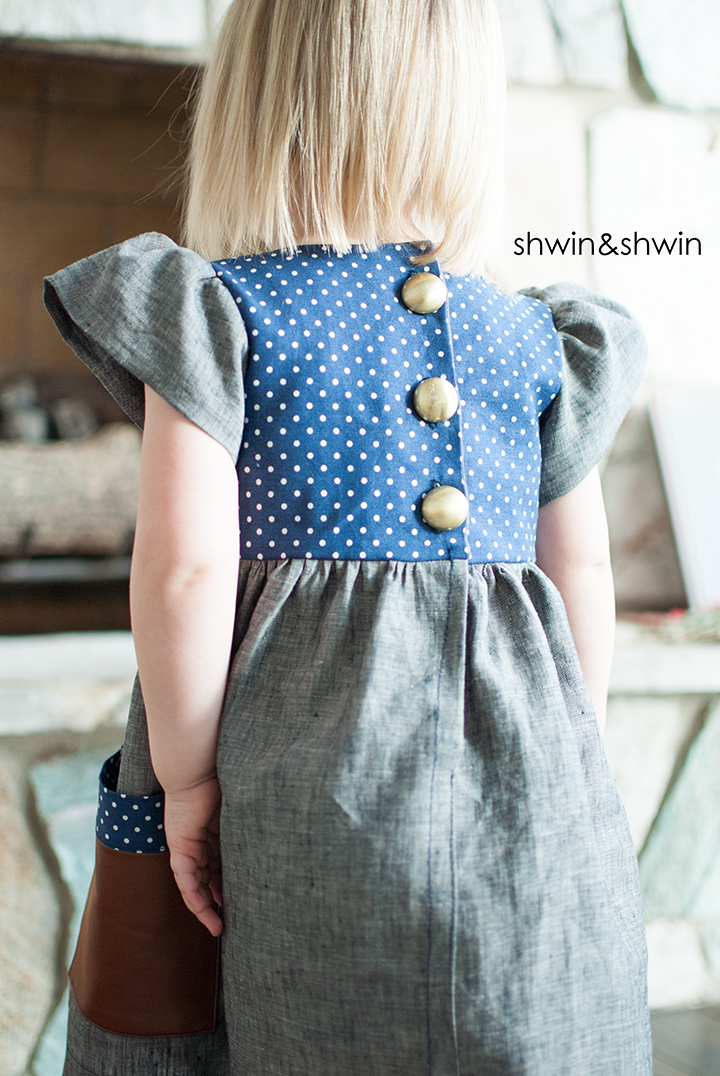
Follow the modifications below (also subbing a zipper for buttons but you can do a zipper if you rather)
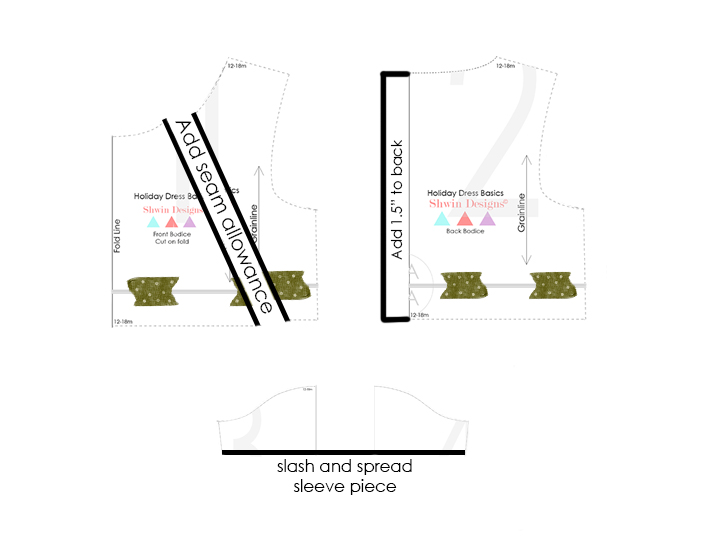
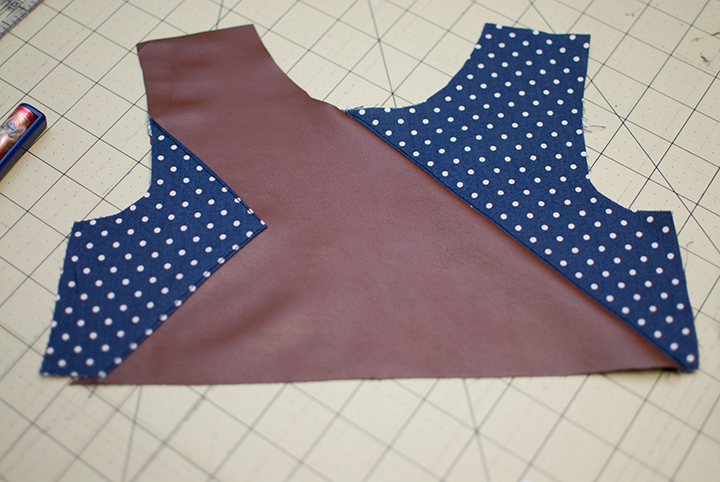
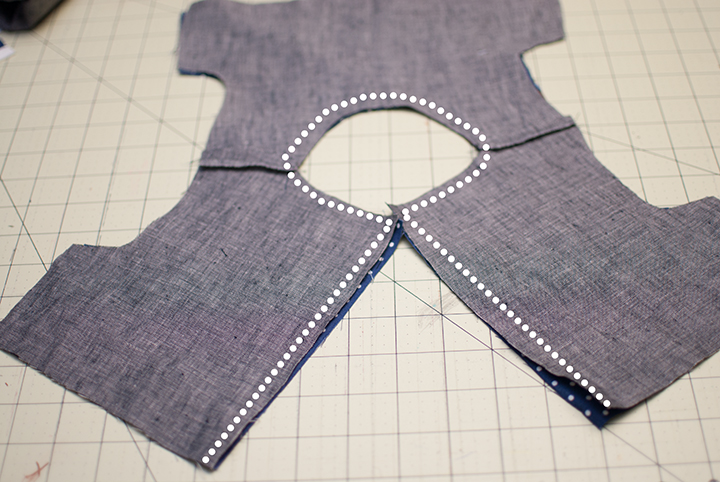
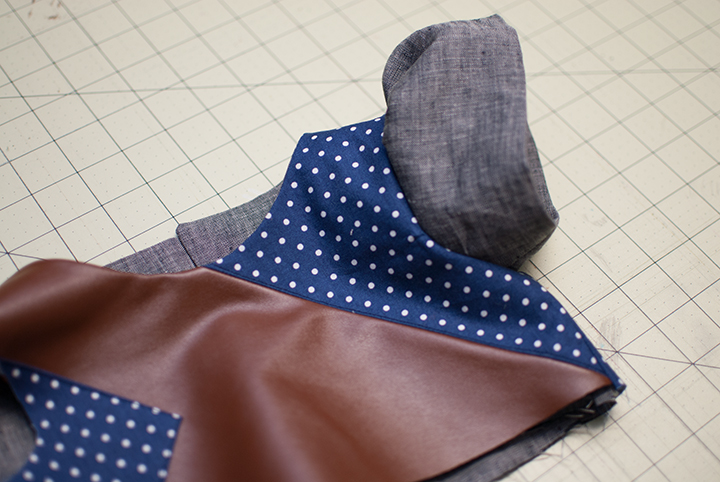
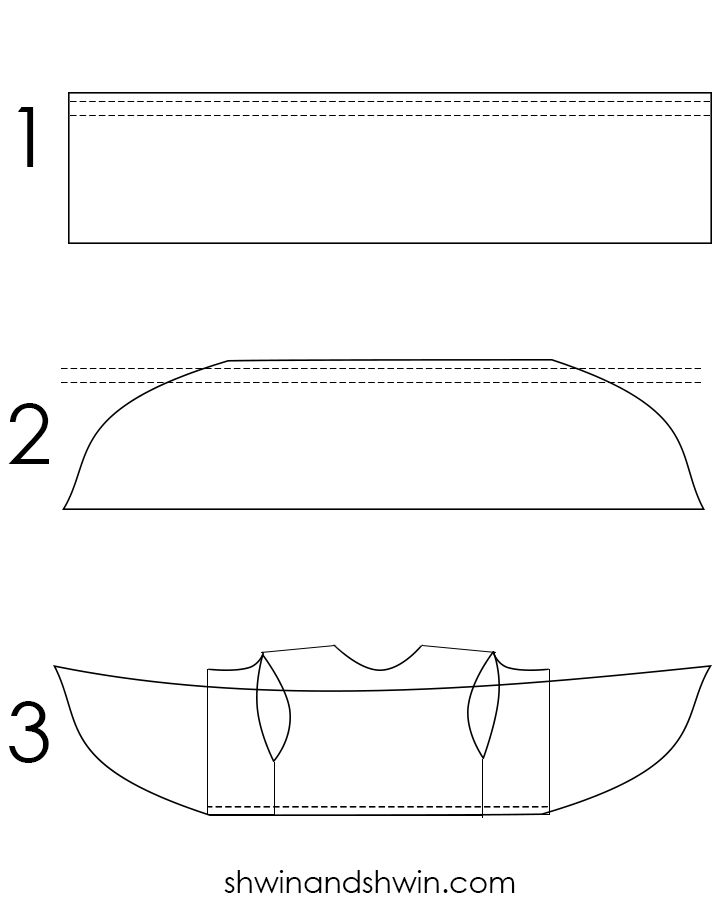
To make the pieced bodice you can do this a couple ways. Cut the pattern and add seam allowances along the cut edges and then sew it back together. Or you can cut a shape and fold the edges under and sew that shape on top of 1 regular bodice. I did a combination of these, I cut one regular front bodice out on the fold using the vegan leather. Then I cut the pattern piece where I wanted the color blocking to be and I added seam allowance to both cut edges I cut the left side out of the polka dot and cut the leather piece following the new pattern. For the second piece I cut out a random piece (with straight edges so it would be easy to turn under)
You will also beed to add 1.5″ to the back width to have room for the buttons (you need overlap)
For the sleeve I cut them at a shorter length cutting a straight line since I am actually going to cut the sleeve on a fold. Then I sliced the pattern down the middle and spread it apart a few inches so I could add a gather.
You will also need to cut 1 regular bodice piece and 2 extra back pieces for the lining.
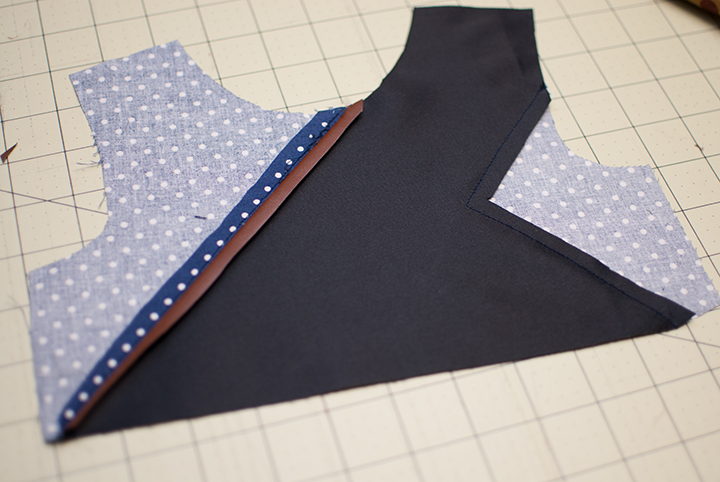
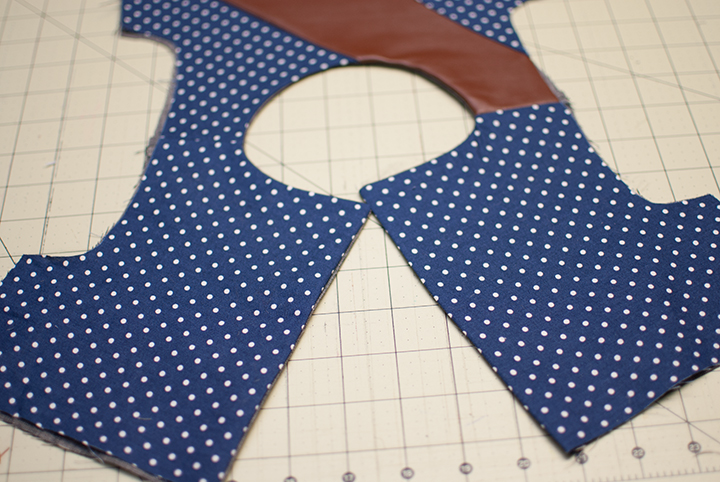
Now to sew the bodice back together. With right sides together match up any edges that you cut and added seam allowance to. For the “appliqué” pieces fold the raw edges under by 1/4″ and then place the piece on top and sew closely to the folded edges to secure. (shown on the left)
Then on the back side to reduce bulk I press the seam flat for anything seamed together and I cut away the extra leather for the sewn on part. That’s it a pieced bodice is done.
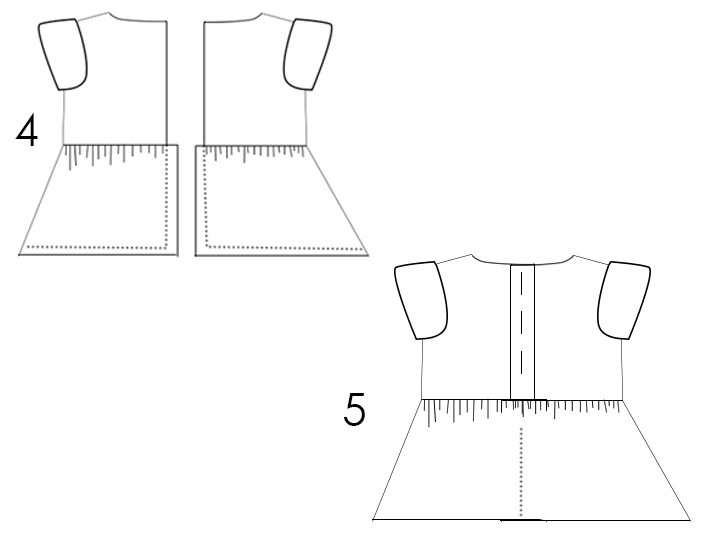
Now with right sides together sew the front and back together at the shoulder and press the seam open flat. (for more detailed photos of that step check the pattern link above) Then repeat with the lining. With the lining and main right sides together sew up the back edge, around the neckline and down the other back edge. Clip the corners and the curves.
Turn right side out and press well.
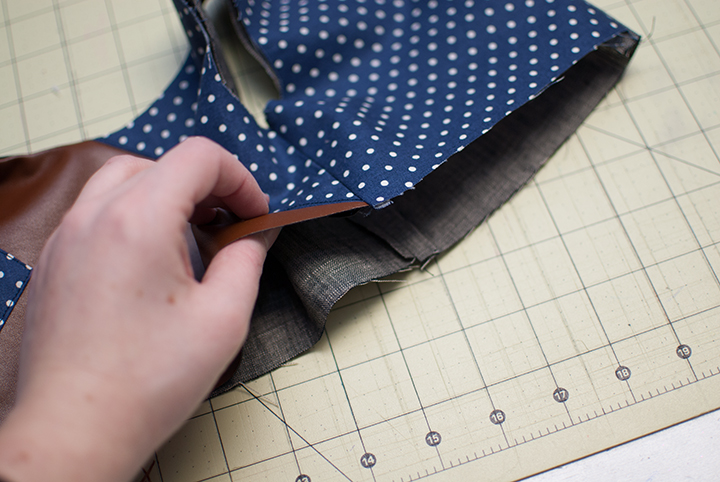
Now with right sides together match up the outer layers sides, and sew them together. Then repeat right sides together for the lining.
When you are done you should have two seam. (press them open flat) They should face each other.
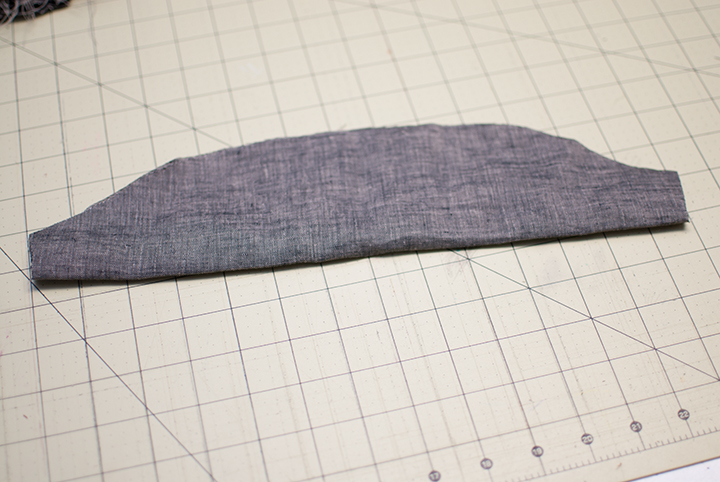
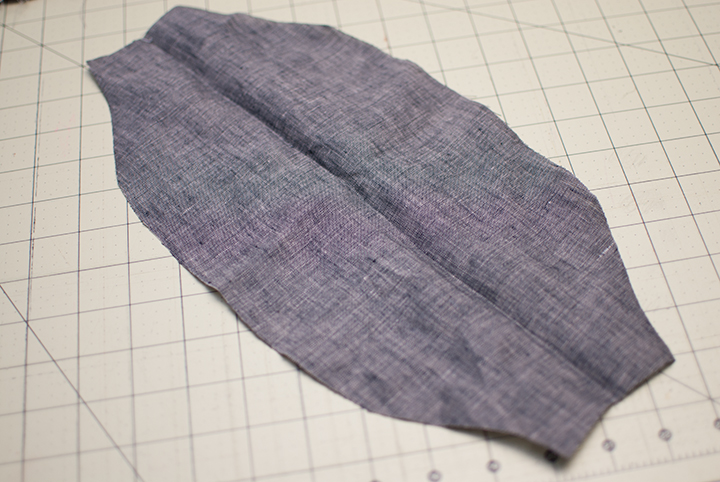
Now for the sleeve. I didn’t want to hem my sleeves, call it laziness I am ok with that. So I cut them on a fold with the fold on the bottom edge of the sleeve.
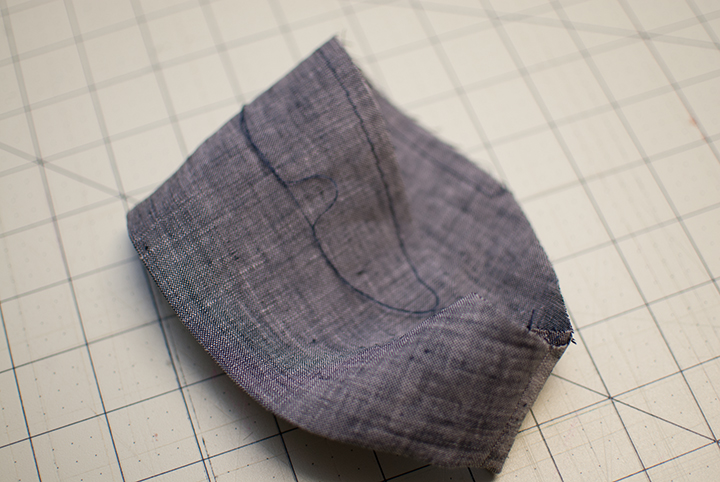
So open they look like this.
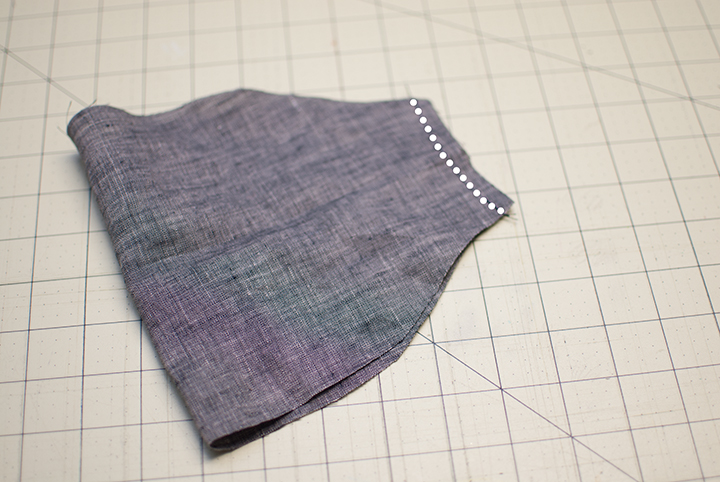
With right sides together fold the sleeve so both edges are together. Then sew. Press seam open flat.
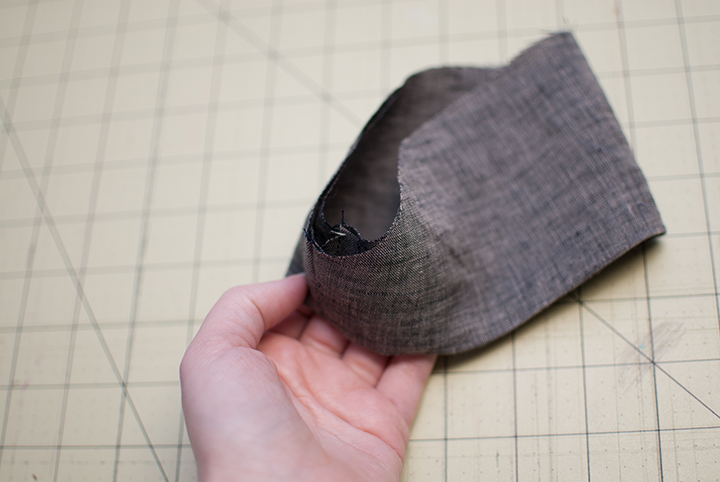
Then fold the sleeve in half so wrong sides are together and the seam is to the inside. Now you have a “lined” sleeve. Cool right?
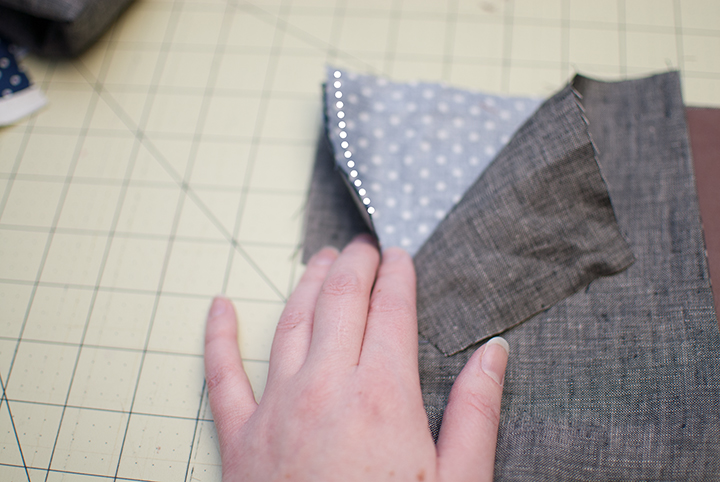
Sew a basting stitch along the top edge of the curve of the sleeve. (this is so we can gather the sleeve since we added inches) Fold the sleeve in half with the seam at the bottom and mark the fold (that will be the center sleeve)
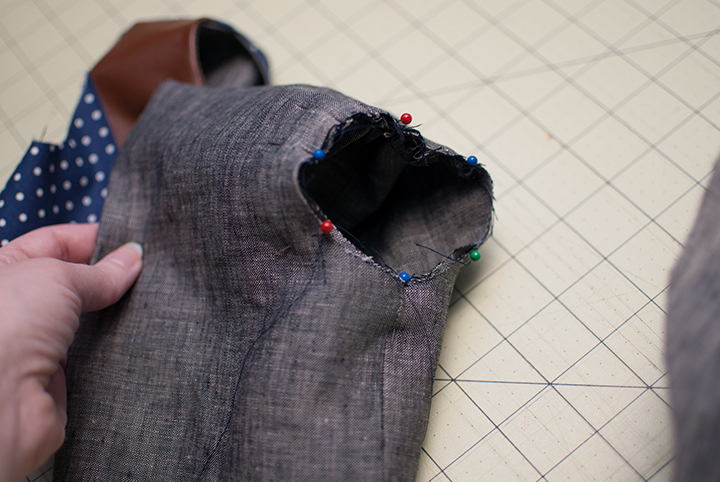
With right sides together pin your sleeve into the sleeve opening of the bodice. To do this match up the seam of the sleeve with the underarm (or side) seam. Then match the center of the sleeve with the shoulder seam of the bodice. Begin matching your sleeve into place and then pull the basting thread to gather to the sleeve so it fits into place on either side of the center sleeve. Then sew around the opening to secure. (finish seam as desired)
Then you have a lined and gathered sleeve. Repeat with the other sleeve.
Now let’s talk skirt, measure the bottom edge of the bodice front and back. For this dress I simply did a X2 so say the waist was 15″ you would want the skirt piece to be 30″ wide simple enough right? For length, you can make it as long or as short as you want, I made a mid length dress for this but I have made maxi dresses and tunic tops from the same pattern just by altering the skirt length. So cut your skirt. If you are making a larger size yo may need to cut the skirt into 3 pieces simply double the front bodice and double the back bodice and then sew the three pieces together.
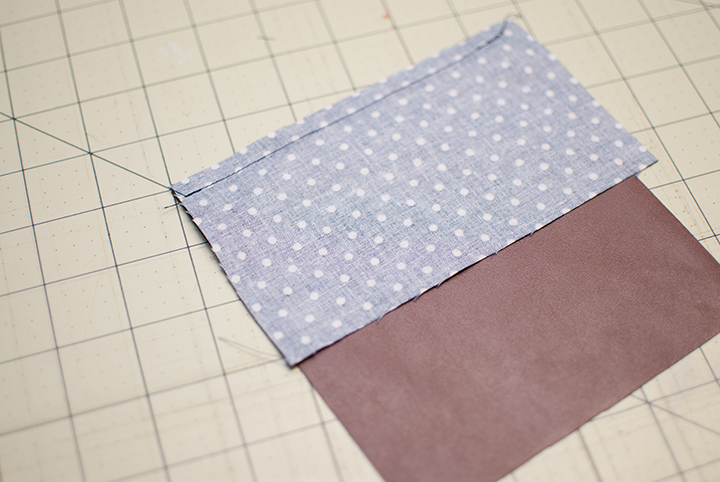
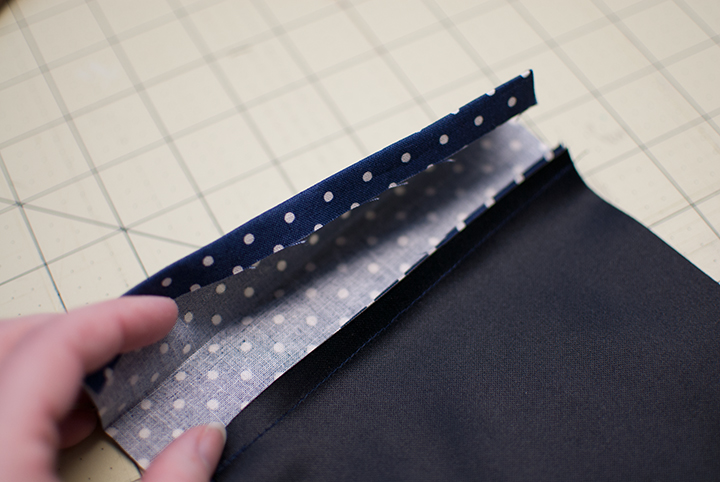
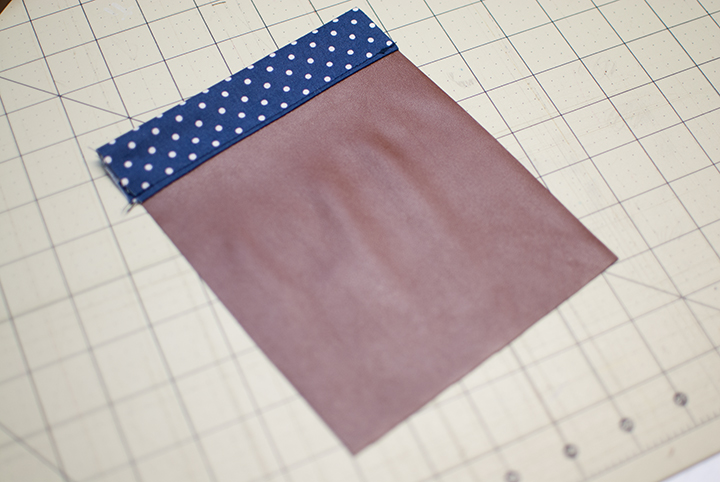
Ok pockets. Cut two large rectangles and then cut two smaller rectangles that are the same width as the first ones. Then with right sides together sew one large and one small rectangle together.
Press the smaller rectangle up flat and the seam up towards the smaller rectangle. Then fold the top edge under by 3/8″ and fold the rectangle in half so the folded edges comes right to the stitch line.
Top stitch along the folded edge so the top rectangle is secured.
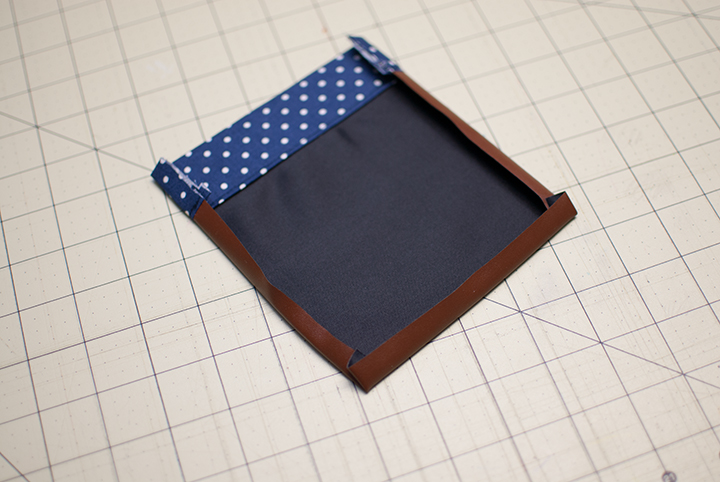
Fold the sides and bottom edges under by 3/8″ and press well (note vegan leather was fine being pressed but I used a low heat and a pressing cloth so I wouldn’t damage it)
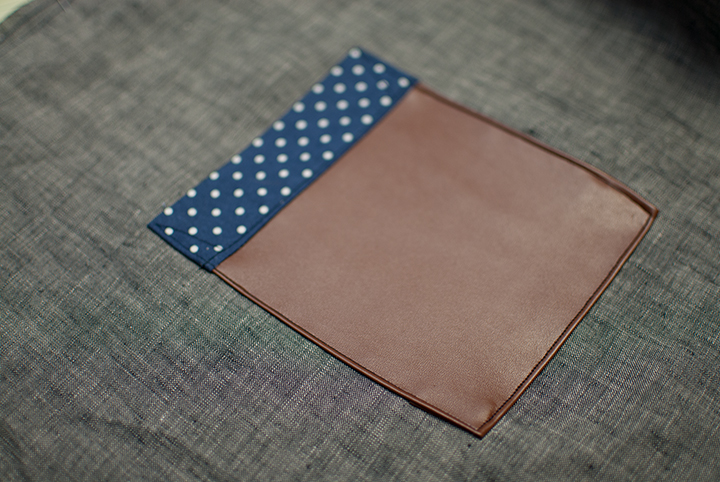
The find the 1/4 point of the skirt piece. You can do this by folding the skirt piece in half width wise, and then in half again marking the 1/4 mark (also where the side seam will match up) Then sew your pockets in place along the sides and bottom edge. one on both sides.
Next let’s sew the skirt to the bodice. Sew two basting stitches along the top edge. Then match up the center of the skirt with the center of the front bodice, and match those 1/4 points with the side seams. Then pull to gather until the skirt fits along the bodice and the gather is evenly distributed. Let the skirt piece hang over the back edge by 1/2″ on either side.
Next, take the back edge that is hanging over and fold it under by 1/4″ and then by 1/4″ again, then sew in place. At this same time hem the bottom edge of the skirt. I like to do a 1″ hem or more so there is a little weight to the hem, but hem as much as you left room for when cutting the skirt piece. Then overlap the back so the front and back bodice match up. Mark your button holes. With the skirt pieces overlapped sew along the folded edge of the overlapped piece to secure the two layers together. Stop about 2″ from the waist line. This makes dressing easier. Then add the buttons and you are done.
Piecing a bodice is super easy. Later I will show you a few different piecing techniques.
So even though the dress is a mid length, we have paired it with leggings since it is winter and winter it cold. The leggings are the same from THIS post.
Also the back buttons are gold, so this is essentially all of my favorites wrapped into one piece. It’s just missing stripes but I will get over it.
Polka dot fabric || Cotton print from Joann Fabric
Veronica
Lovely! Thanks so much for the inspiration, first, and second, sharing your expertise. Love seeing for my grand daughter! Love your blog!
Alex
Hi there,
thank you for this wonderful dress, the inspiration and tutorial!
Unfortunately, when I follow the link to download the pattern, I end up at the Holiday dress tutorial. Has that happened to others too?
Could you please mail me the right link?
Thank you very much! Your patterns are wonderful, my girls love these cloths!
Shauna
The pattern is the Holiday Dress Pattern, scroll down just a bit and you will get the download link.
Anne
Love the mix of fabrics! So modern!! I’ve got a Craft Gossip post scheduled for this evening that links to your tutorial:
http://sewing.craftgossip.com/free-pattern-modern-pieced-bodice-dress-for-little-girls/2015/01/06/
–Anne
Mikea
I am so excited for this!! Thank you for the pattern! I know exactly what hoarded fabric and scraps to use!… I have that same metalic dot from joann. Was supposed to be a xmas dress but had no time… Thanks again!
Stephanie
GAH this is so cute!!!