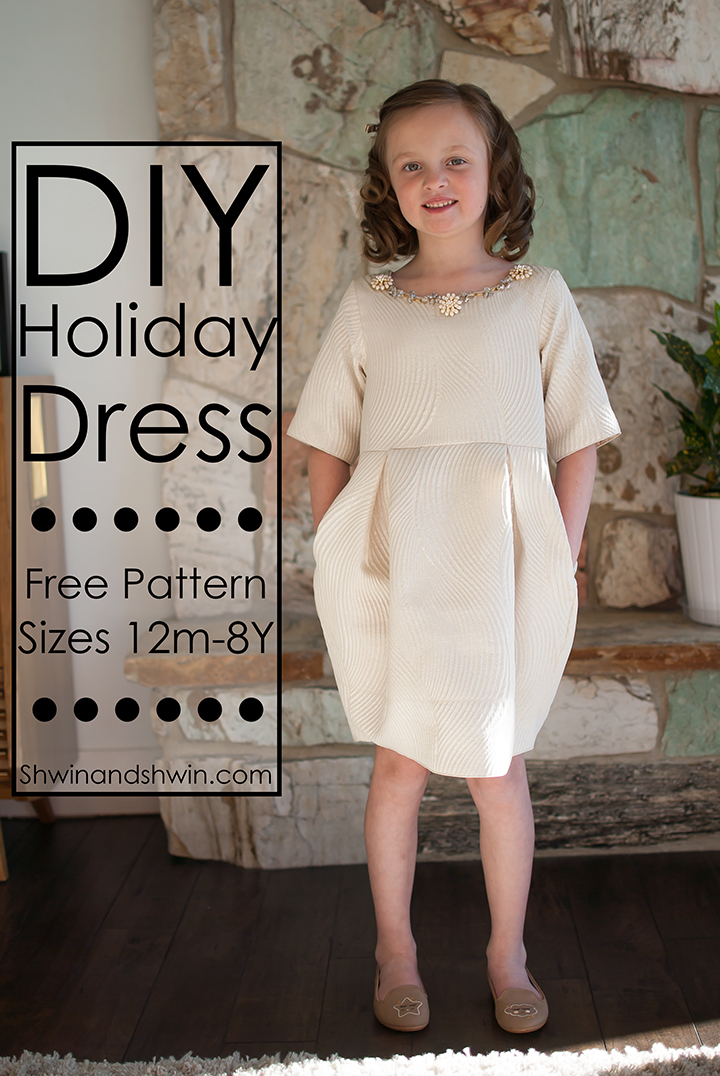
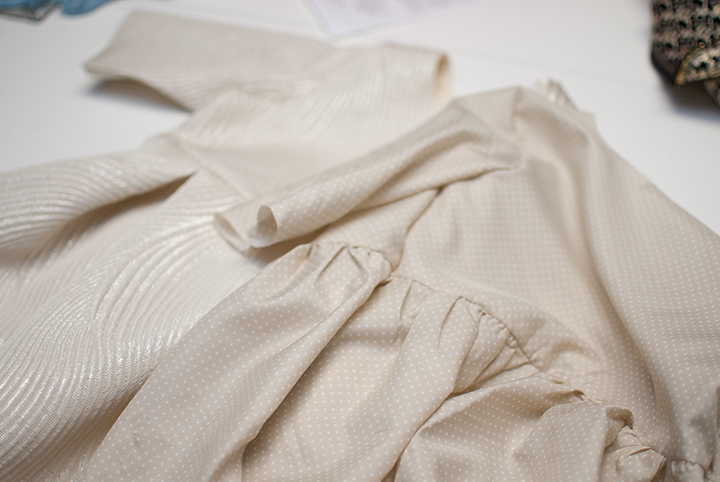
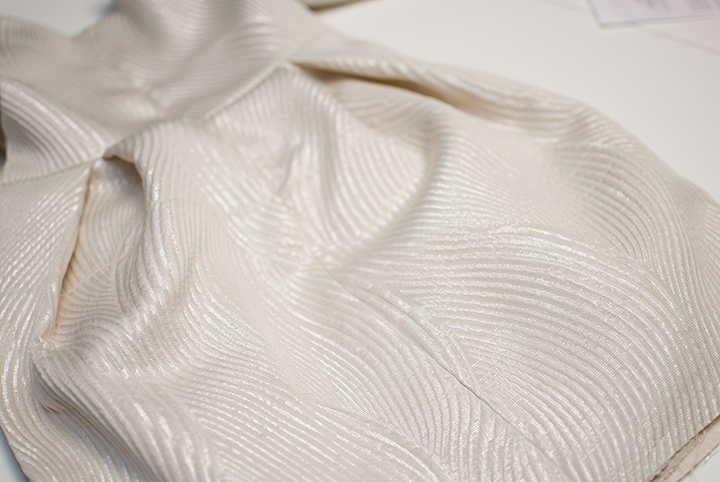
It’s that time of year again. The time of year that we have piano recitals, holiday parties, and family photos. So it’s time to make the girls some new “fancy” dresses. Abbey’s may be one of my favorites even though my initial plan for the dress was totally different I like the direction it went in.
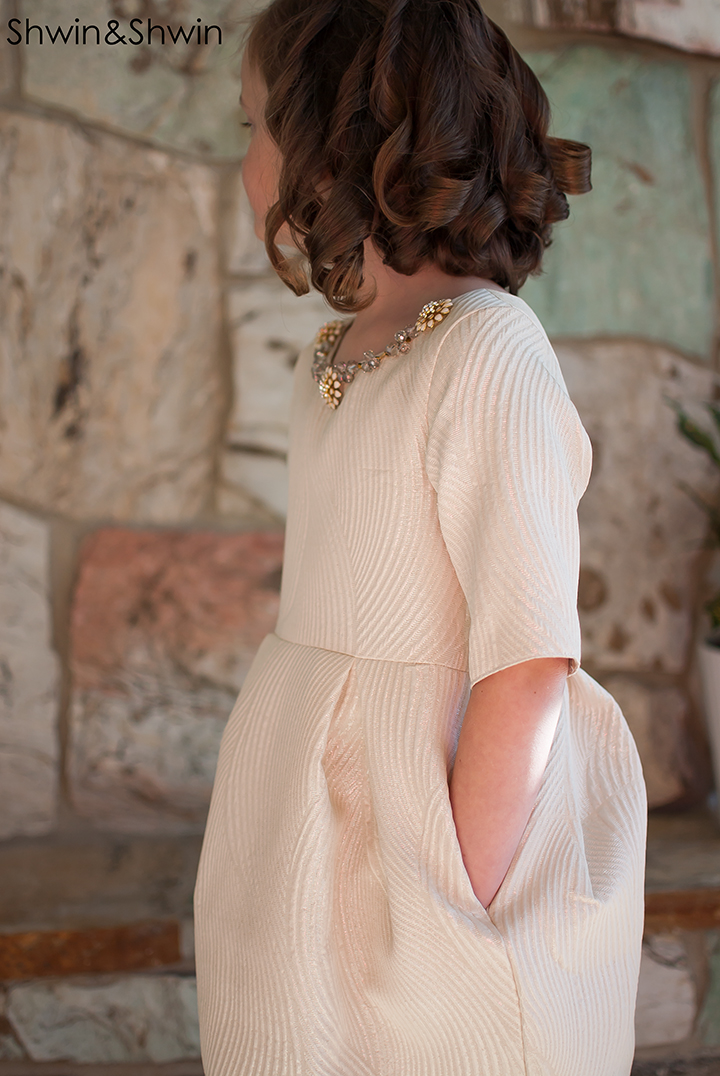
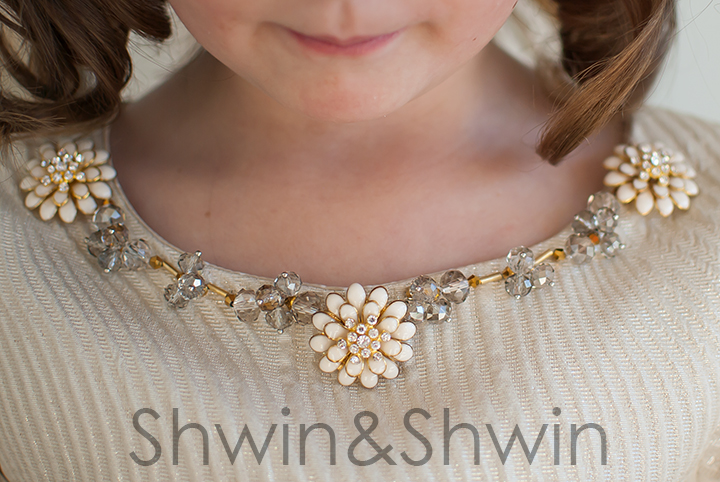
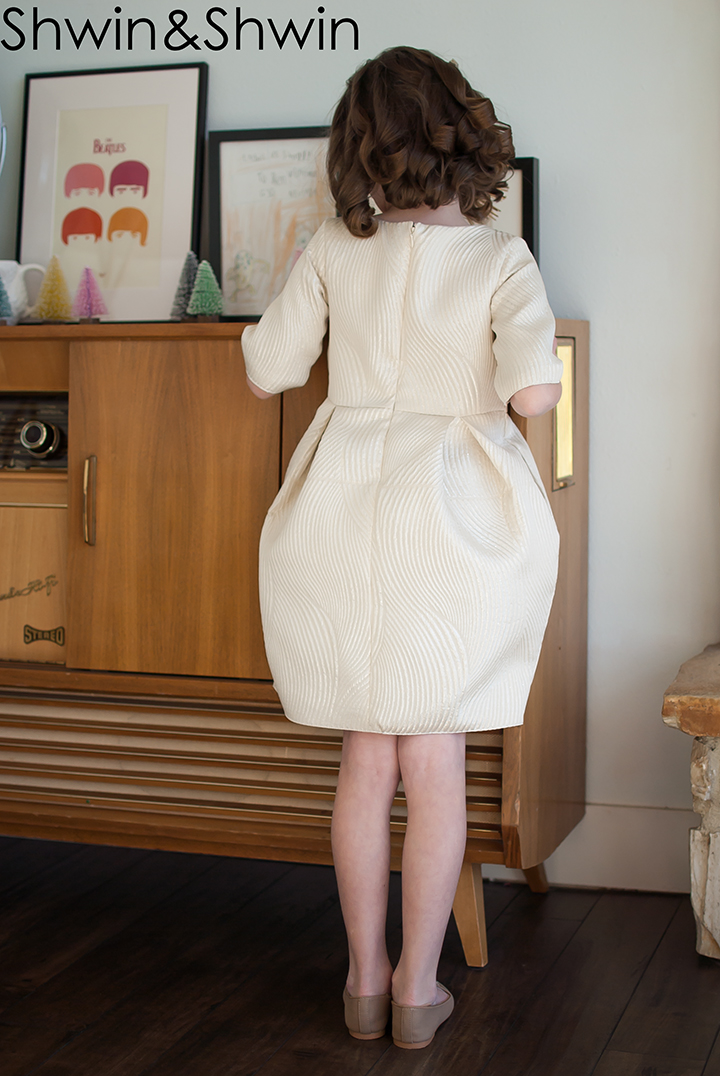
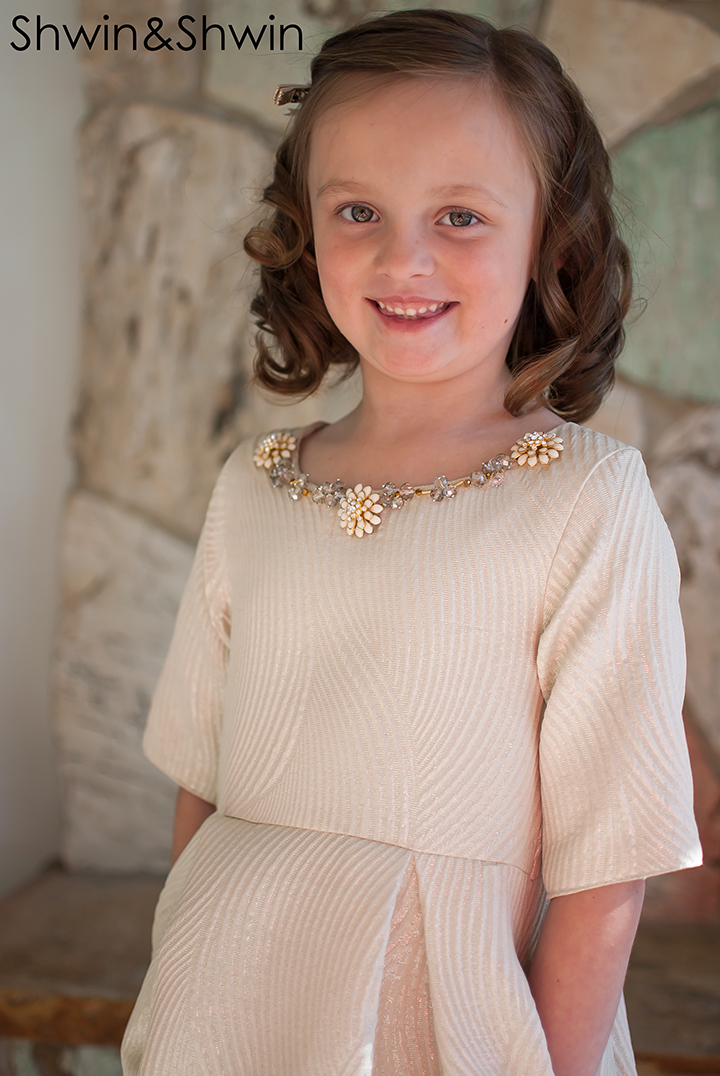
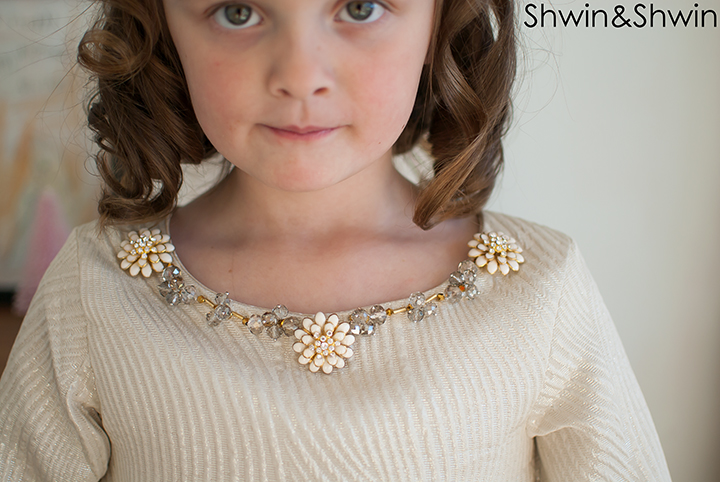
I love the pleated shaped skirt and in seam pockets, and the beaded neckline.
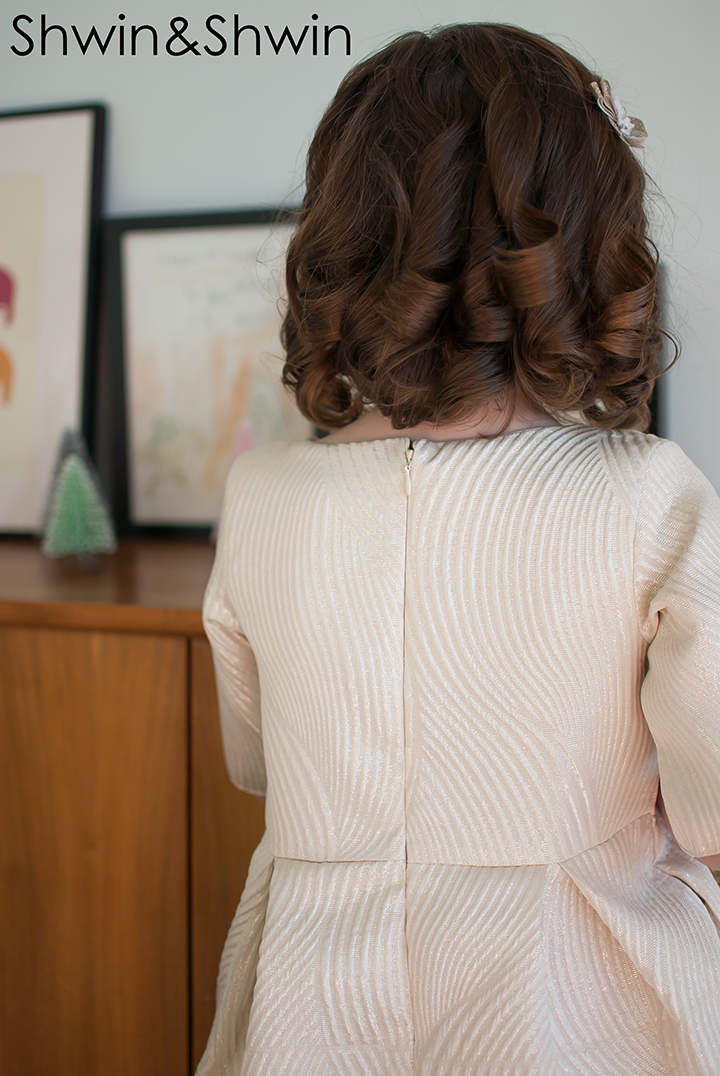
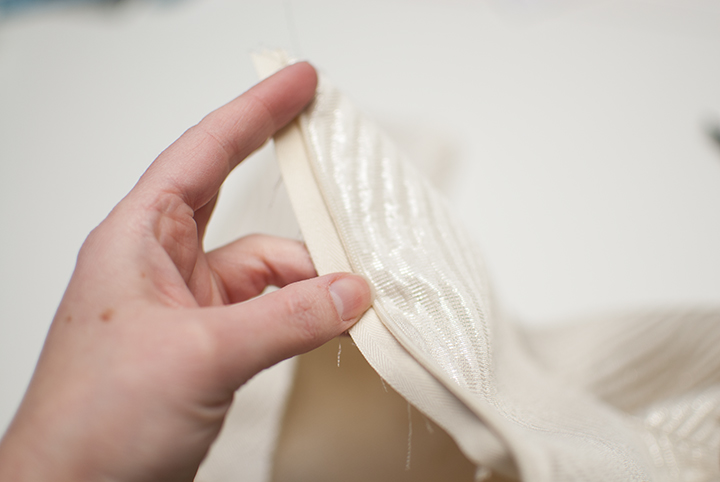
For the back I did an invisible zipper (because if you are sewing one with an invisible zipper foot than they are too easy not to use)
I used:
Pattern: FREE Holiday Dress Pattern from last year.
Modification: Size 6, with a slightly cropped sleeve so it was a mid length. For skirt cutting instructions see below. I also added inseam pockets.
Fabric: Jacquard and lining fabric from Joann Fabric and Crafts
Beads: An assortment, flowers, crystals, and gold beads.
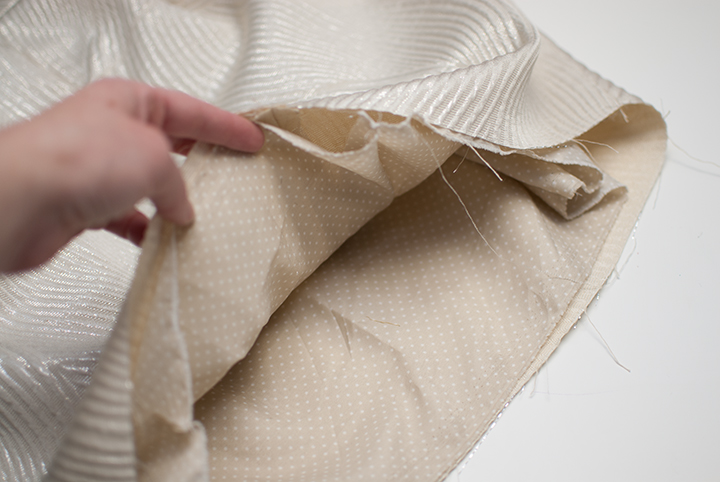
Let’s get started. For this dress I also made it fully lined, Abbey doesn’t like having a seam across her chest and she is iffy about seams at the underarm, so making it fully lined would ensure that that she would wear it without complaints.
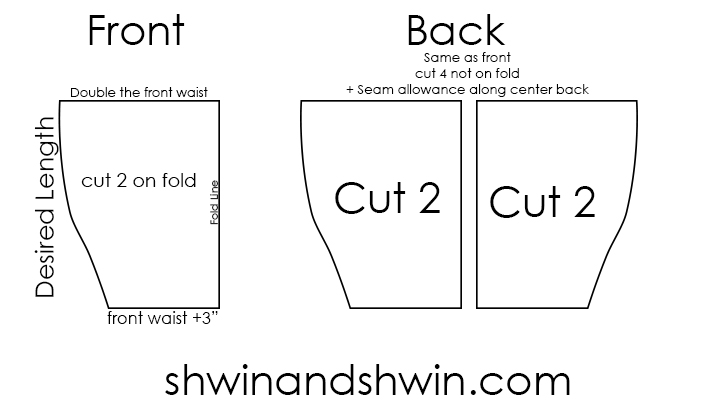
So for the skirt. (since you have to cut one yourself anyway) I did a shaped pleated skirt. For the shape I wanted the waist line to be wide so I could pleat it, but then I wanted to remove some of the body and have it slim back down towards the hemline. I cut 1 on the fold for the front and then 1 on the fold for the front lining as well. Then I added seam allowance along the fold line and cut 2 (reverse one) for the back and then again 2 (reverse one) for the lining.
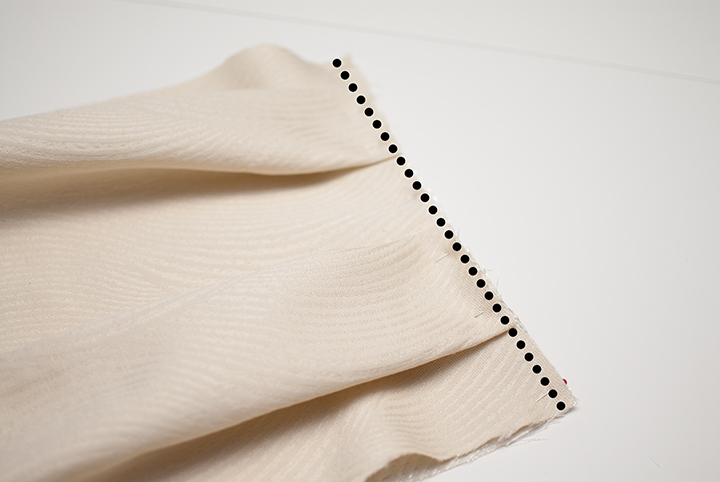
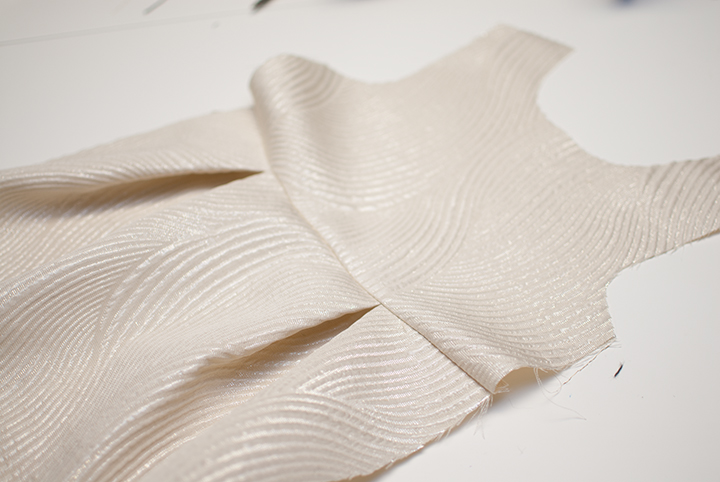
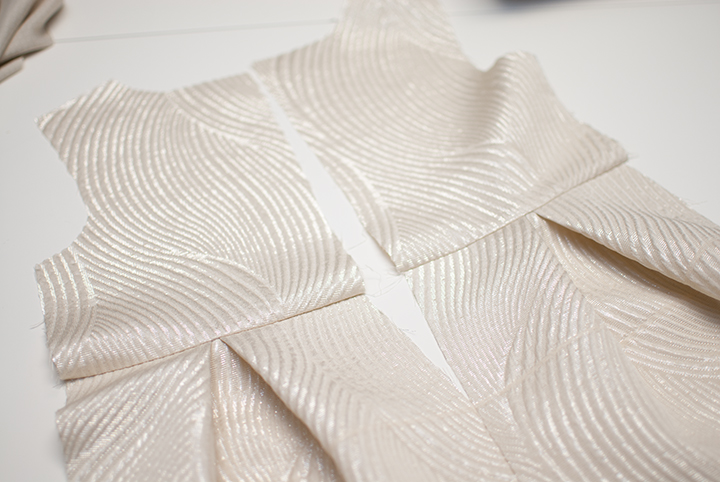
Find and mark the center, and quarter marks of the bodice and skirt pieces. Then match the front bodice and front skirt piece right sides together with the center and quarter marks matched up, then add large box pleats using the quarter mark as the center of the pleat. Then sew the pieces together.
Press front bodice up right.
Then repeat for the back pieces only you will be placing only one box pleat and it will be at the center point.
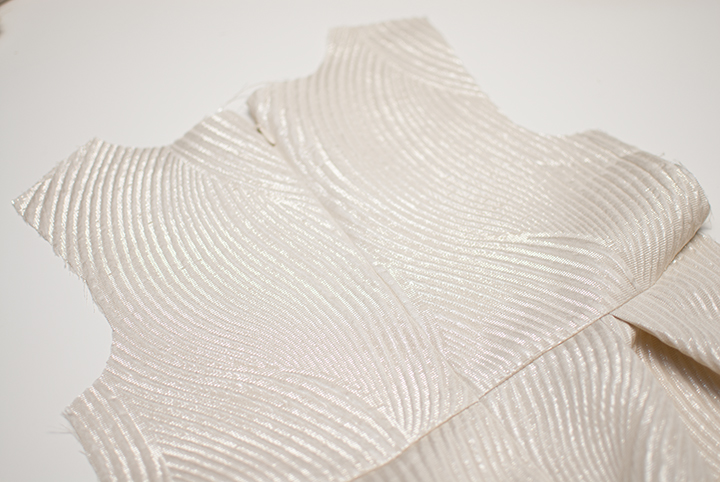
Next add an invisible zipper down the back, and add sleeves and sew the front and back together all the same way as I did HERE. **Only change was adding the inseam pockets to the skirt, sewing them to the skirt before sewing the side seam.
Now, repeat the whole thing (minus the zipper and pockets) to make a lining. I did gather the waist on the lining instead of pleating but only because it was was quicker.
Now to sew the lining and the outer together, flip the zipper so the tape is toward the center back and the teeth are towards the outside.
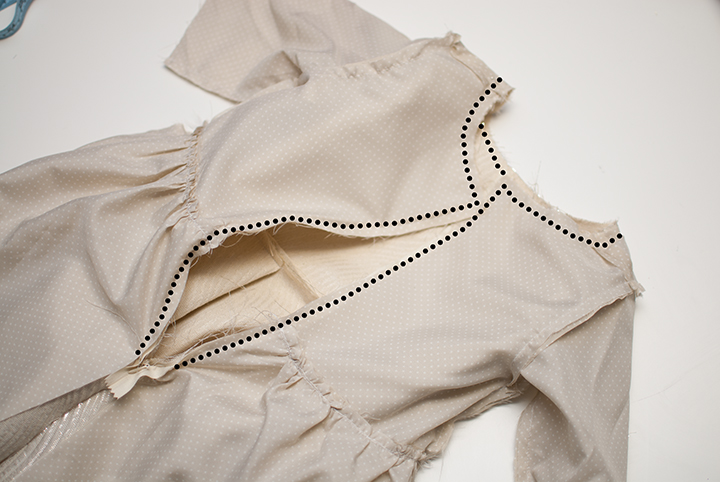
Then with right sides together sew the lining and outer pieces together along the zipper edge, up around the neckline and down the other side. Clip corners and curves.
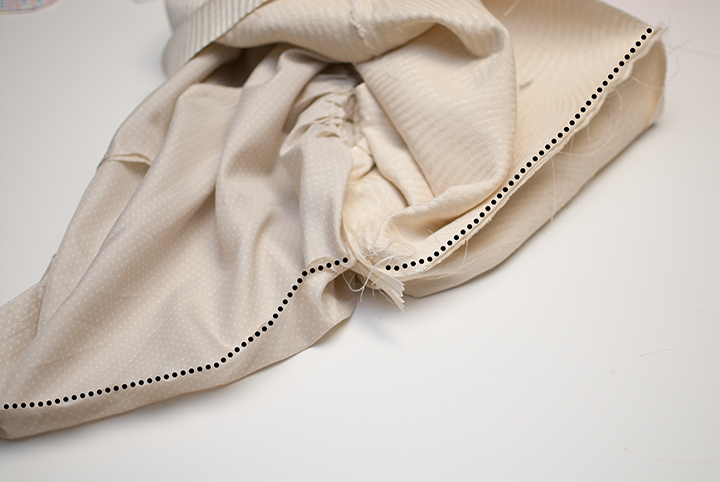
Then with right sides together, match up the outer layer, and the lining below the zipper and sew. (so the lining with lining and the outer with outer)
So now you should have a back all sewn with the zipper hidden in the seam.
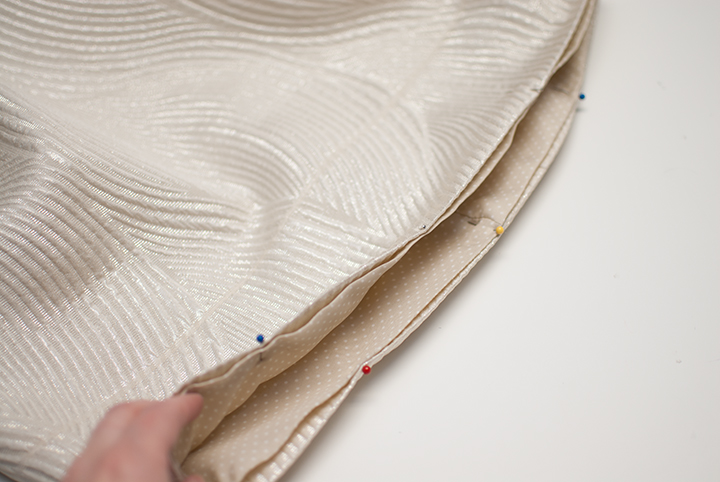
Hemming the bottom you have a few options, you can hem the lining and outer separately, or you can fold them both under and sew them to each other.
I turned them under and stitched them together, the reason is because the fabric hid the stitching well. You could slip stitch the hem if you rather. I did the same thing to hem the sleeves.
Lastly, I added beads stitched on to the neckline. I mixed a few different types of beads and I wanted to mimic the idea of a necklace. **Since I am always asked yes it is still washable it has already been washed once just thrown into the regular wash with an air dry.
I love the volume of the skirt and how it slims down at the hemline.
She loves it too, which is the most important.
I have one more holiday dress coming up. (maybe saying that will help motivate me to actually blog it before the holidays are over)
