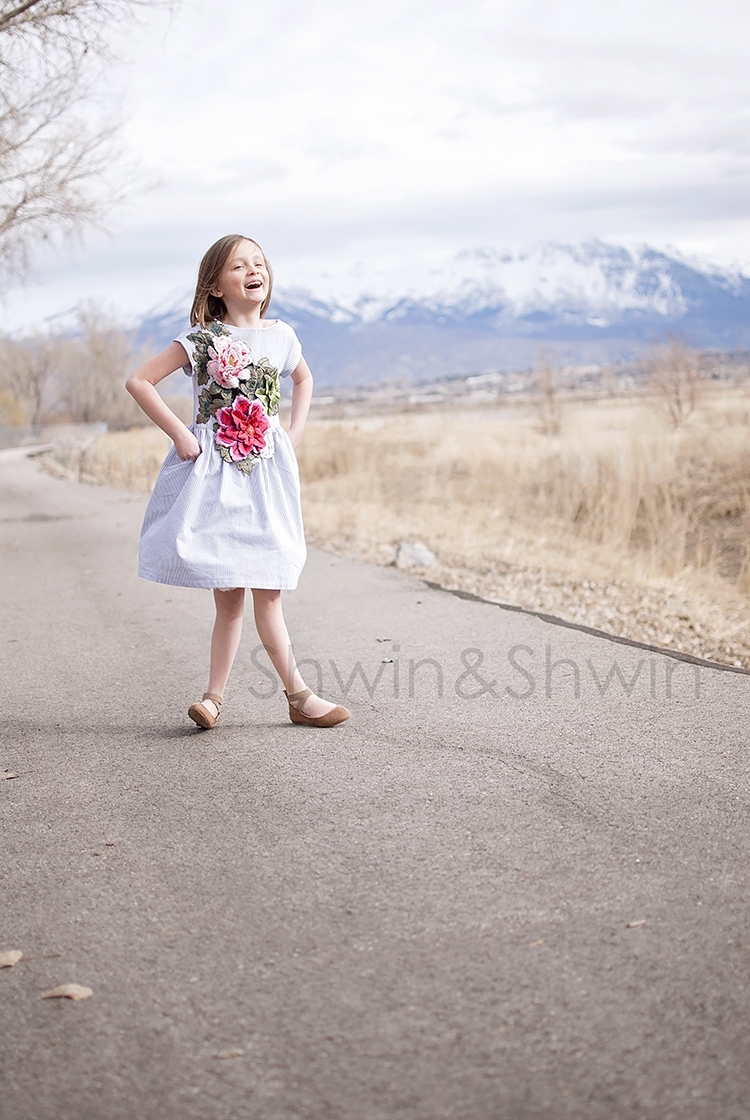
I finally did it! I made all of my kids their Easter clothes before Easter. (ok I cheated and I bought Jude his suit this year) I love making Easter dresses especially, just those fresh new looks for Spring and I usually start dreaming up the design right after Christmas even though I am usually still sewing them the night before Easter. Not this year though, but mainly because this year I was so excited about the idea I couldn’t stop until it was done, and unlike some of the years in the past my first attempt was a success so I wasn’t scraping dresses and starting over. 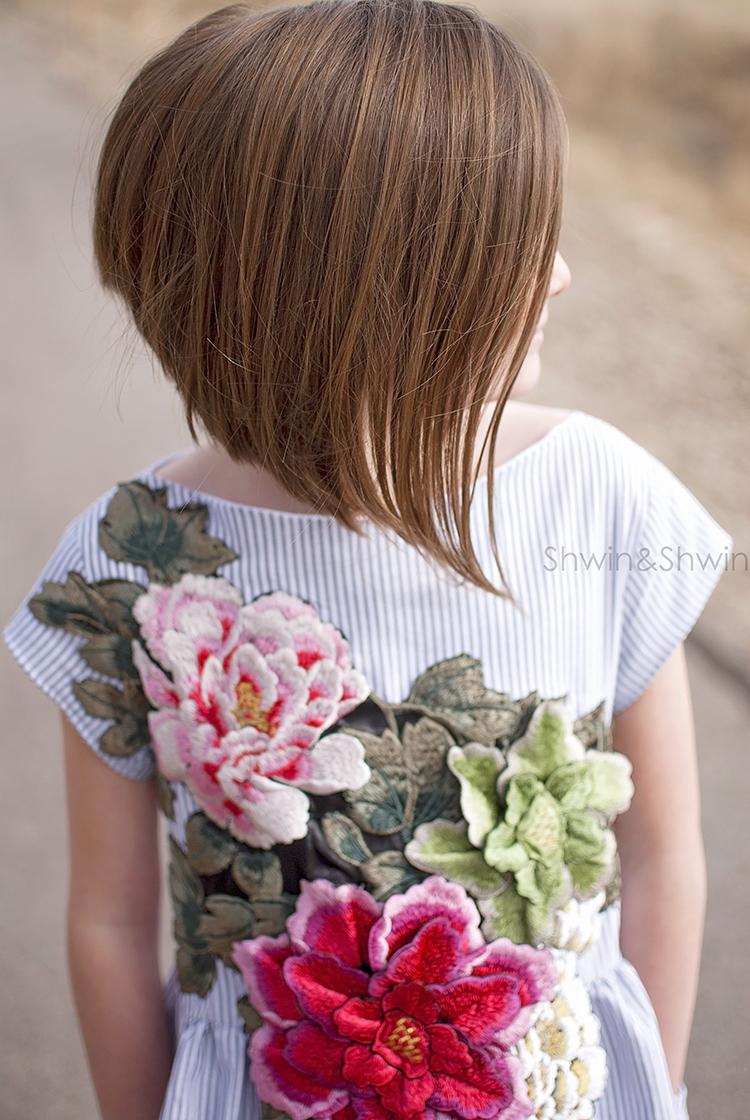
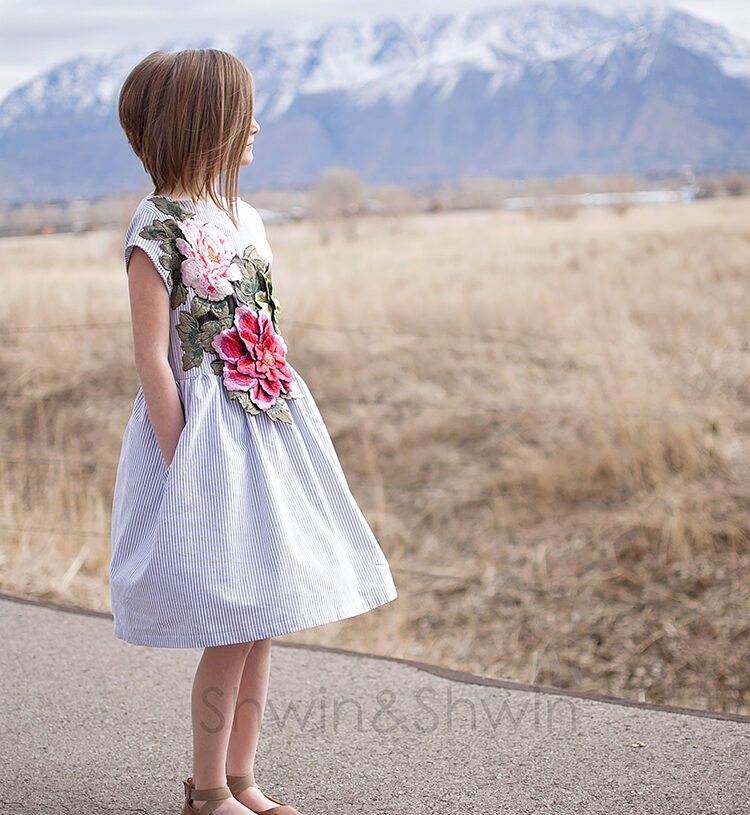
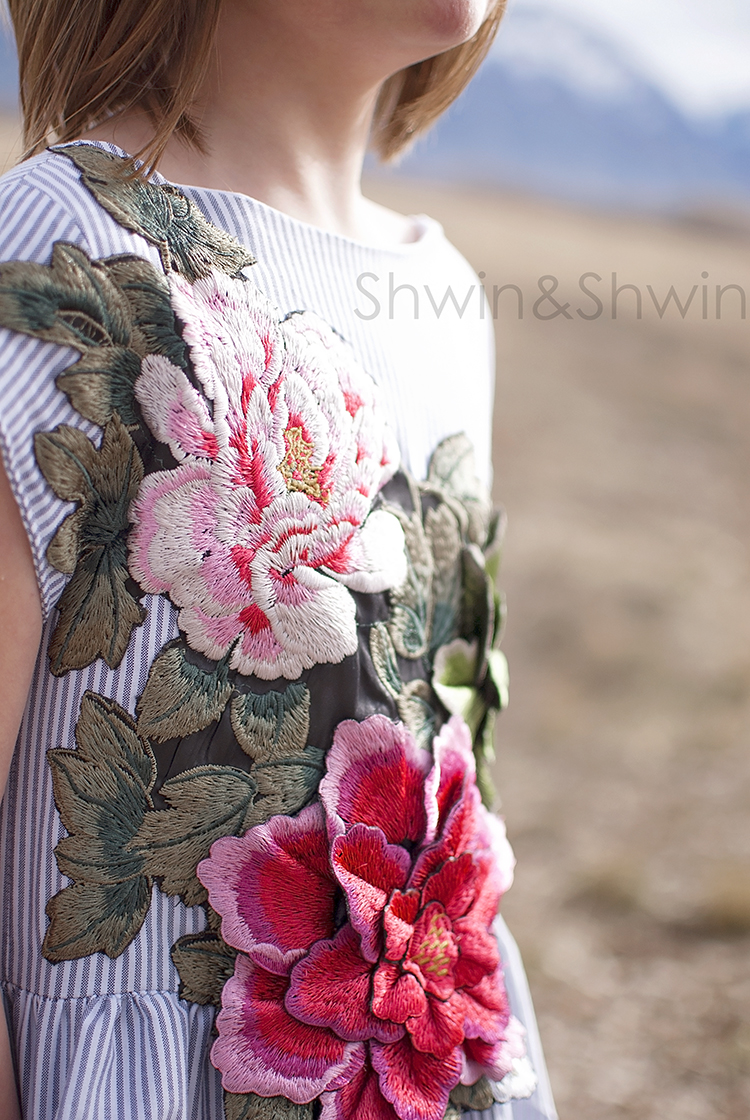
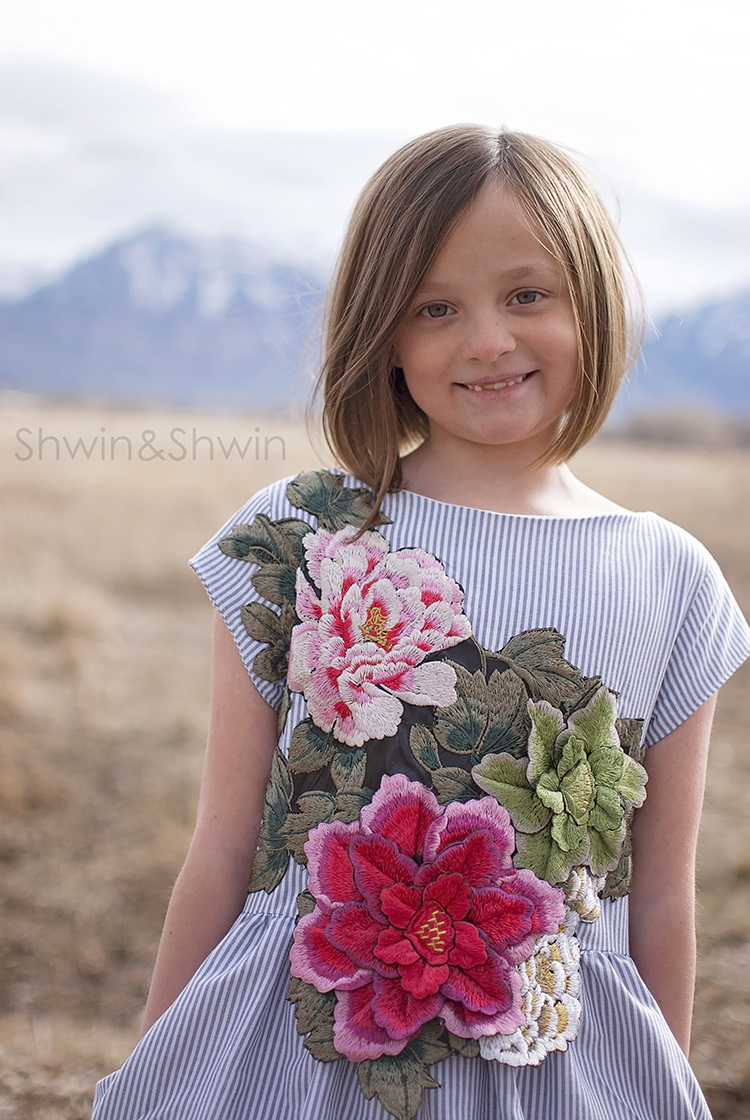
It all started when I wanted some embroidery to be the focus of the dress. I considered hand embroidery but then while I was looking for lace trim for another dress I am working on for Abbey I stumbled upon Shine Trim and saw these beautiful embroidered appliqués. That’s when I knew they were just what I would use. I got one for Abbey and one for Penny that were different but had the same color story. When they came I was just in love.
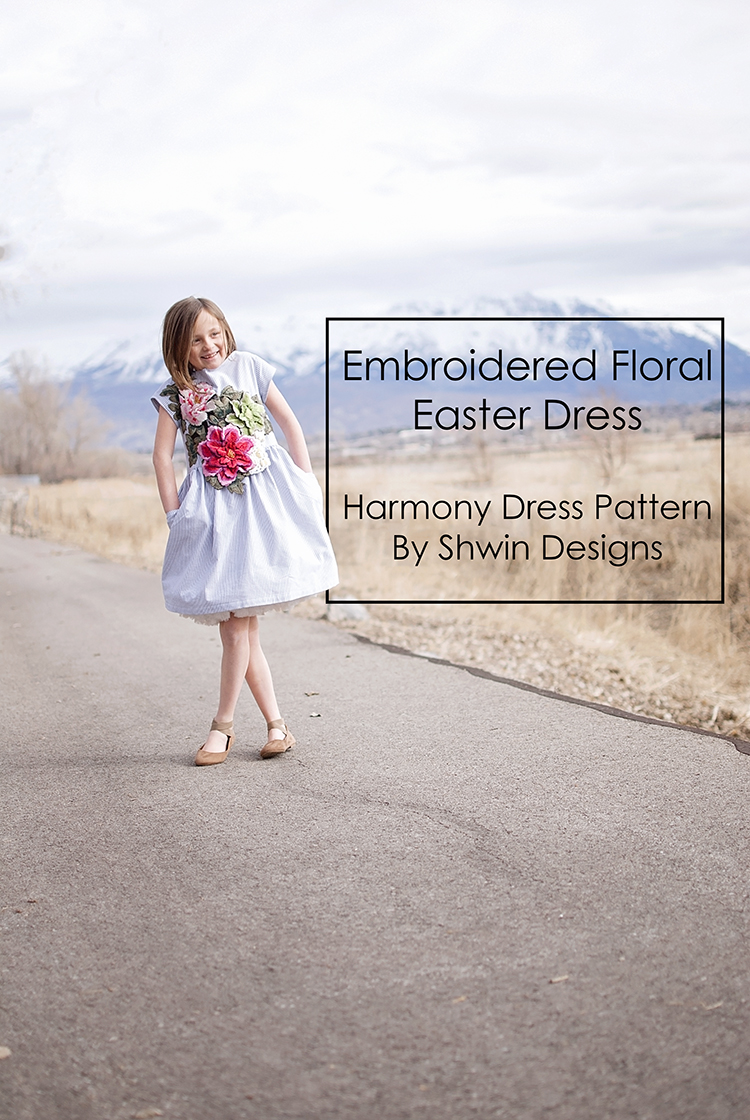
For the dress itself I used the Harmony Dress pattern. It’s a knit dress but since I have made plenty for Abbey I knew the bodice fit her very comfortably without needing the stretch so I made a muslin in a cotton and it was the perfect fit on her, nice and fitted without being too snug. I only made a few super minor changes to the pattern. I raised the front neckline up so it was only about 1/2″ lower than the back and I widened the shoulders about 1/2″ I did this for 2 reasons, one because I wanted more of a boatneck look I feel like it’s just classic, but also because I didn’t know if the floral appliqué would be to heavy and weigh the front down causing neckline issues.
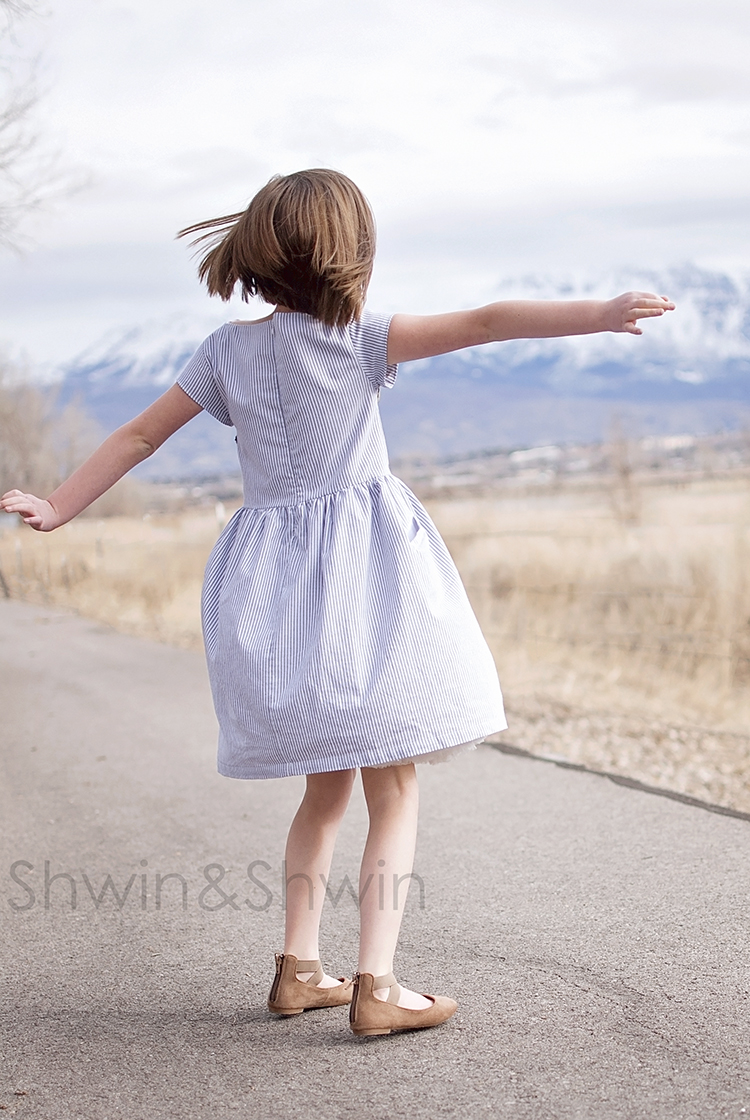
I also swapped out the visible zipper with an invisible zipper, super easy but I did add an extra 1/4″ seam allowance down the back since it wouldn’t have the added width of the more exposed zipper across the back.
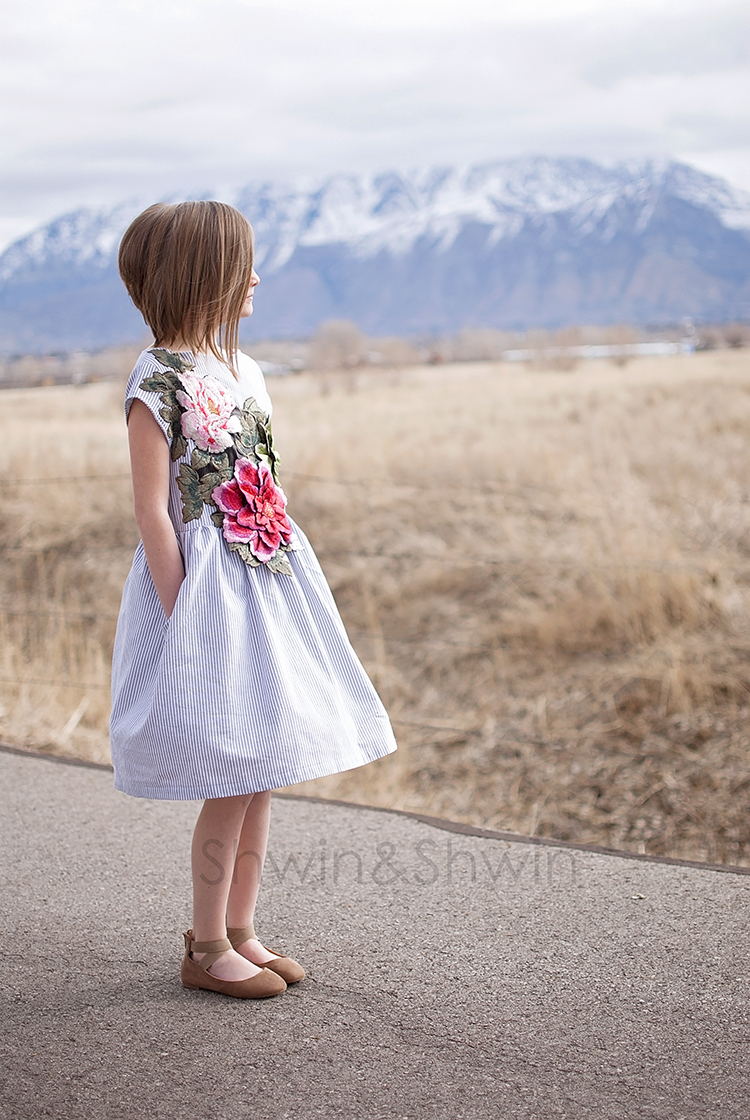
Last few changes, I cut the skirt as one rectangle and gathered it instead of doing the pleated skirt, I did it the same length just one rectangle with a seam only in the back. Since I did this I made the pockets welt pockets since I didn’t end up having a side seam to place them in, and Abbey insisted on having pockets. Last change, instead of doing the facing I changed it out to a full lining by just cutting the whole dress out twice. It’s all sewn the same, the only reason for this change was because Abbey is so sensitive to seams and complains that they itch, getting her to wear certain things is a challenge so I almost always have to do extra steps like this.
The changes were all really minor and easy to make which is why the dress came together quickly and just as I had hoped since we already knew how the bodice fit.
To sew the appliqué on, before sewing the lining into place, I placed the dress on the dress form and began playing with the placement of the appliqué. Once I was happy I pinned it in place and then started hand sewing it to the dress sewing all around the edge of the appliqué piece. I left it on the dress form while I stitched it in place so it would all be placed properly and not warp the dress. This took a while, but the result was worth it and all the stitches from being hand tacked are hidden in the embroidery so it really looks like it was embroidered right on to the dress.
I really love the 3D effect of the appliqué although I did tack the petals in place in a few spots so they wouldn’t catch or pull away on the dress, you know since it’s for an 8 year old. The detail on these are so incredible, and I love the big pop of floral on the subtle striped dress it almost looks abstract.
Abbey loves her dress, and it is already getting lots of wear before Easter.
Pattern:
Harmony Dress and Top by Shwin Designs
Fabric: Striped shirting fabric from Mood Fabric
Floral Applique from Shine Trim
