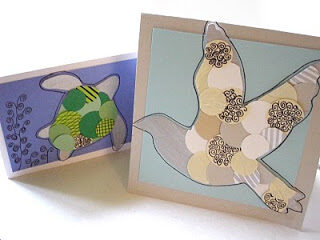
- Creative Memories 3/4” & 1” Circle paper punch
- Card stock
- Colored paper
- Craft glue
- Sharpie poster paint marker in silver
- Sharpie ultra fine point permanent marker
 STEP ONE: Decide on the image you’ll want to create. Draw it on cardstock and cut out.
STEP TWO: Using a circle paper puncher cut circles from different color and textured papers. ( If you don’t have a puncher you can trace and cut by hand) I colored stripes on a few and drew some designs on others.
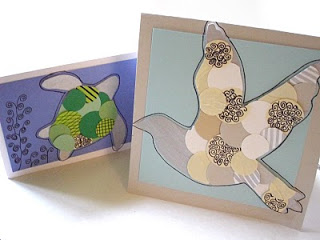
STEP THREE: Lay out your picture and your circle cutouts so you can get an idea on the design you’re looking for. Using the silver poster paint marker, paint even lines along the part of the picture that will not be covered by circles. (look at picture above) You can also use any craft makers of leave it the color of your cardstock. Than you will glue on the circles, you wont need much glue.
STEP FOUR: Once you have glued them all on, flip your picture over and cut off any overhang.
STEP FIVE: Secure your background on your card using the craft glue, than glue on your picture. Now you have a card that’s ready to be sent!


Anonymous
very lovely<br />i am going to try this with my students and pumpkin sketches for halloween