Today I am sharing one of my favorite little dresses. You know those projects in which everything just goes smoothy… dare I even say perfectly… I think it makes you love the project even more. So this was seam ripper free straight stitched project. Also the adorable water color cat fabric helps and the little girl who totally lit up when she saw that the little hearts were cats.
The dress is the same hi-low racer back dress like I made HERE I used the Every Little Thing Dress again as the jumping off point, but I did make some changes to this one. I like to make dresses for Abbey that can grow with her. So I made a few adjustments to the bodice (besides the obvious racer back and button front adjustment)
What did I do? I dropped the bodice a bit lower, and then lowered the underarm. I went one size up in width. I did all of this so it would be super easy to get on and off even as she grows since it seems other dresses would still fit her but they are tight to get on over the shoulders and chest. The shoulder and neckline, were all her actual size in the pattern so the changes allowed for extra growing room without resulting in an overly large dress. Make sense?
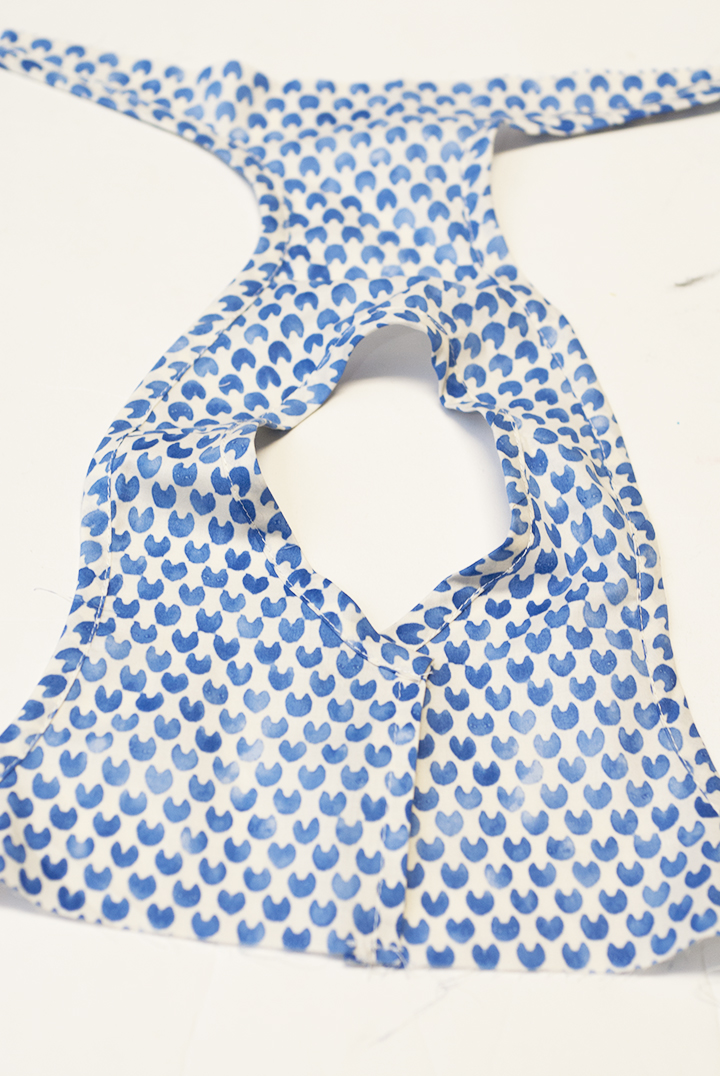
I made this one differently than the last and differently than the pattern because I didn’t want to line the bodice I wanted to keep it nice and light. So I finished it with bias binding.
To do this start with sewing the shoulders together. Then press that seam open flat.
I used double fold bias tape that I made myself out of the fabric. Then with the right side of the bias tape toward the inside of the bodice along the outside edge, sew them together following the fold line in the bias tape.
Then turn the bias tape around to the outside, re-folding the bias tape along the creases. Sew along the folded edge to secure in place.
Repeat the bias binding along the other side and the neckline, for the neckline you will have to tuck the edges of the bias tape under before sewing along the folded edge so that the front edges are finished.
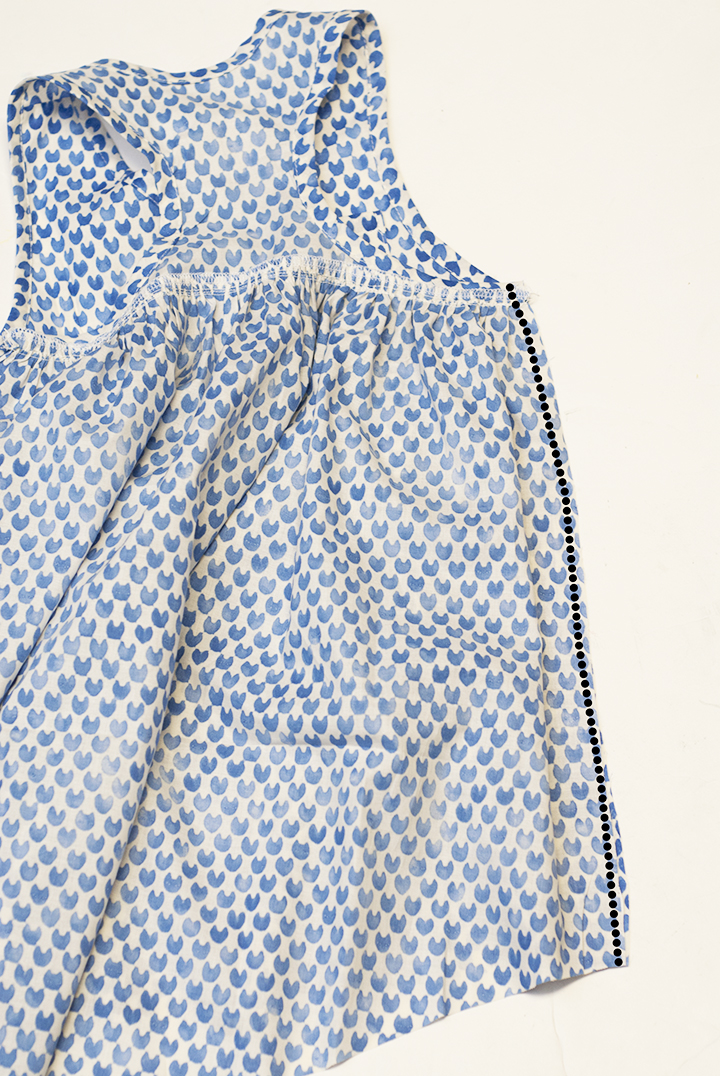
Then gather up the skirt pieces.
With right sides together sew the back skirt piece to the back bodice. Then sew the front skirt piece to the front bodice.
Then with right sides together sew down the side seam. Hem the bottom and you are good to go.
The perfect little summer dress, with a hi-low hem and sweet button front and racer back. I love the dress from every angle.


Paisley Roots
I love this Shauna! That fabric is gorgeous too!
Heather
Cute!!!
Jon Hagel
Another winner! You inspired me to branch off and draft my own patterns- thanks for all the great tips & tutorials! Your girls always have the cutest shoes!
GrayColors
I really like this one too!!
amy mayen
It really is lovely- I think I'd even wear that dress myself. I don't think we'd find a nicer one in any Spanish convent. Gorgeous work; and thanks for the inspiration!
Penya, An apprentice housewife
This is very cute and comfy. You did amazing dress! Thank for sharing
Jenya @ While she was sleeping
So cute 🙂 Love the print 🙂
txell, rita i els alberts
Love the dress, the fabric and the girl!
Modern Baby Doll Top || Free PDF Pattern || Shwin&Shwin
[…] For the skirt. I didn’t include a skirt pattern piece. Instead I cut 2 rectangles 24″ across and 15″ down. Then I cut a curve up in the front and curve down for the back. More details on doing a hi-low hem skirt can be found HERE […]
Hi-Low Racer Back Dress tutorial – sewing mania club
[…] Get tutorial […]