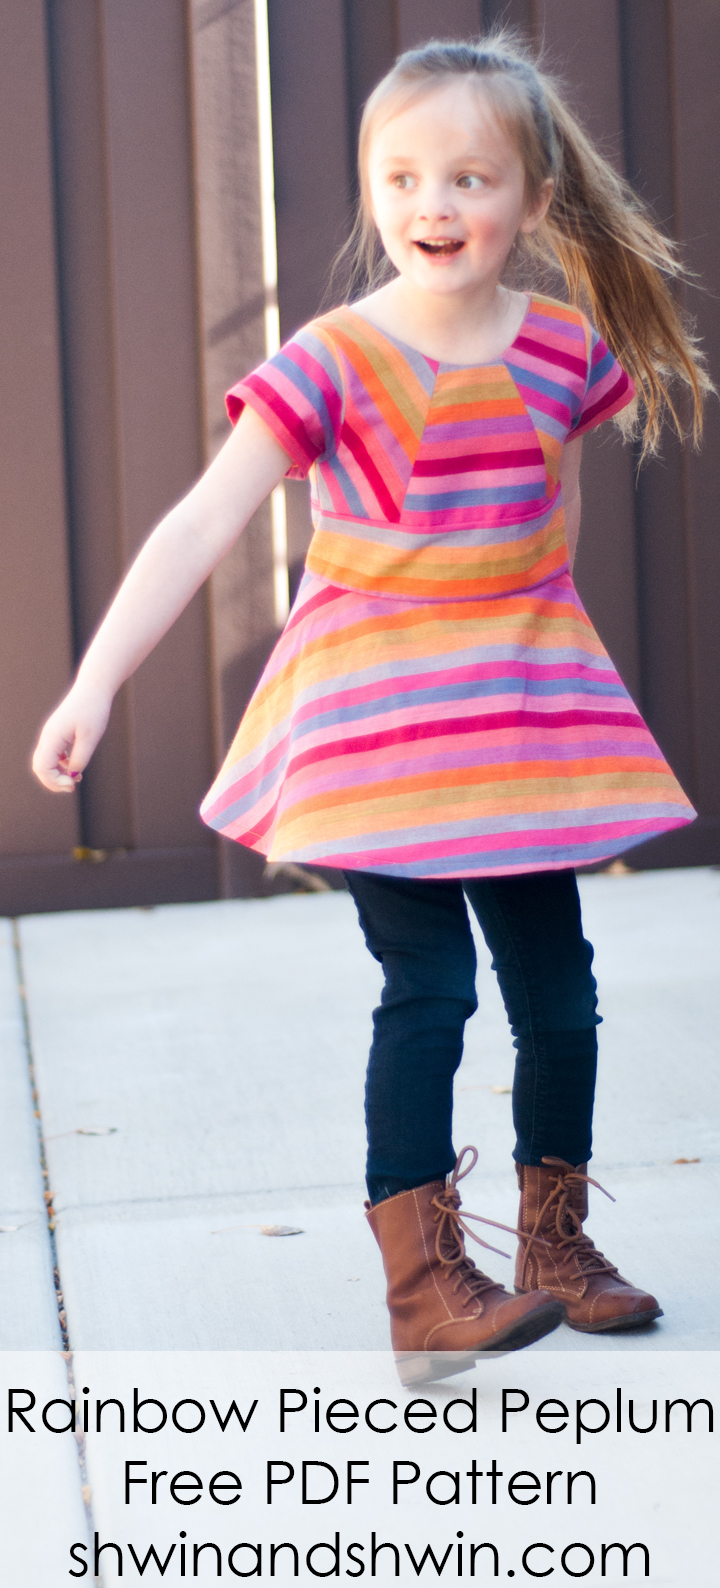
Free Peplum Pattern
You know the fabrics that from the moment you see it you just know you HAVE to have it, even when you don’t have a plan for it. This was one of those fabrics. Something drew me to it. Well as soon as Abbey saw it she said “will you make ME something with the rainbow fabric?” Well, I couldn’t very well say no, the girl does LOVE rainbows.
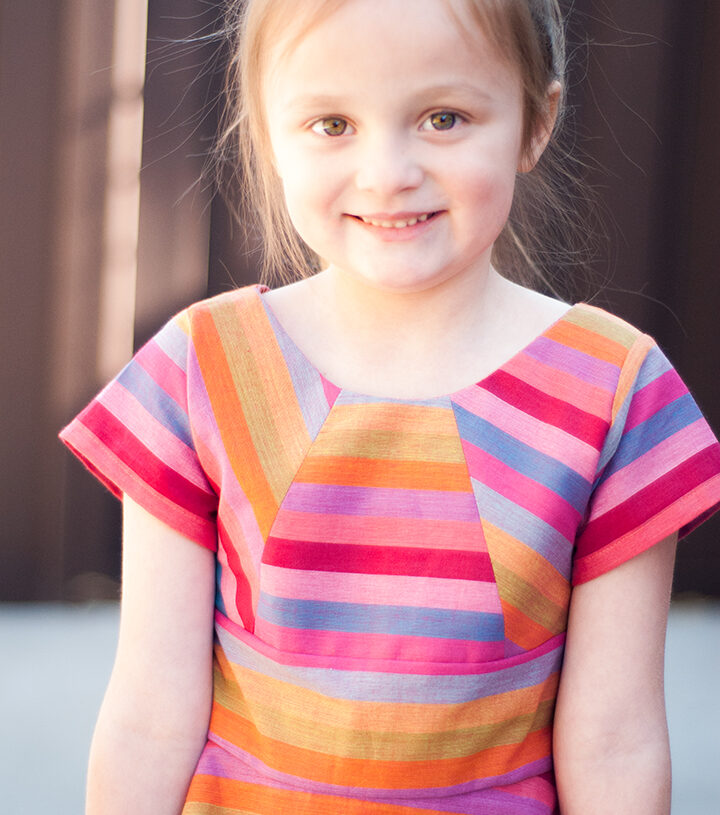
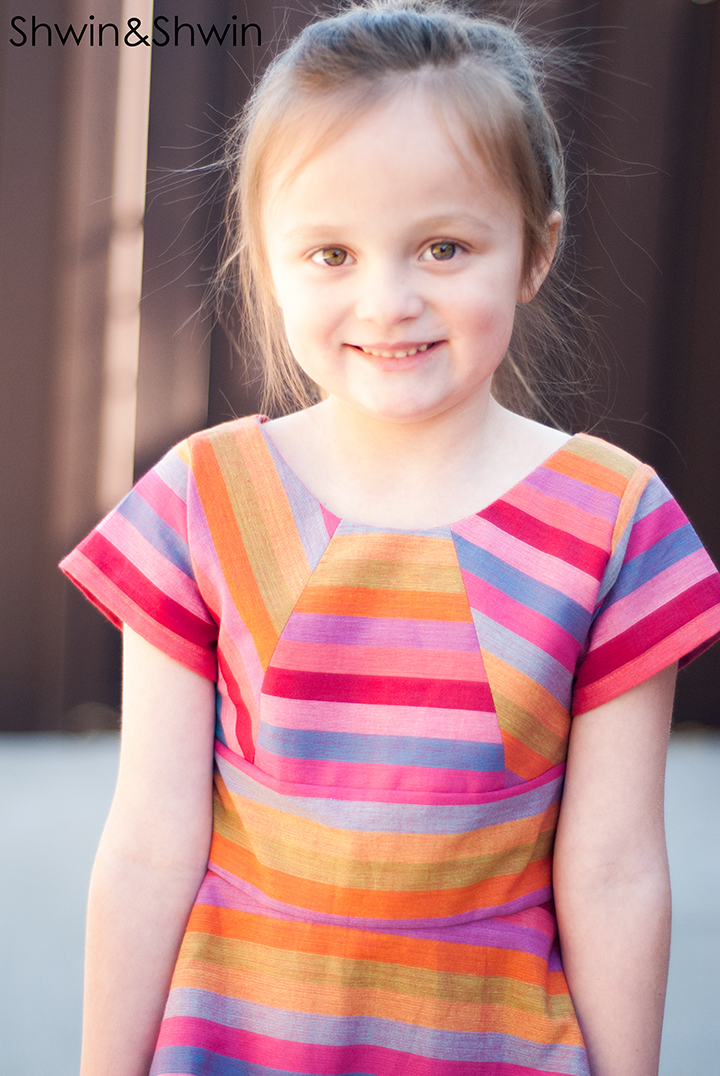
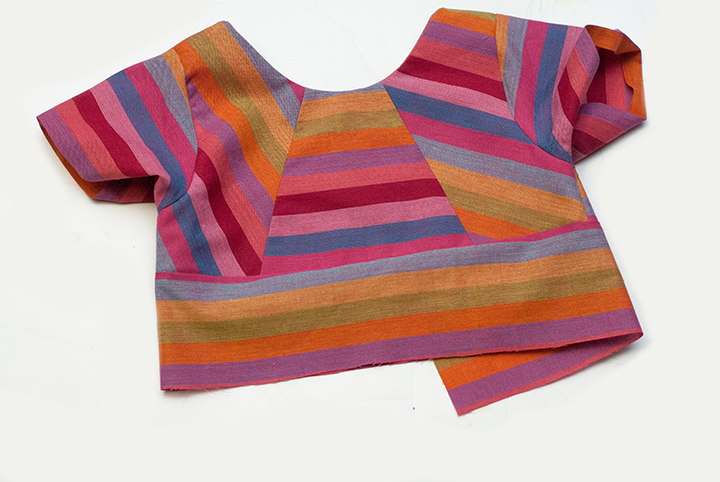
The only downfall is that I only bought 1 yard (foolish I know) So this meant I had limited options of what I could make. Since the darn girl is growing and gone are the days when 1 yard would essentially make anything I dreamed of. So I planned out this peplum top with color blocked pieces and angled lines and playing with the design of the fabric a bit
I had a few happy design oops moments, like cutting out the bodice first only to find the fabric wasn’t quite wide enough for me to cut the skirt long enough, so the whole shirt would have been way too short, no good. So thinking on my feet I cut a band for the middle, which I actually love (and would do it again) But after doing that I realized I cut one half of the pieced bodice going the wrong direction. (face palm) So I went to cut another one and I didn’t have enough fabric going the right direction with the right colors. So you know what? I just went with it. I certainly wasn’t going to waste the fabric. It’s a fun mismatched rainbow colored top. (just go with it)
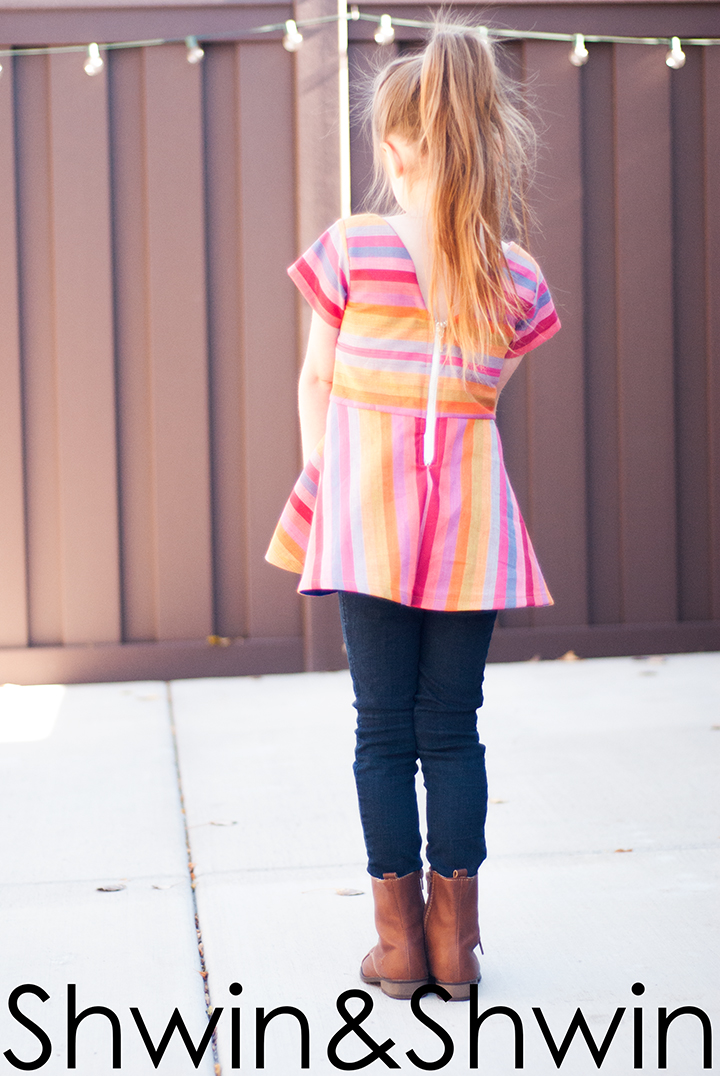
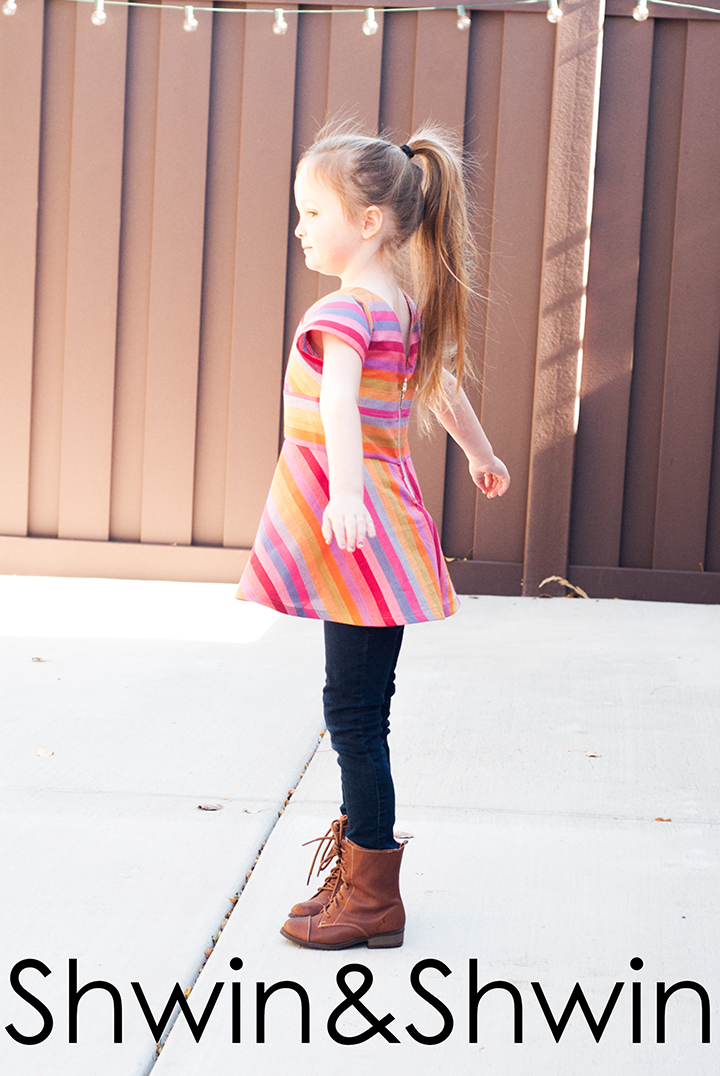
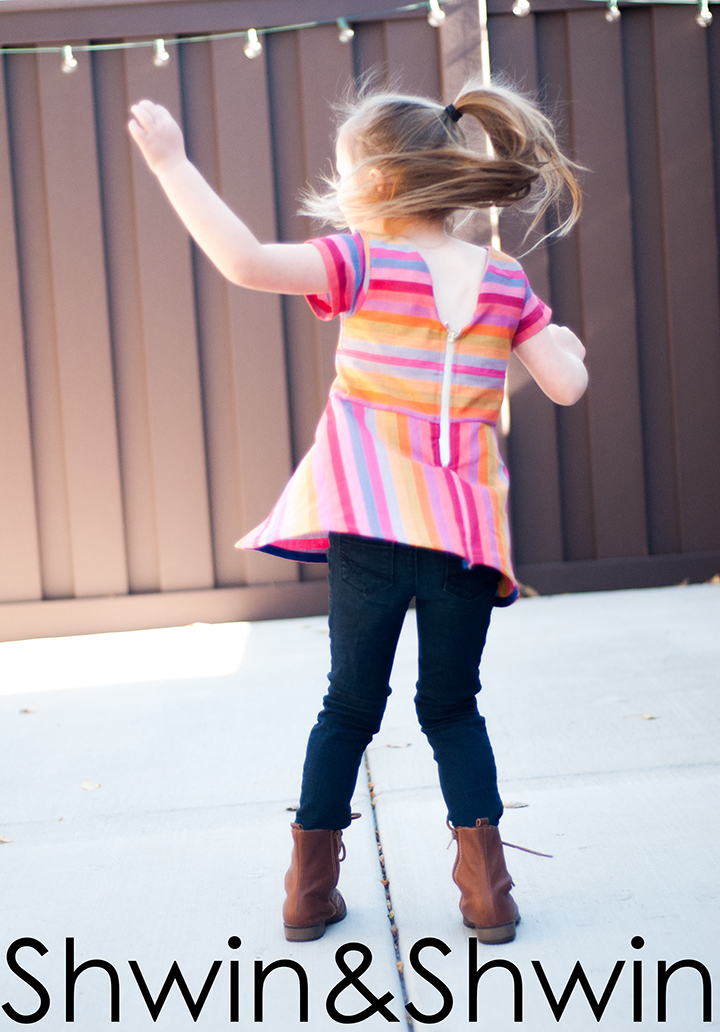
The back, oh the back. Exposed zipper, perfect print matching. Deep V (because that’s my jam these days) It’s just my favorite. The top is also designed with a half circle skirt. Partly (mainly) due to fabric restraints since I didn’t have enough for a full circle, but you know what? I am kind of loving the semi fullness of the half circle. There is still some twirl factor but not an overwhelming amount.
To make the Free Peplum Pattern you will need:
The free peplum pattern HERE (roughly size 5/6) sewn with a 3/8″ seam allowance
1 – 7-9″ zipper (either is fine)
1/4 yard lining fabric
Bias tape (optional I used it to hem the skirt)
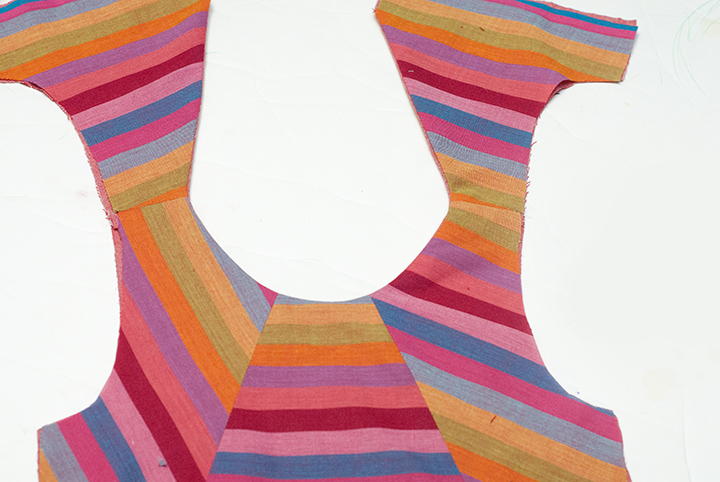
To start. Sew the center bodice piece to the left bodice piece right sides. Then repeat with the right side.
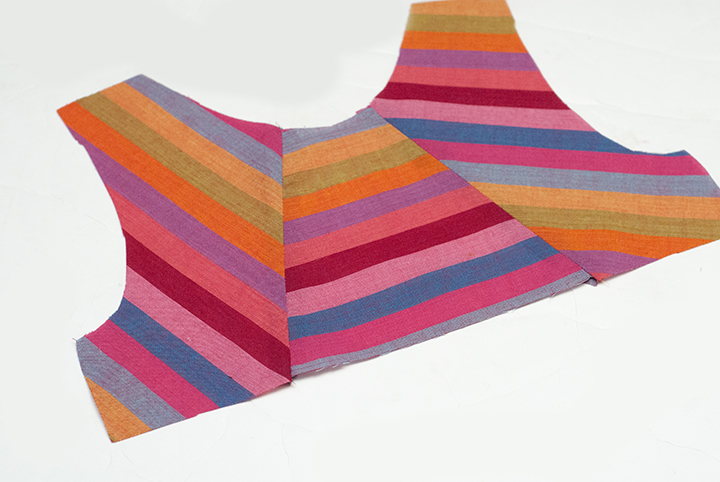
Press the seams open flat.
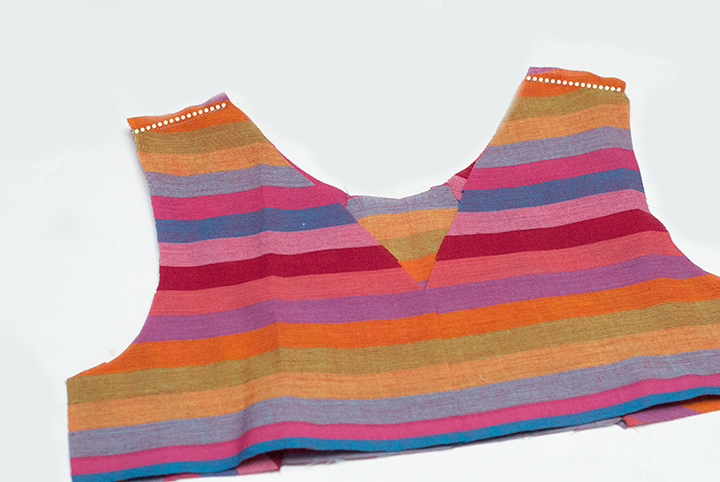
Then with the front and back sew the bodice pieces right sides together at the shoulders. Repeat with lining.
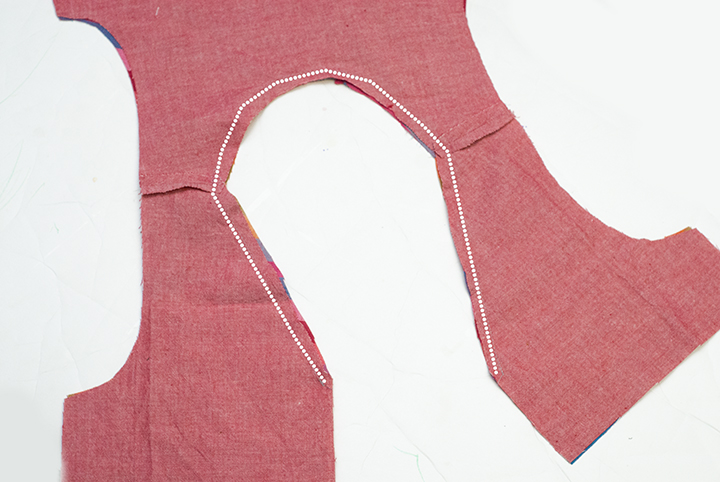
With the lining and main right sides together, sew along the neckline. DO NOT sew along the back center edge. Then clip notches along the curve.
Turn bodice right sides out and press.
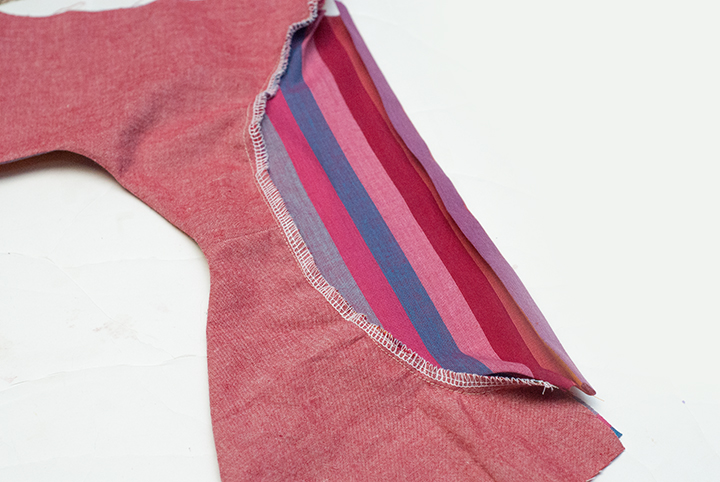
With right sides together sew the sleeve int the arm opening. Then press the bottom edge up twice to mark the sleeve hem. Unfold once. Repeat with other sleeve.
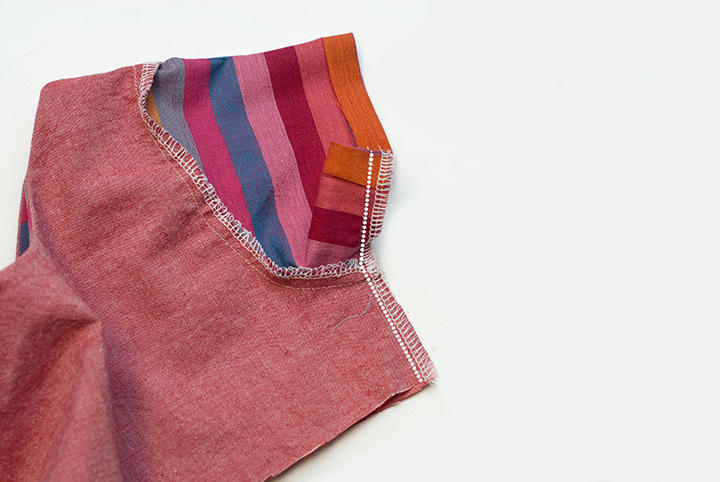
With right sides together sew from the sleeve edge to the armpit and then turn and go down the side. Repeat with other side. Then refold the sleeve along the pressed hem mark and sew to secure.
Next for the band (which is optional and NOT a printed pattern piece. Measure the width of the bodice should be 25″. Then I made the band 5″ tall. )
Sew the band right sides together to the bodice. (finish seams)
Then press the bodice downward.
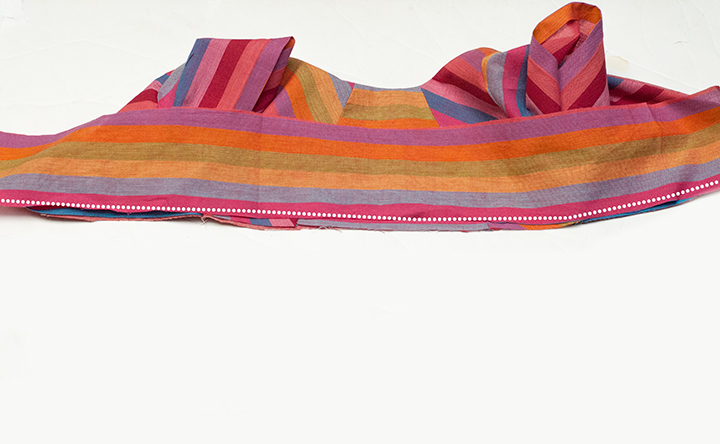
Next with right sides together sew the skirt to the bottom of the band (or bodice if you skipped the band) Finish seam.
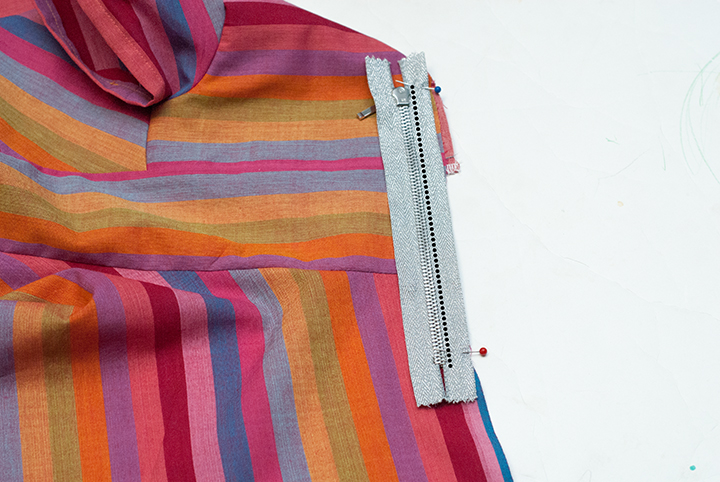
Now let’s add the zipper to the back. You can use any kind of zipper and do exposed or invisible. I tend to lean toward exposed these days since I like the look and especially for casual clothes it just works.
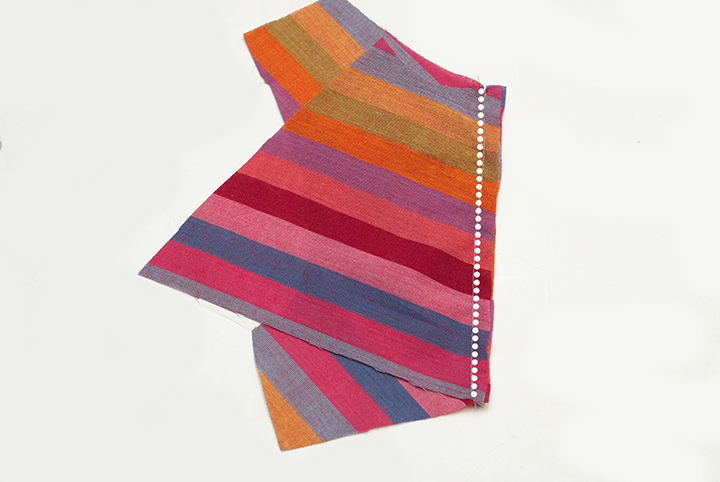
With right sides together place the zipper so the top of the pull is at the top of the center back. (you will fold the top part of the zipper over later.
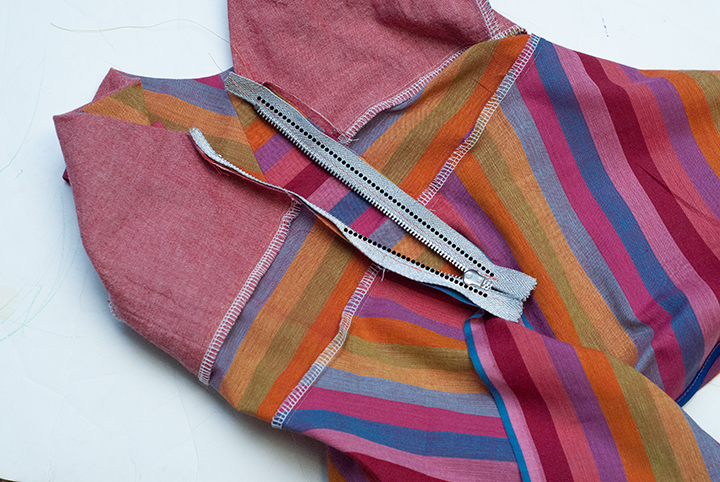
Then repeat with the zipper on the other side. Sewing it right sides together with the other side of the back. Match up all the seams across the zipper so when zipped it matches up right.

Then with the back right sides together sew from just under the zipper to the bottom of the skirt. (finish seam)
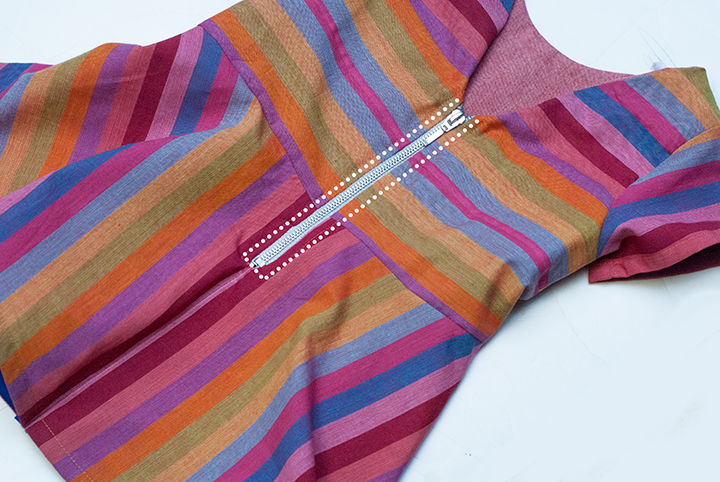
Then flip the shirt around to the front side and top stitch along the zipper.
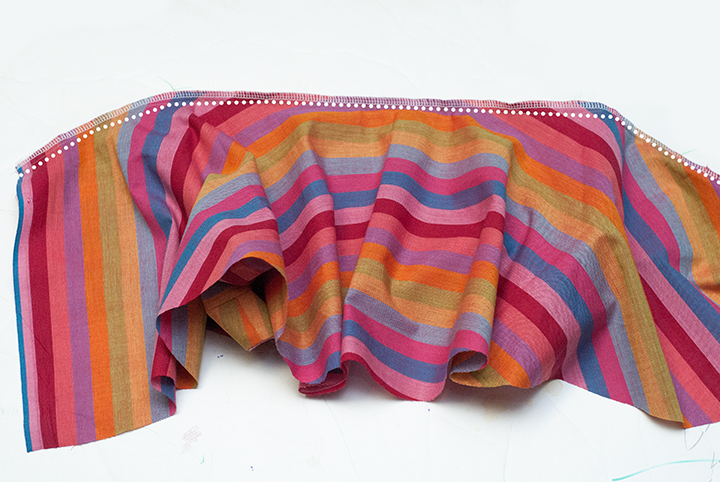
One note I did finish the hem of the skirt with bias tape. I stitched it to the front side and then turned it around to the back and stitched it in place. You can hem it however you wish.
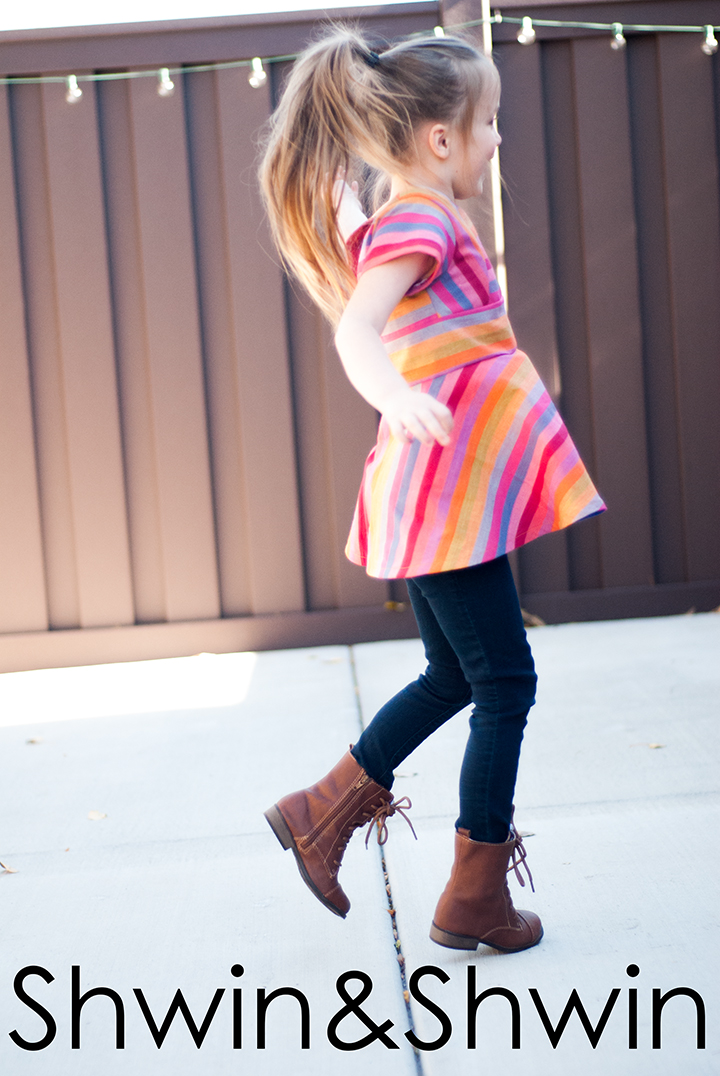
Thats all there is to it. Abbey was thrilled about her new rainbow top she insisted she could put it on right away and wear it to school forever.

Pretty sure that’s love, and that makes me happy.
And I really love those stripes.
Pattern || FREE in this post
Fabric || Kaffe Fassett Bliss Woven
Boots || Target
Rachel
very cute and colorful 🙂
Dorothee
This is so very beautiful.
I seriously love it!
I wish it would fit my daughter….!
meri
Fantastic!!!!
Susan
totally adorable! I love that our girls are the same size 😉 xoxo
JanEl
Love it! Thank you for a beautiful free pattern.
Inspinration
The top is wonderful! We all remember those “face palm” moments and it is great if you can make something this nice, after such a moment. It is those moments, for which you truly need creativity to come to a good end result.
alexa
Thank you for this! I have one yard of rainbow patterned fabric too and I’ve been kicking myself for not buying more. And I have a 5 year old that will fit perfectly into this. How serendipitous!
Anne
Love those stripes!! I’ve got a Craft Gossip post scheduled for this afternoon that links to your tutorial:
http://sewing.craftgossip.com/free-pattern-rainbow-pieced-peplum-for-little-girls/2014/11/19/
–Anne
Emily
So darling! Thanks for sharing! Can’t wait to make one!
brigitte
j’adore !!!! beaucoup d’imagination un travail artistique
Mary lynn
I have a question about the two front side pieces. The grainline on the pattern piece is straight up and down but your finished product looks like it was cut on the crossgrain. Can you tell me what you did with your grain in cutting those two pieces?
Hopefully that makes some sort of sense. 🙂
Shauna
The grain line is up and down since that is as it is intended, however since I was piecing my fabric stripes I did multiple angles while cutting, some on the cross grain, some with the grain. If you would like to do cross grain on those just turn the piece so the grain line runs at a 45degree angle from the grain in the fabric.
Mary lynn
Awesome! Thanks so much for your quick reply! Beautiful top by the way, I just bought some adorable fabric yesterday and I’m hoping to make the top for my daughter this weekend. 🙂
Kathy
Any chance you would be willing to grade and sell this pattern? Up to a 10 preferably, but a 8 will work also.