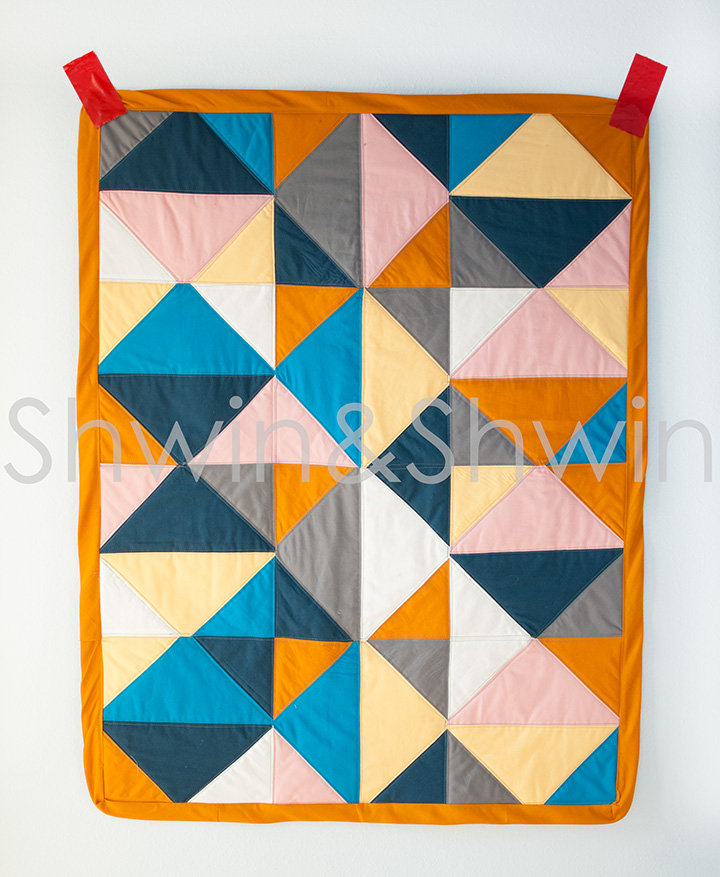
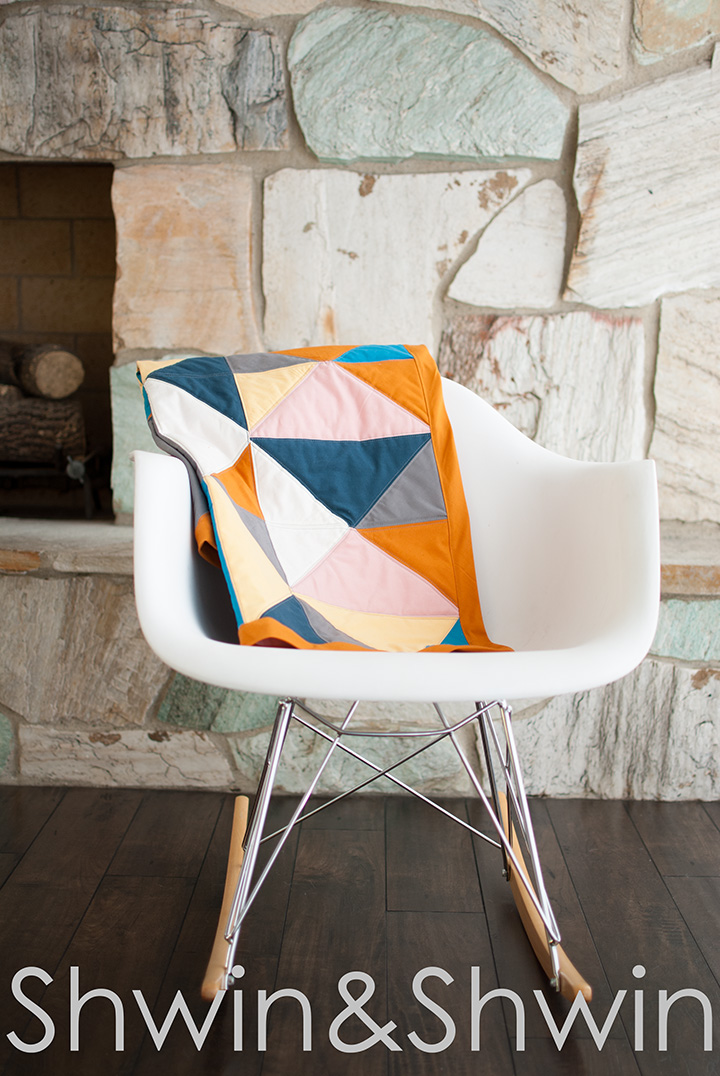
I made another quilt. Which means I may actually finish Penny’s quilt (since the bug is back) Quite a while back when I was searching for Art for Penny’s room I had found an art piece that looked like a quilt, a quilt I really wanted. So I saved the image. Well now I can’t find the source of said image, so just know that the quilt was inspired by some image out there somewhere 🙂

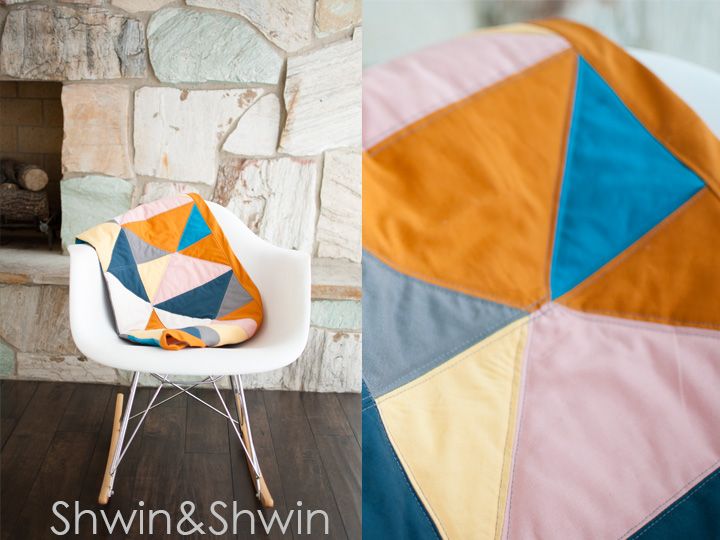
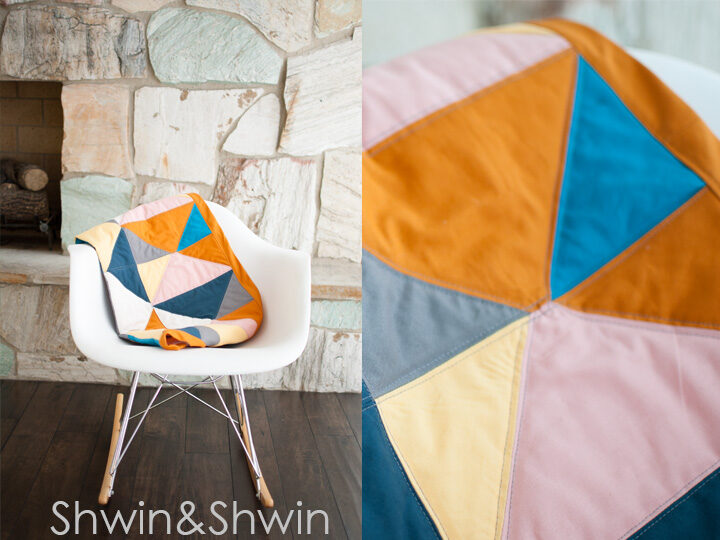
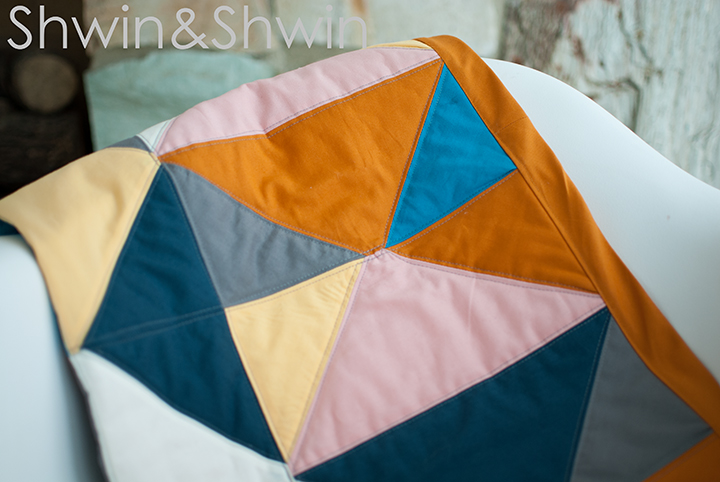
I love the mix of masculine and feminine colors and the fact that the whole thing is just triangles. 2 triangles in fact, a big one and and a small one. It’s so simple but complex at the same time. The quilt is small (29″X38″) perfect for when the girls have their teddy bear picnics and I don’t want them dragging out a big blanket. However should you want to make the quilt bigger simply add more blocks. Just duplicate the pattern a few times and you will have the same scattered block look.
I made a downloadable and printable pattern for this quilt, since it seems that’s what the people want.
You can get the pattern here: 2 Triangles Quilt Pattern
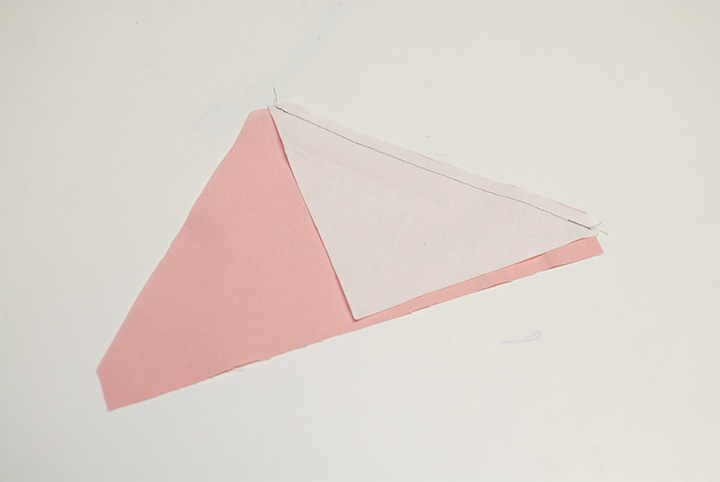
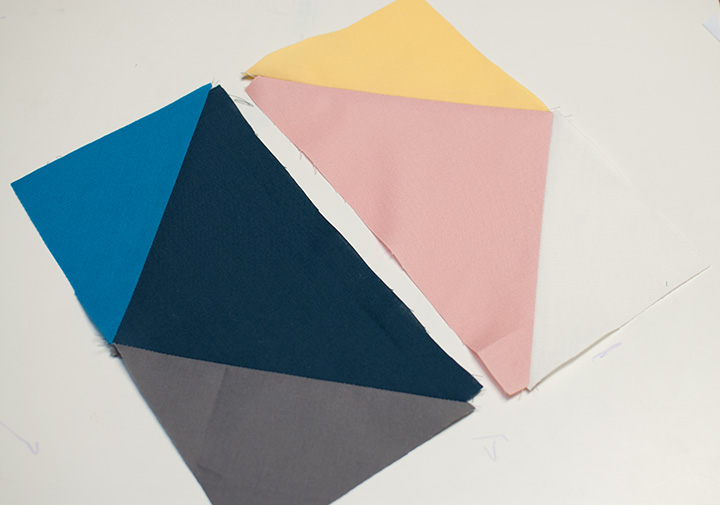
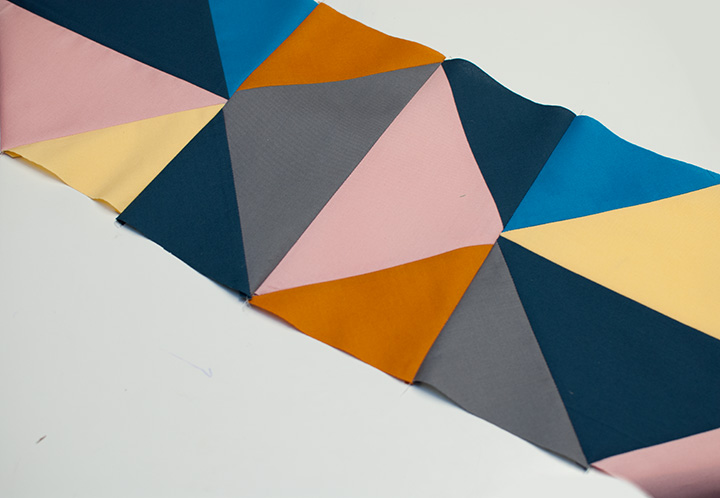
I suggest laying out the blocks and then sewing them, but you do whatever you feel works for you. Either way to sew the quilt we will first sew it into blocks and then sew the blocks into rows and sew the rows together. To start with right sides together sew one small triangle to one large triangle.
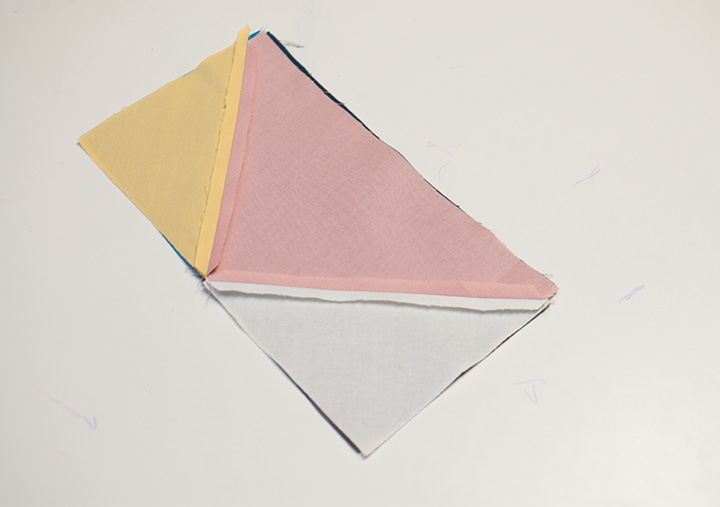
Press that seam open flat. Then with right sides together sew a small triangle to the other side as well. Again press the seam open flat.
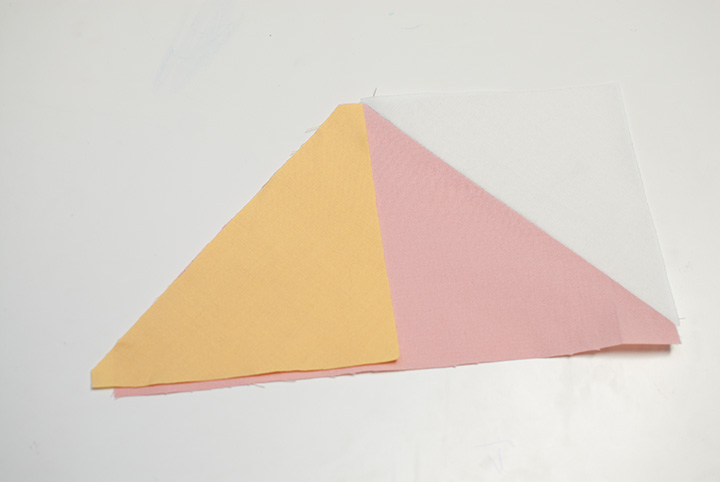
Repeat so that you have two large triangles sewn to two small triangle, like so.
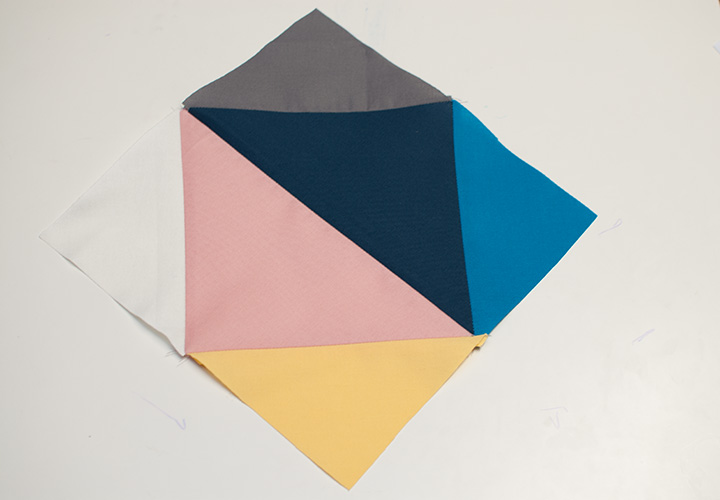
Then with right sides together sew the two large triangles together.
Press seam open and flat. Now you have a square.
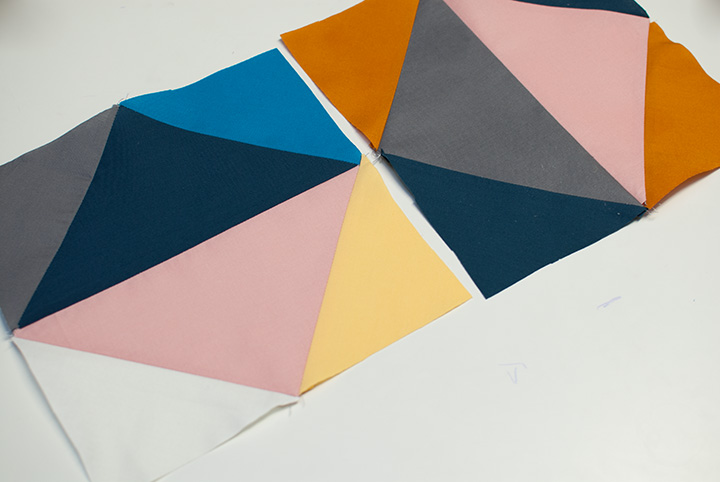
Repeat until you have your squares all sewn. Then with right sides together you will sew the squares. Note that the center row is flipped from the side rows. (so the large triangles go up and down instead of side to side)
Then sew all the rows together. Match up all the seams as you go.
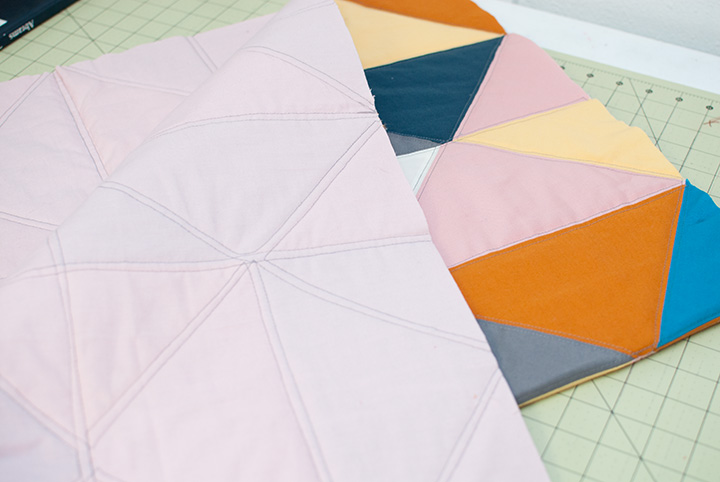
Once your top is done place it on top of batting (I use fusible batting so I can stick the layers all together) and place solid fabric on the bottom for backing. Then top stitch the quilt. You can do any design you want I just followed along all the seams in the quilt.
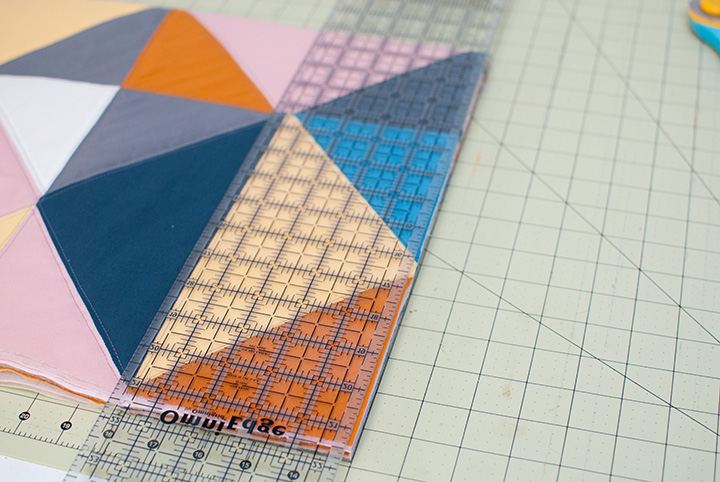
Then trim up your edges before you add your binding. I do this just to make sure everything is nice and square and even before I bind it. I bound it the same way I did THIS quilt.
Then that’s it. You are done. I was able to cut and sew the top in one evening and then quilt and bind it the next afternoon so it was a super quick project (when made this small) You can also play with a bunch of different colors. I like a lot of contrast from colors that don’t really go together, but you could pick 7 shades of one color or even use 7 prints.
It does make me want to make a few more to play with colors and textures, but really I should finish Penny’s real quilt first.
Check out our other FREE quilt Designs:


AmAnda
I love to quilt too! And I love this design. I have to admit I am a bit scared of triangles myself. They always turn out wonky and get way out of square, but yours looks fantastic. My mom is also a quilter but of the long arm variety(for those that don’t know, she’s the lady that puts the designs on the quilt top to hold it all together). She’s pretty amazing and you should check out her work sometime if you have a minute. http://www.singingstitches.com
jcunningh685
How do I get the pattern? I am logged in added to my bag. Cannot find where two download
Esther Nance
this looks like fun & easy. I’m a beginner and am going to try it. it was hard to print it but with the picture
i might be able to figure it out. thank you i tried to get on your news letter but couldn’t.
you did a great job. im doing baby blankies to donet .