This year was all about trying new things for me, something I have been wanting to try for a long time is paper piecing. Paper piecing is usually a quilting thing, so you can piece together small or odd shaped pieces easily. While I can’t wait to try out some paper piecing on a full quilt I wanted to first try it out with something small so I decided to do a bodice. There are 2 ways to paper piece (that I know of) foundation paper piecing, and English paper piecing. I have done both and will show you English paper piecing another day, but today is all about the foundation method.
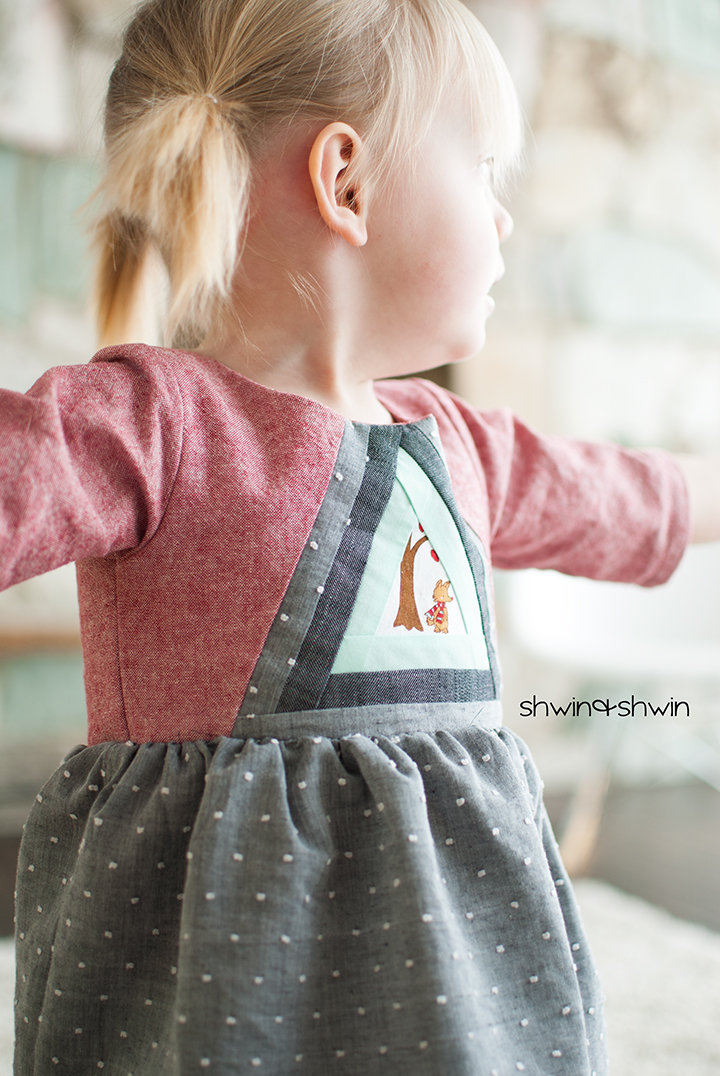
The foundation paper piecing method is best used when you are trying to piece together narrow or small areas with sharp corners. Like I did with this triangle piece.
For the top I made here I used the FREE pattern found HERE, with slightly shorter arms and a tunic length skirt piece. I followed the assembly steps HERE.
Here are the instructions to Foundation Paper Piece the front bodice
You will need:
- Scraps of fabric
- wax paper
- Paper to sketch out bodice and design
- Pencil
- Ruler
- Rotary cutter
- Iron
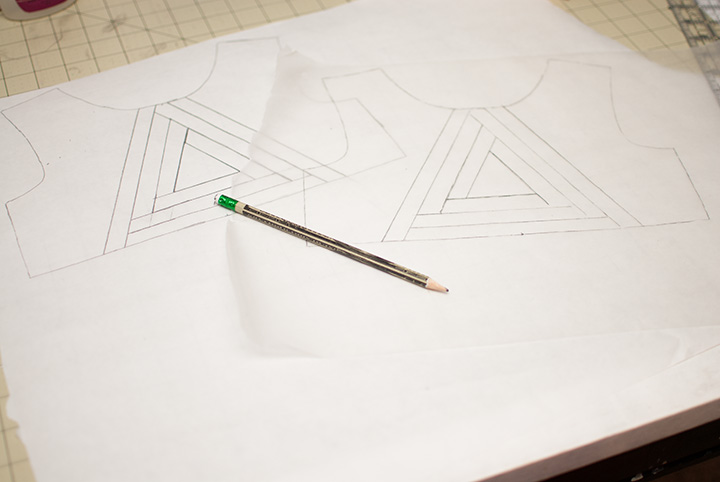
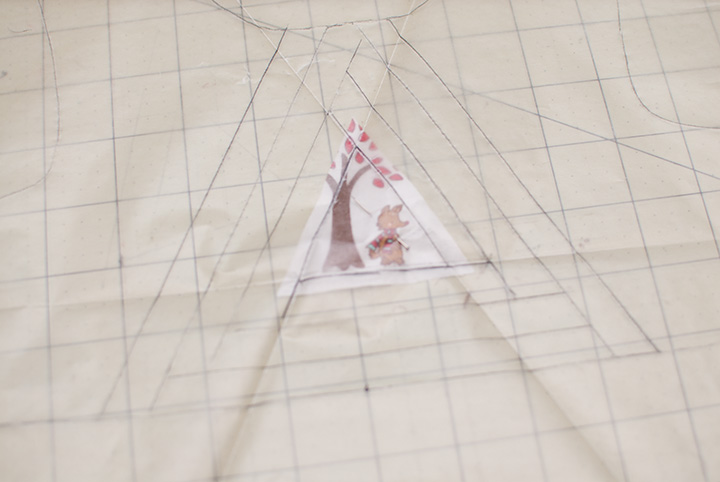
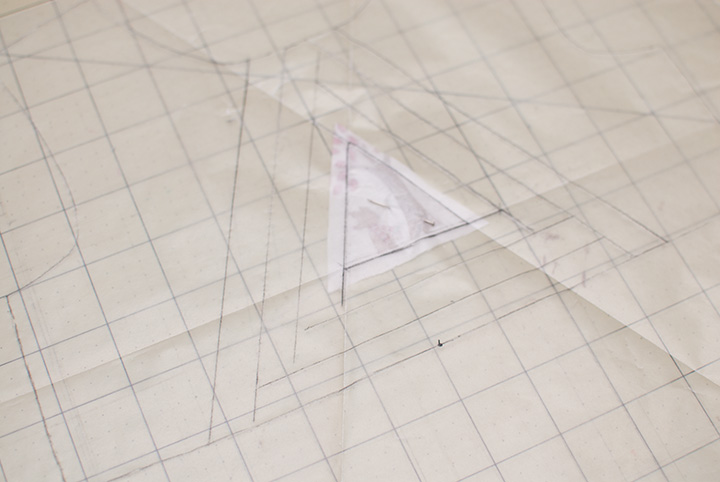
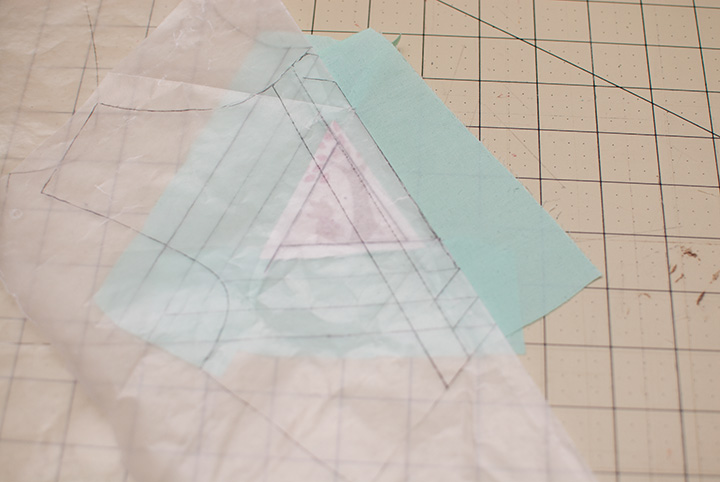
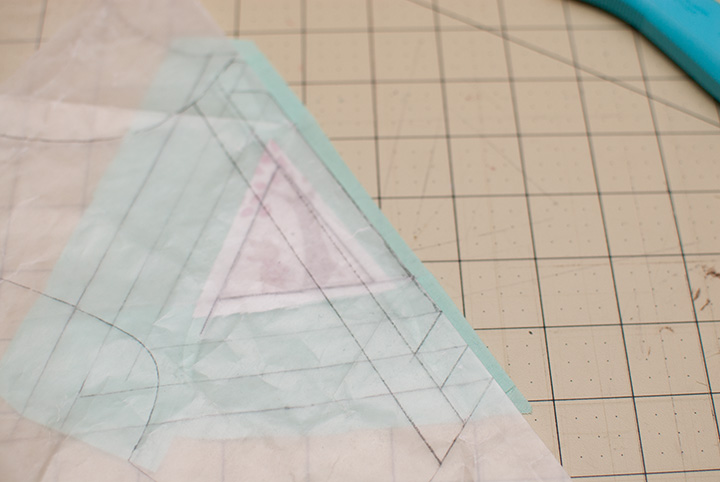
For the design. You follow I made, or you can make your own. You simply need to trace off the bodice so it’s a full bodice. Then draw your design within. To follow along for your first time I would keep with the triangle design. I drew a triangle in the center of the bodice and then drew triangles around it until I was drawing past the bodice lines and happy with the design.
Then trace your design on to the wax paper. Wax paper is not easy to draw on (since it’s waxy) but a sharp pencil works. I like wax paper because it tears away easily, and is see through.
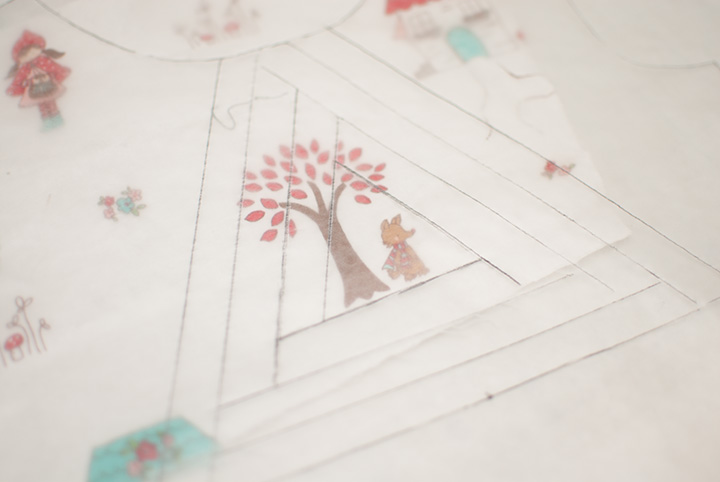
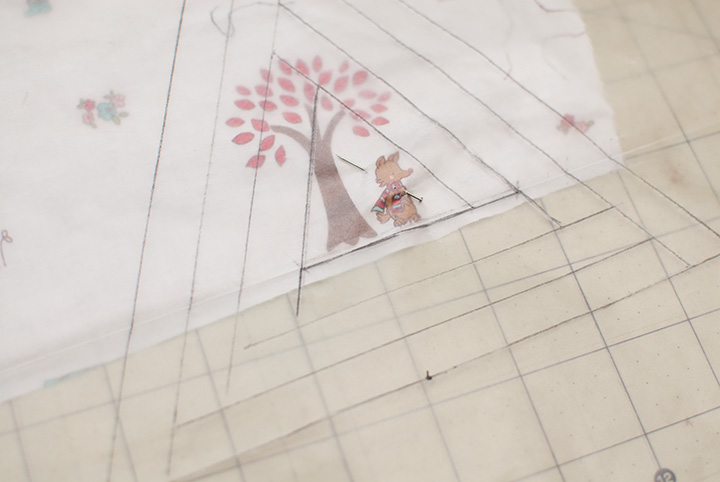
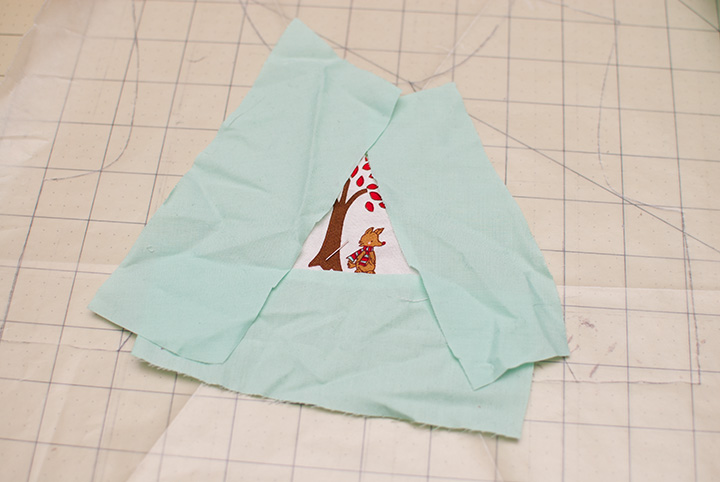
Now the fun part. Pick a fabric for the center. I had a few scraps of this fabric saved in my scrap bin and this little wolf was perfect for the center. You just need a scrap big enough to cover the center area and hang over by 1/4″
Now note, the fabric will be WRONG side to the WRONG side of the paper, but right now I have it right side up so I can see my wolf and make sure it’s how I want it since I can swap it later. IF your center shape is NOT symmetrical like my triangle is then make sure you place your fabric the right way (wrong sides together) from the start. Pin the fabric in place.
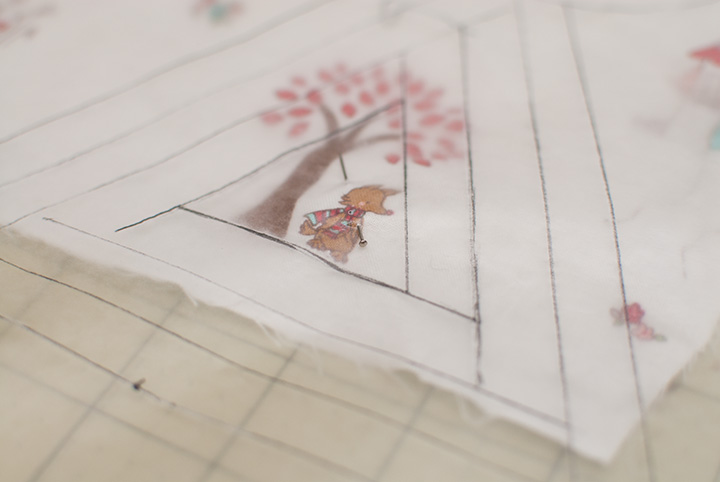
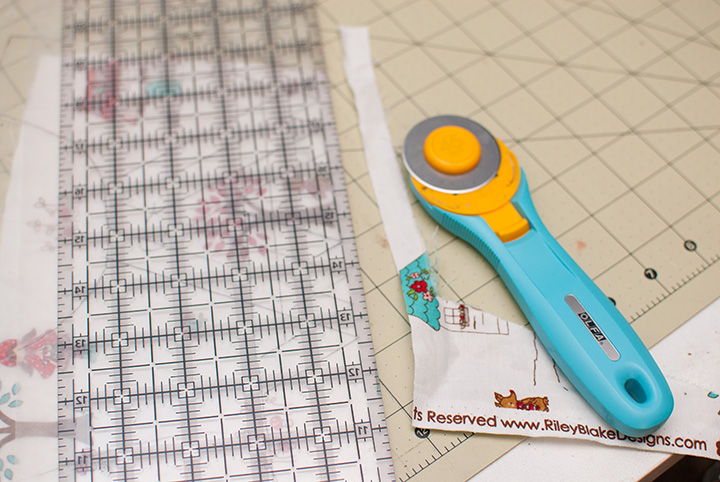
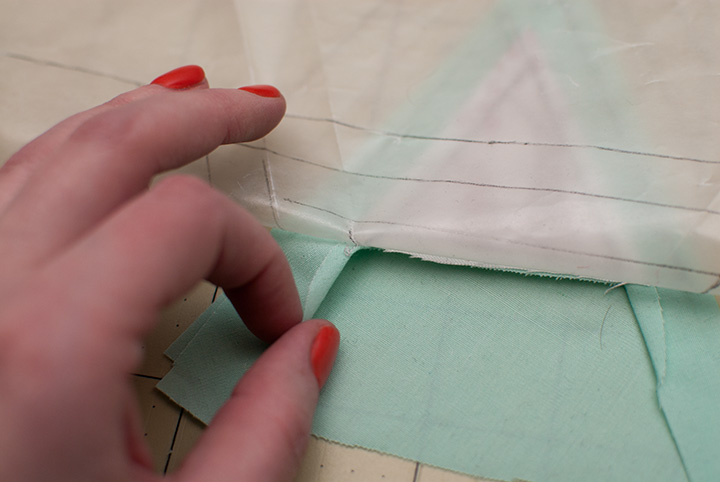
Now lets trim our center fabric to size. Fold the wax paper up to the bottom edge of the center triangle.
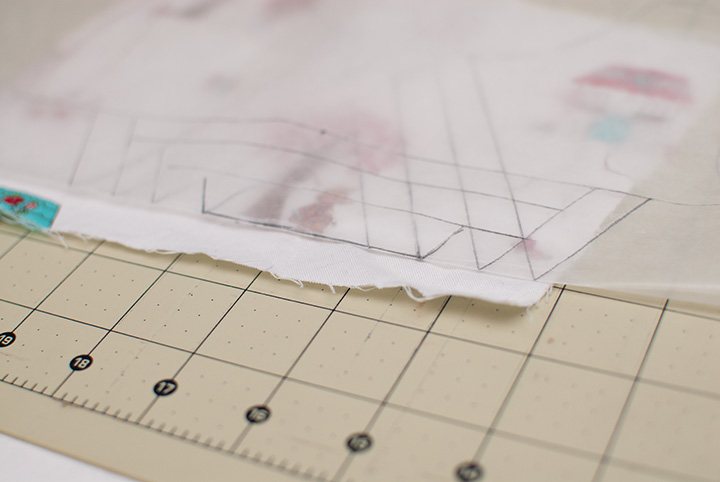
Then using a ruler (I like to use a clear ruler so I can see through it) Add 1/4″ from the folded edge and trim away everything else.
See how there is now a nice narrow seam allowance below the bottom edge of the center piece? That’s what you want.
Then fold at the side line, and add seam allowance and cut.
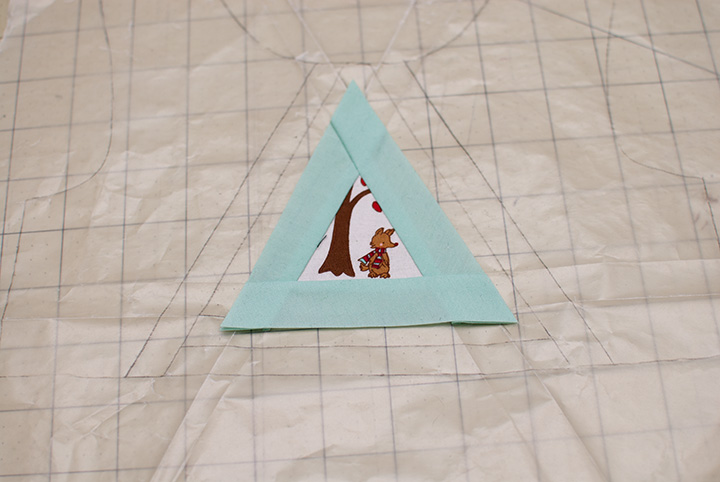
Now you should have a neatly trimmed center piece.
Now is when I flip over the center piece so it it the right way. Again, you want the fabric to be WRONG sides together with the BACK side of the paper.
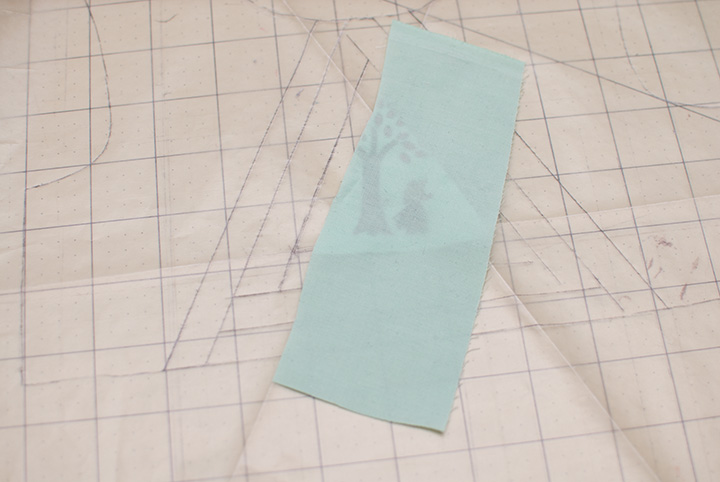
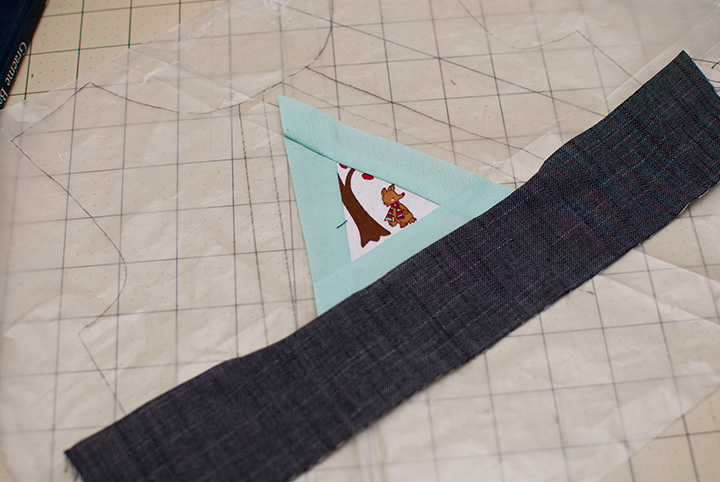
Now we will be flipping back and forth from the back side of the paper, which is the RIGHT side of the fabric, and front side of the paper which is where we will sew. So first thing first, pick the fabric for your next section, it can be 3 different colors or one color, what every you want. You just need scraps that are big enough to cover the next area (the second outline)
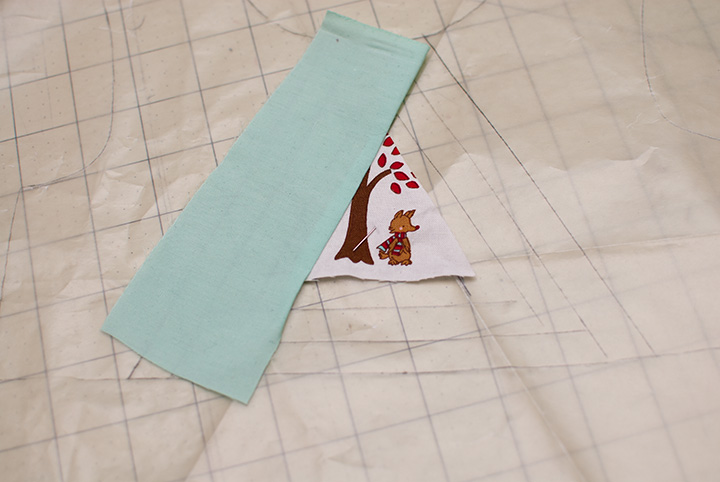
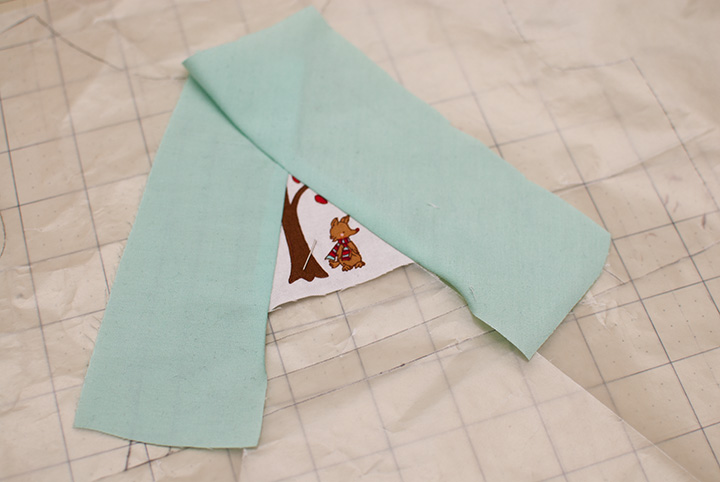
Take your first scrap, line up a straight edge with the straight edge of the center piece. Pin in place (right through the center is where I like to pin it just to hold it still for me.
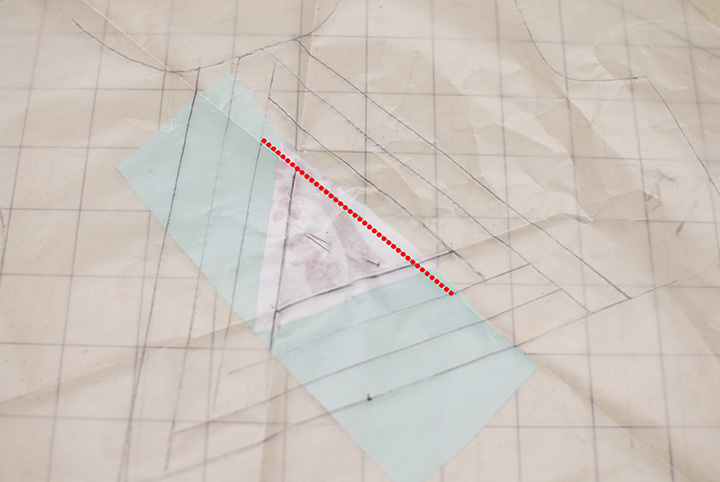
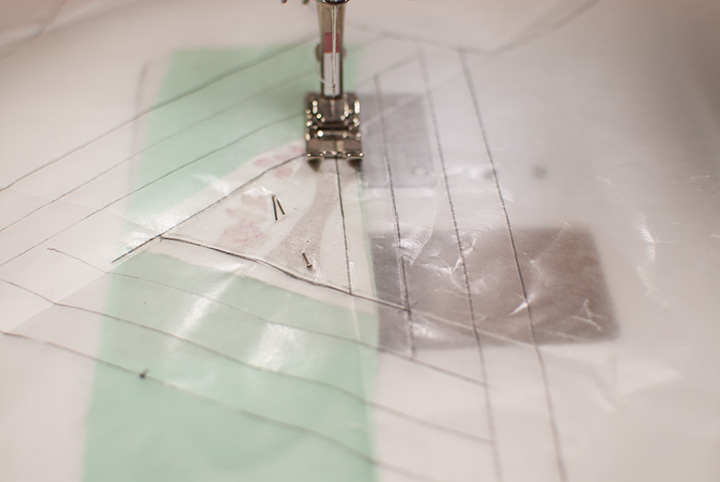
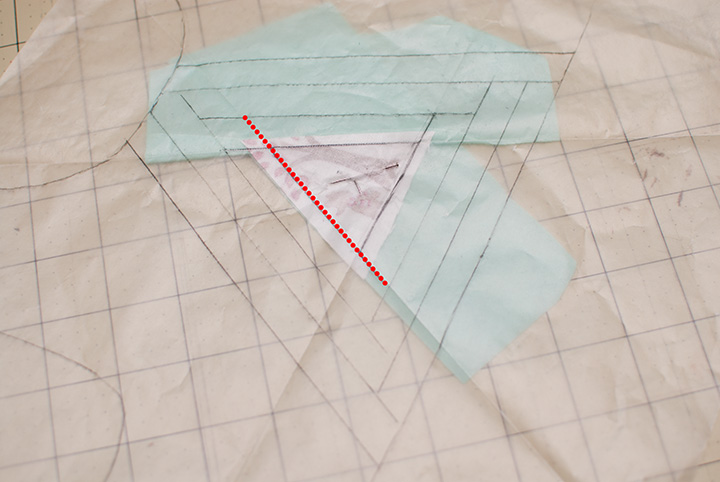
Then flip over the the front side. We are going to sew a straight line following the line of the center triangle and sewing all the way from the second outline to second outline (shown above incase that sounds confusing)
When sewing sew with a short stitch length (1.5 for me) don’t back stitch and don’t worry about over sewing the line just make sure you sew a nice straight line following the design.
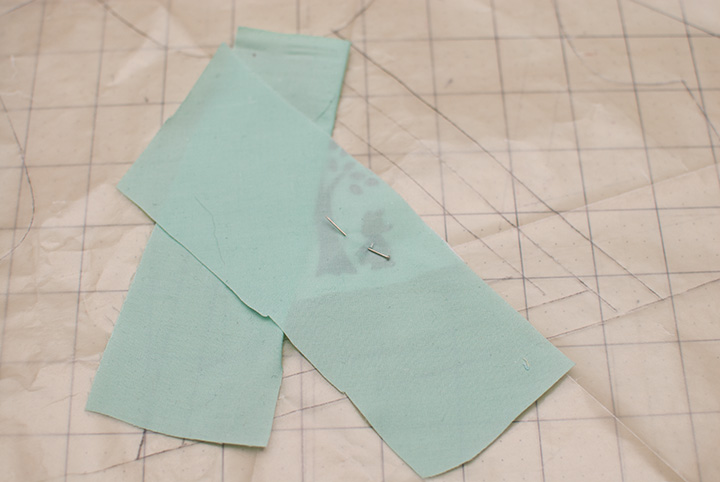
Then flip over the back side, and press the fabric over flat at the seam.
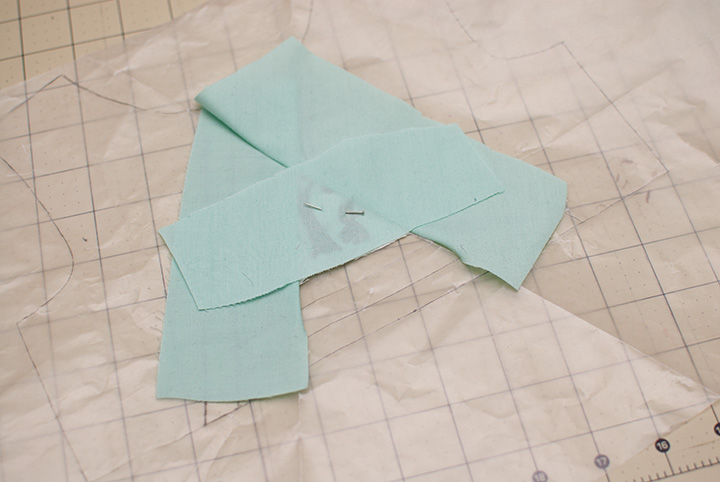
Now we will repeat with the next side. Pin the next piece in place.
Flip it over and sew along that line. You will sew through the first piece a bit.
Then press.
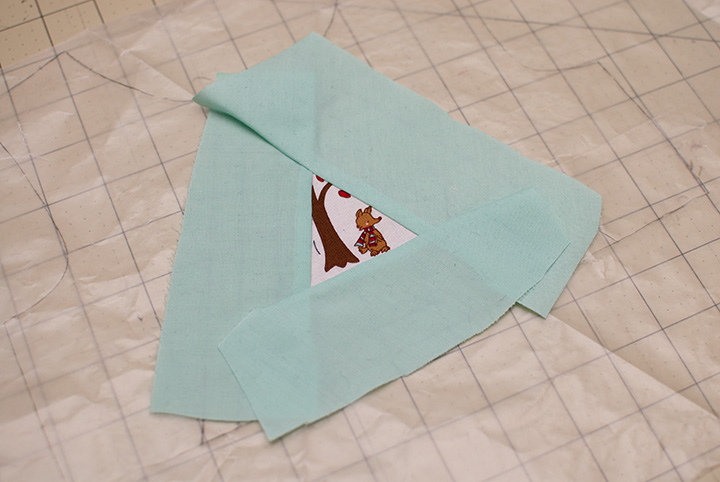
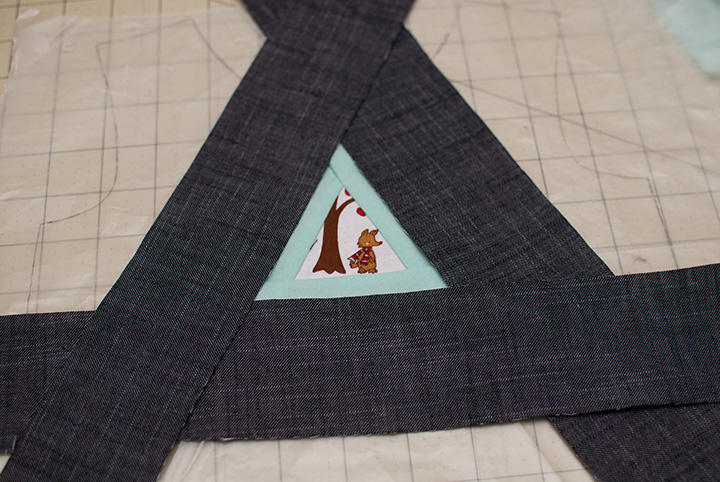
Repeat yet again for the bottom
Then press. You may be thinking but this looks so wide and sloppy, yes yes it does. So let’s clean it up.
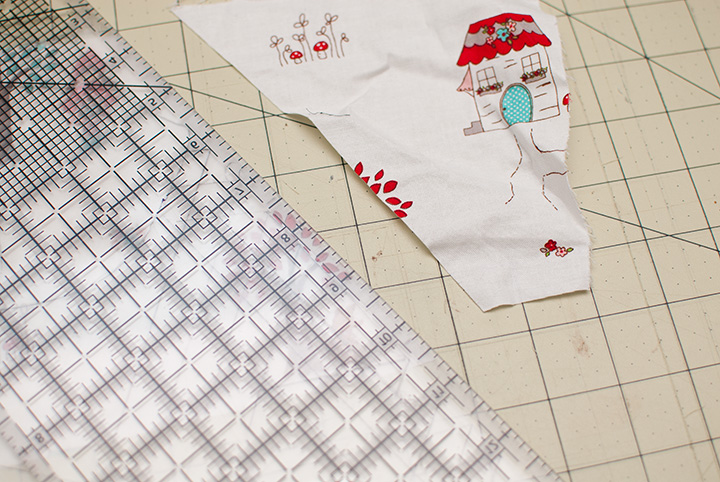
Trim the second row the same way we did the center piece, only fold the paper back to the second row instead of the center piece.
Trim away leaving that 1/4″ seam allowance.
If you are folding your piece and you find you over stitched so your paper is stuck, don’t worry just tear the fabric and stitches away from the paper so it’s no longer stuck, it will all be ok in the end.
So keep, folding and cutting until your second row is all trimmed to size.
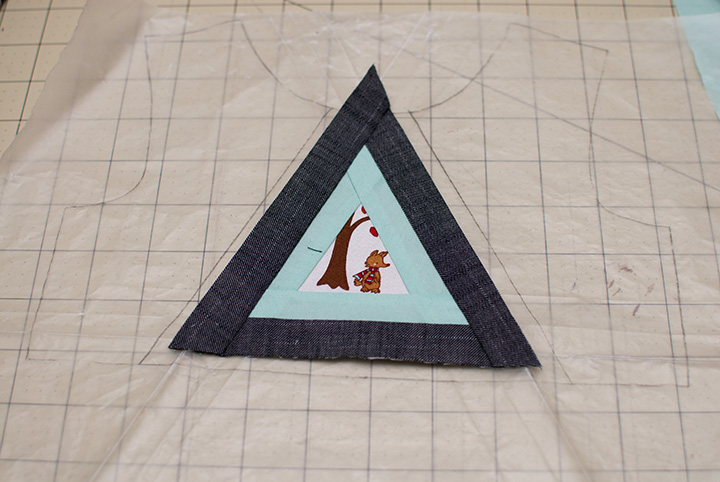
Moving on to the next row, pick your fabrics make sure the scraps are large enough to cover the next row.
Then line it up, pin it, flip it, sew it, flip it, press it. Repeat.
Then trim it down to size. Don’t worry that the triangle it going past the neckline that will all be trimmed down later.
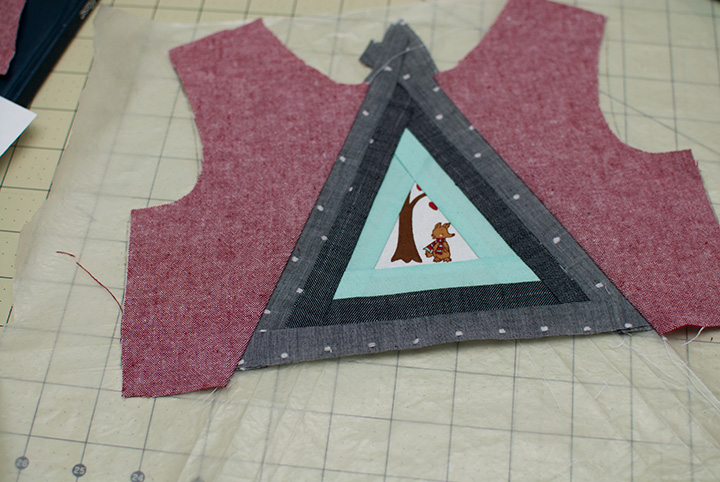
Repeat the same steps again for the next layer.
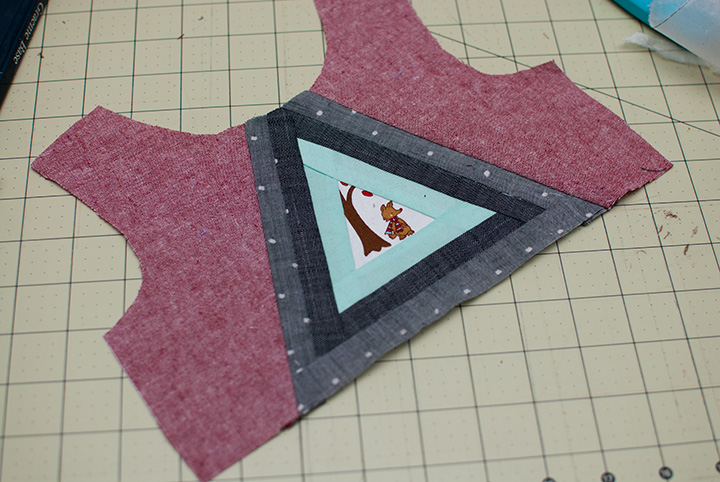
Now for the final pieces. You are sewing them all the same way so just use larger scraps (big enough to cover the rest of the bodice) and then trim the bodice to fit later.
Then cut your bodice down to size, and remove ALL of the paper, even all of the stuff stitched in on the back of the triangle. Now your bodice is ready to be sewn just as any bodice piece would.
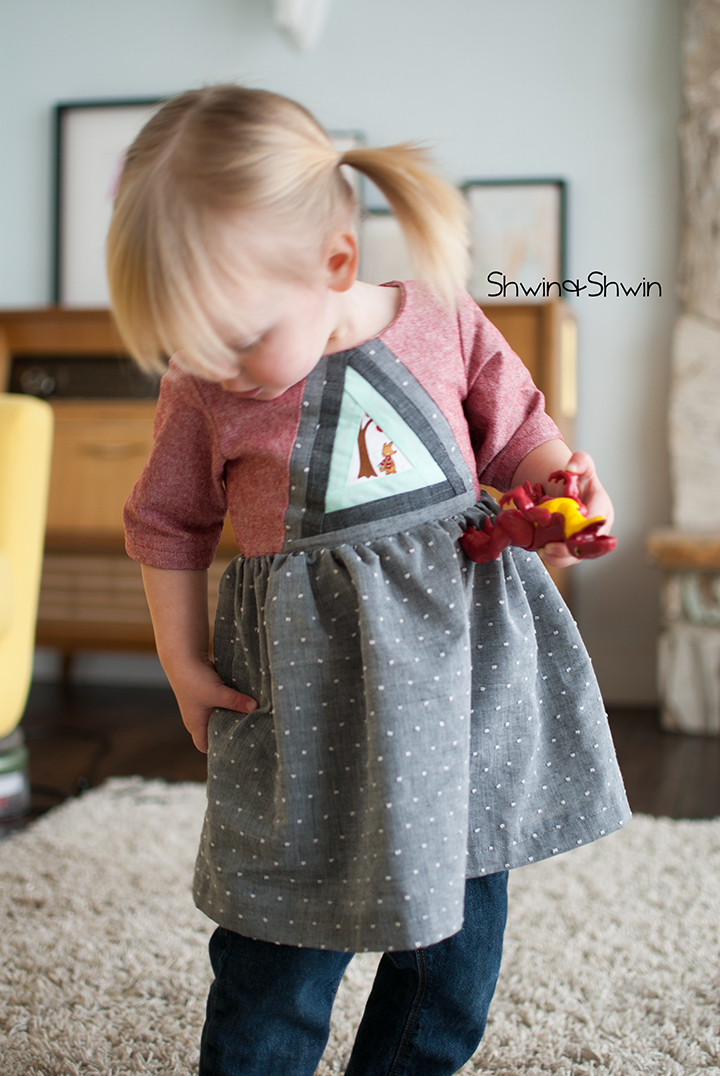
Like making a sweet little top.
Even if Penny did keep searching for a pocket. (totally forgot to add pockets for her)





Donna
That is pretty darn cute. I’m gonna have to try this sometime.
Dagbjort
WOW what an amazingly cute dress! I have to try that! 🙂
Anna
That is lovely! I have a lot of little scraps that this sort of thing would be perfect for, and I’ve been curious about paper piecing. Thanks for the tutorial–I think I will be trying this technique sometime in the near future!
Jane
This is simply beautiful! Such an amazing dress!
Amy Hindman
This is amazing! I’ve never tried this technique before but I’m going to have to someday 🙂
Sophie De Dier
Genious! What a lovely dress!
vernagrace
I like this tutorial. I’ve seen a few others, and this happens to be one of the best I’ve seen yet. Thank you.
vernagrace
Forgot to mention how cute this top is and Penny is just precious. I like pockets, too!
AUDREY
Absolutely Darling! She’s the best dressed little gal anywhere!
Karen
This was a great tutorial! I have done paper piecing before but your directions and photographs were much clearer than what I used. Bravo! I like how you framed the featured wolf fabric within a triangle. I am going to remember this and make a bodice like that! Love it!