Catching up? Check out these posts:
- FREE Boys Blazer Pattern
- Selecting Fabric and Patterns
- Cutting and Prepping the Pieces
- Sewing and fitting the outer layer&lining
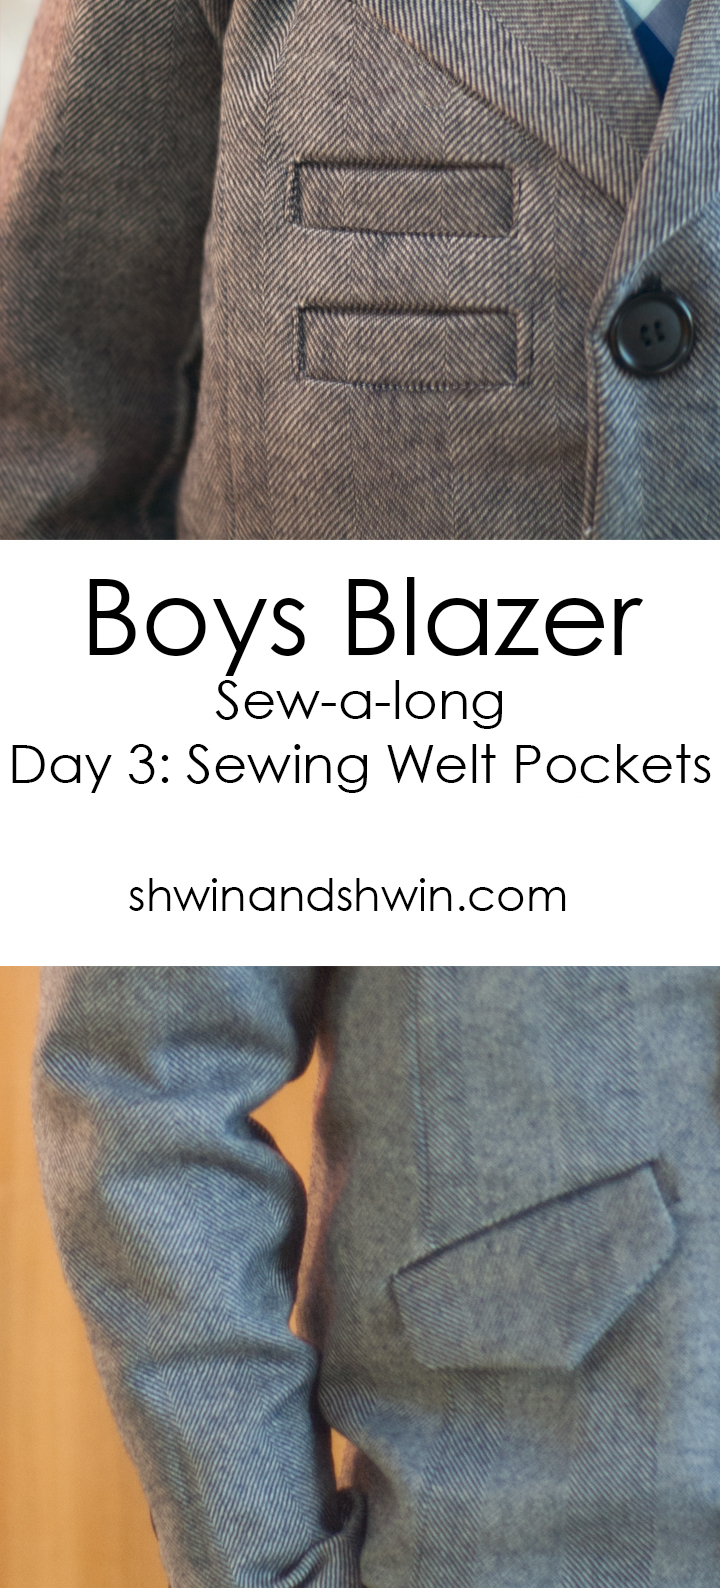
It’s Day 3! Today we are doing welt pockets, scared? Don’t be! Welt pockets are one of my favorites, and although they can seem intimidating they are really quite easy to do, and once you get it you will be so proud of yourself and start sewing welt pockets on everything.
If you are using a different blazer pattern than the FREE pattern I shared you can still add welt pockets if you so desire. I feel like they add a certain elegance to a blazer. To add them just use the pocket pattern pieces. You may have to guess a bit on the placement, you can see where I added these to use as a guide. Just one note the pockets are designed for a size 8 so if you are using them for a smaller size you may want to adjust the sizing a bit but this pocket size should work well for a size 6-10.
So let’s get into it
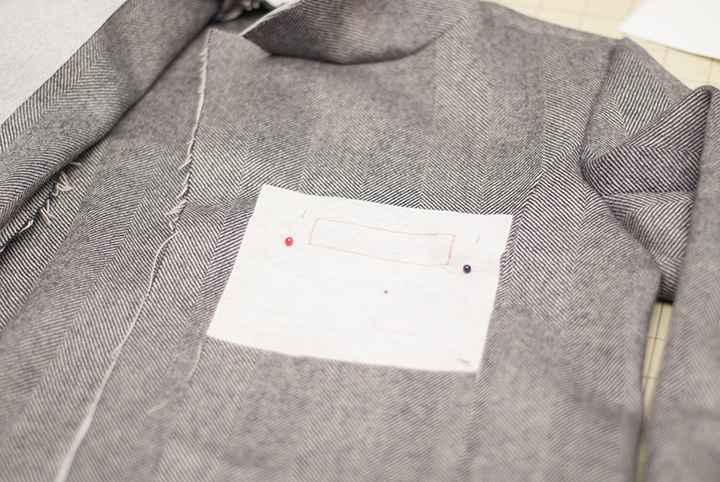
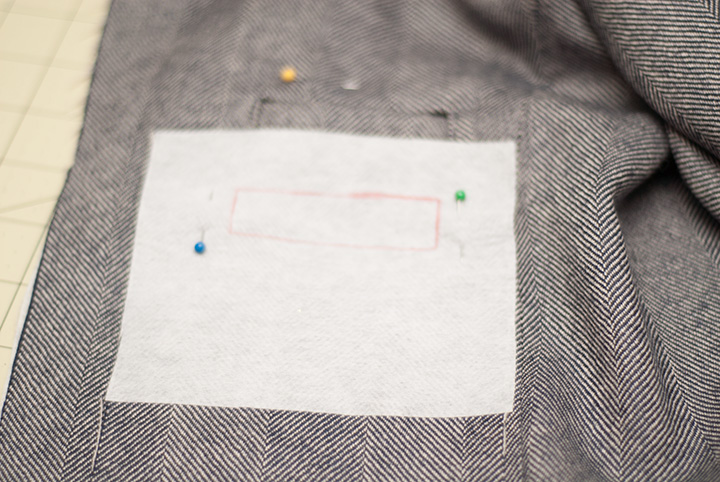
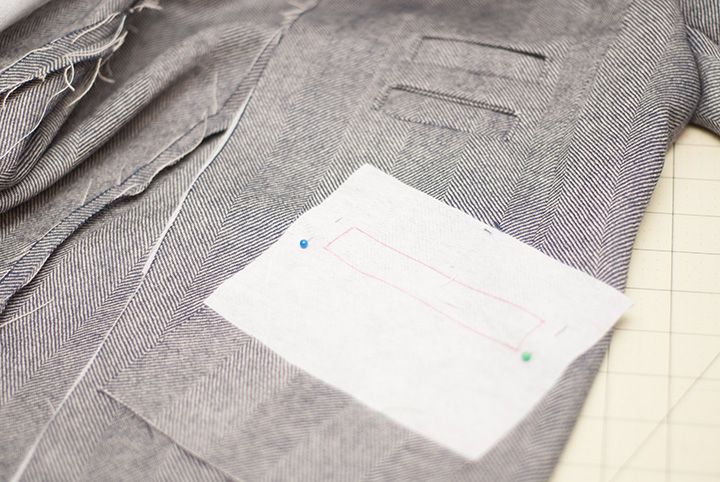
Now if you remember I mentioned that I put the chest pockets on the wrong side of my blazer, but didn’t notice until it was too late. So I am embracing the mistake since it really doesn’t matter, however for the tutorial I flipped all the photos so you can see what it SHOULD look like. Chest pockets should be on the LEFT side. I did two welts for my chest pockets, not traditional just something I wanted to do. So, place the pocket so the rectangle on the pocket piece matches up with marking on the chest piece. Pin in place. (right sides together) If you are print matching be sure that the pocket piece matches the print of the front when the right sides are together.
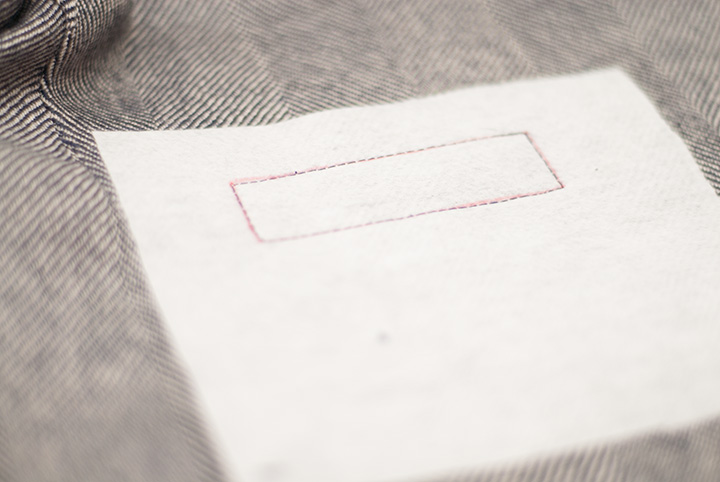
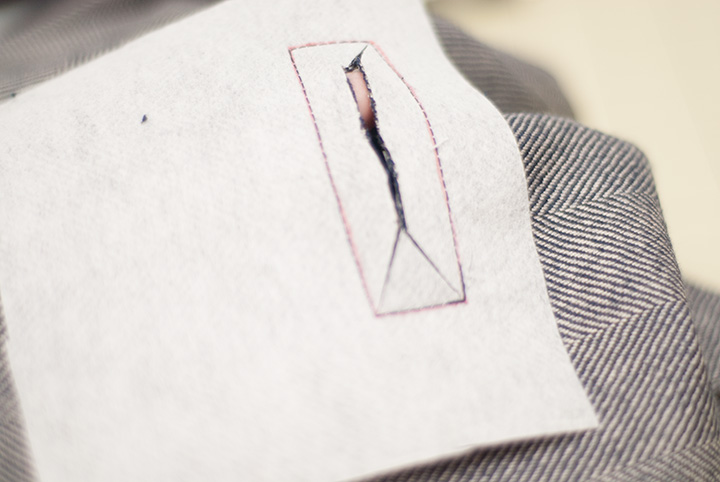
Sew around the edge of the rectangle. Be sure to have crisp corners by having a shorter stitch length, and don’t over stitch a corner.
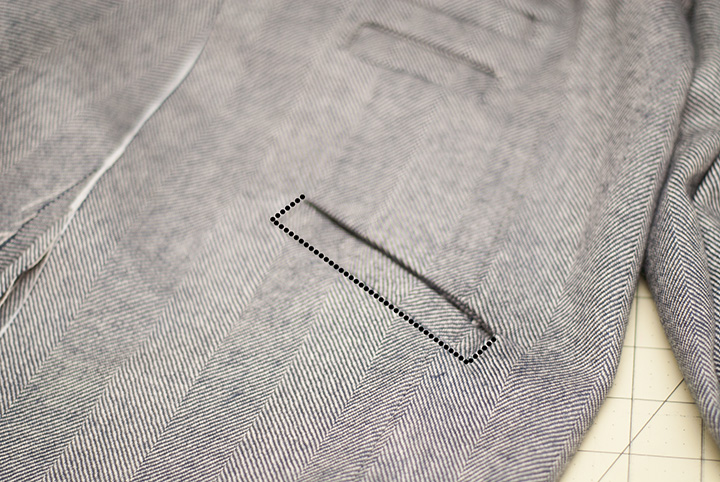
Cut a slit down the center and then angle into the corners. Be sure to clip right into the corner but DON’T cut through your stitches.
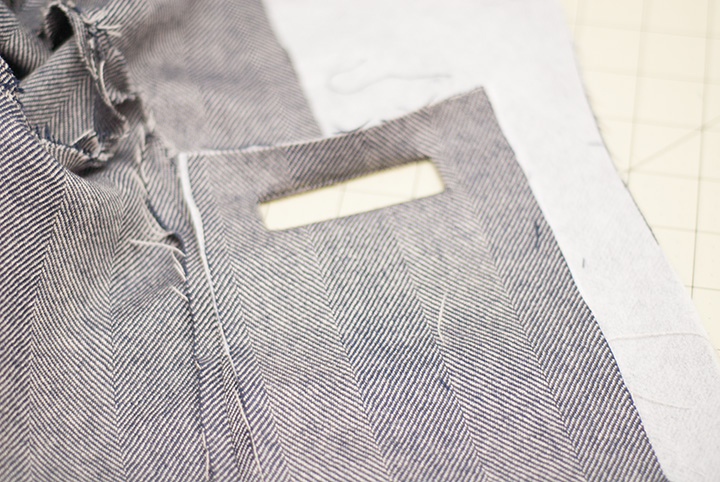
Push your pocket through the slit and around to the back. Press well so the rectangular opening is crisp. **Tip you want this to be VERY crisp so use steam and spray starch if needed.
Then press the bottom of the pocket piece up flat. Press well.
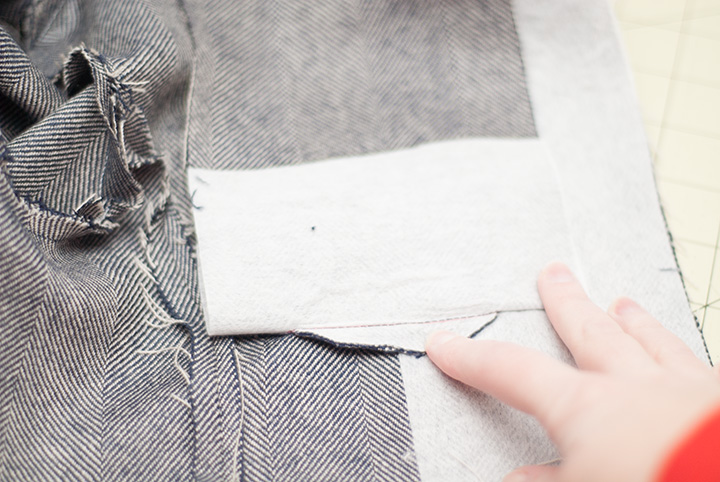
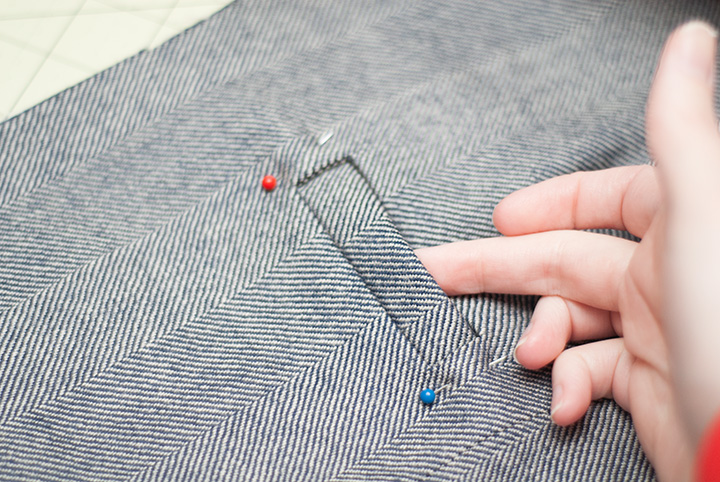
Next take the pocket piece and fold it back down so the top of the fold is at the top of the opening. This will create a pleat in the pocket piece that covers the opening. Pin in place to secure.
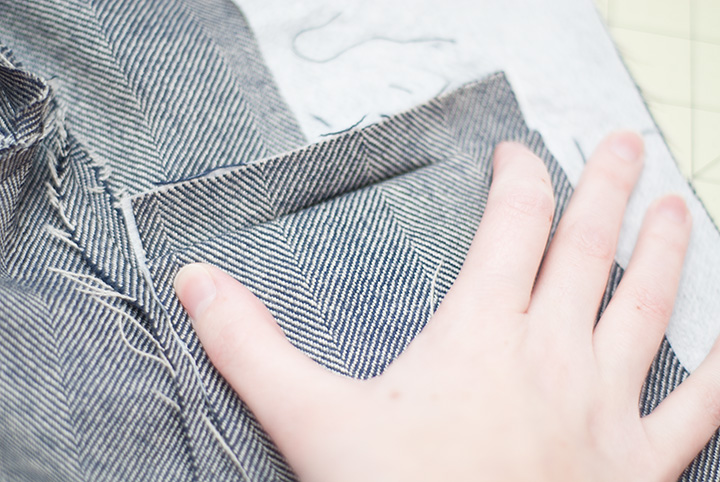
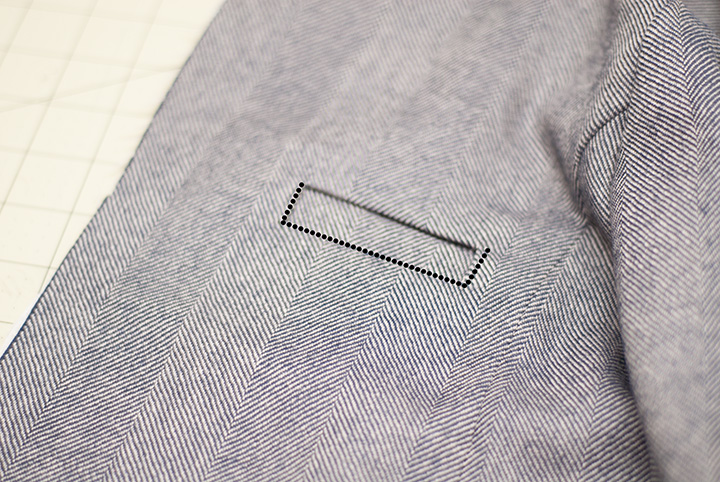
Now when you flip it around to the front you should see a neat little pocket. If your pleat is crooked across the opening, adjust that now, you want the opening to be invisible from the front view so the fold should come right to the top.
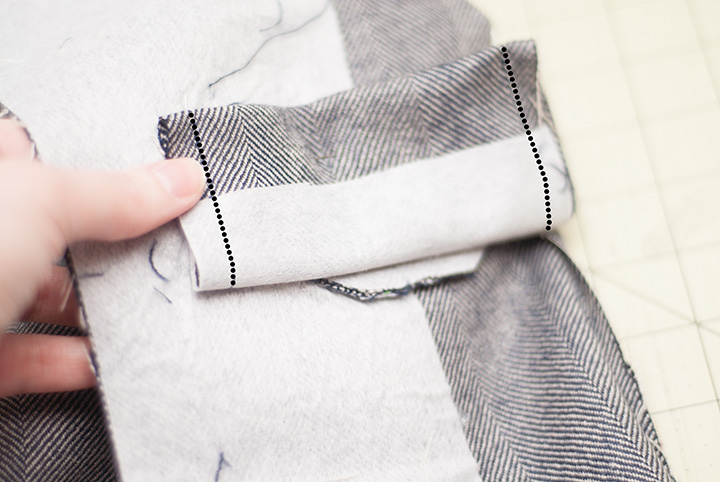
Now sew down the side of the pocket and then when sewing across sew in the seam so it blends away, then sew back up.
Then flip around to the back. Fold the bottom of the pocket piece up to meet the top. Sewing JUST through the pocket piece and NOT the jacket front sew the sides and top to close the pocket. Then fold the pocket up, and pin in place so it’s out of the way if you are adding a second pocket.
If you are adding a second pocket match up the second pocket piece just as you did the front. Then sew it the same way.
Now you should have two pockets and they will lay neatly on top of each other.
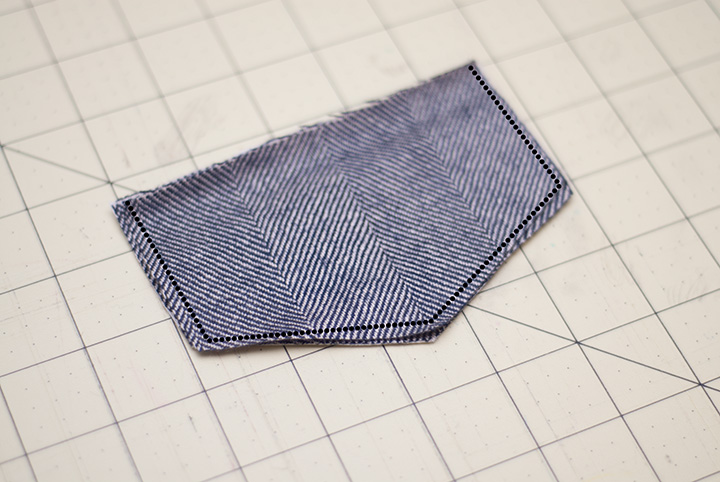
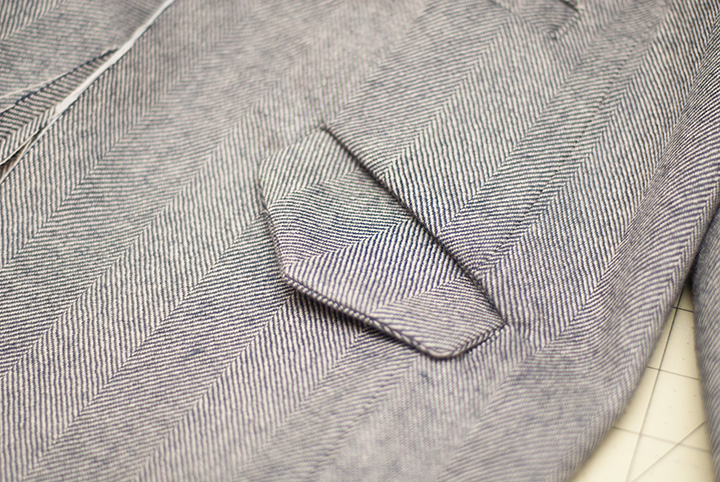
Now for the flap pockets. With right sides together sew one flap to a flap with the interfacing. (use 3/8″ seam allowance even though it looks like less in the photo above )
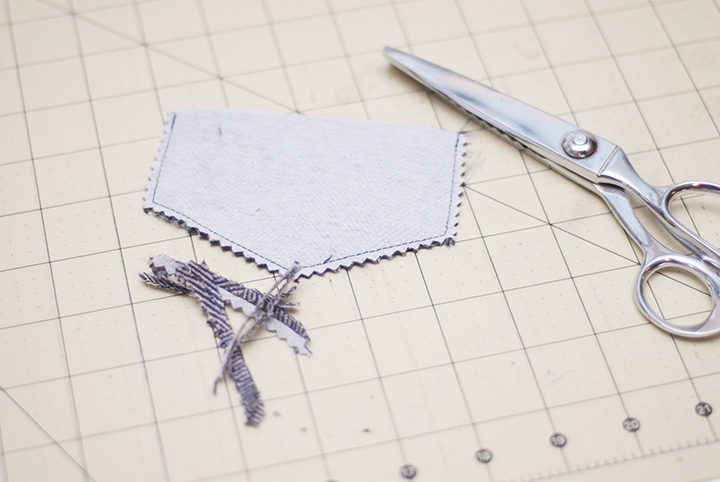
Now trim the bulk away. I like to do this with the pinking shears since it removes bulk at the points without making the seams all bust apart.
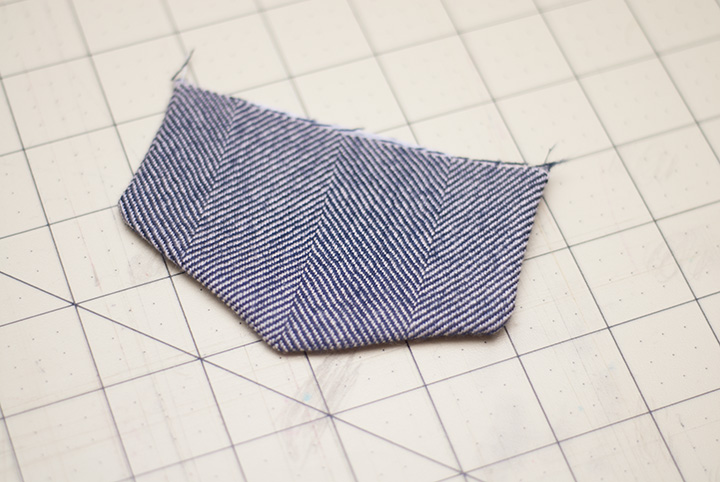
Turn the flap right side out and press well. Repeat for the other flap.
Now for the hand pockets. Place them using the guide on the pattern (which is half the placement since it’s over a seam)
Repeat the steps above for a welt pocket right up to the sewing the front.
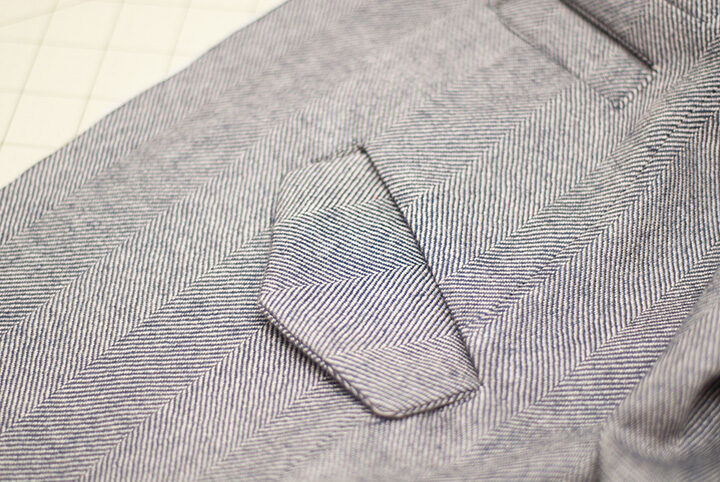
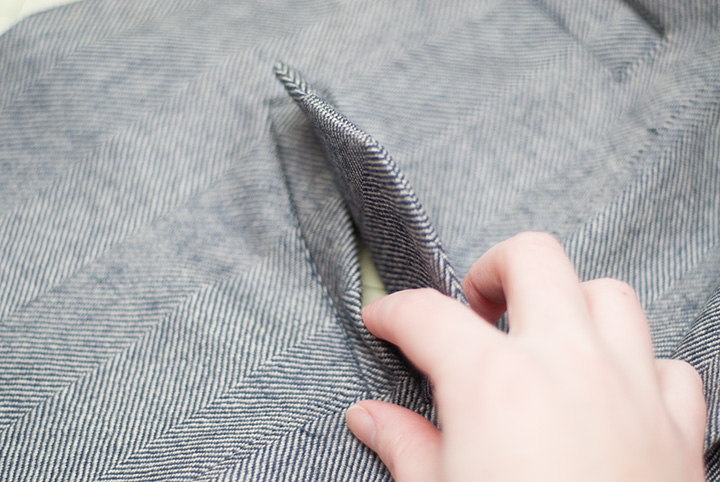
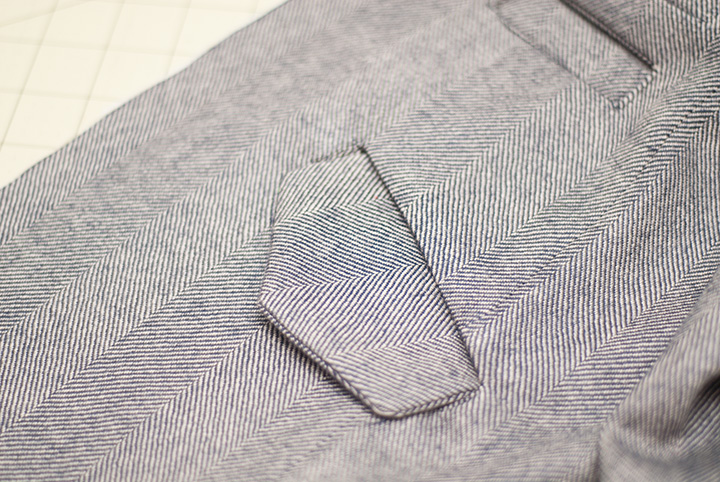
Then insert the flap into the pocket opening.
If you turn it around to the back you will see the flap coming through. Stitch the flap in place sewing through the flap and the top of the pocket piece NOT the jacket.
Then you will have a flap with an opening pocket below.
Finish by folding the pocket piece and sewing the pocket like you did for the last ones. Then repeat for the other side. Then you have your pockets. Not to bad right?
Tomorrow we will sew together the outer and the lining!


LUCIA
ESTA HERMOSO, TENGO DOS HIJOS MAS GRANDES ESPERO CONSEGUIR UN PATRON A LA MEDIDA Y COSERLO CON TU TUTORIAL MUCHAS GRACIAS POR SER TAN GENEROSA. FELICIDADES.