Catching up? Check out these posts:
- FREE Boys Blazer Pattern
- Selecting Fabric and Patterns
- Cutting and Prepping the Pieces
- Sewing and fitting the outer layer&lining
- Sewing the welt pockets
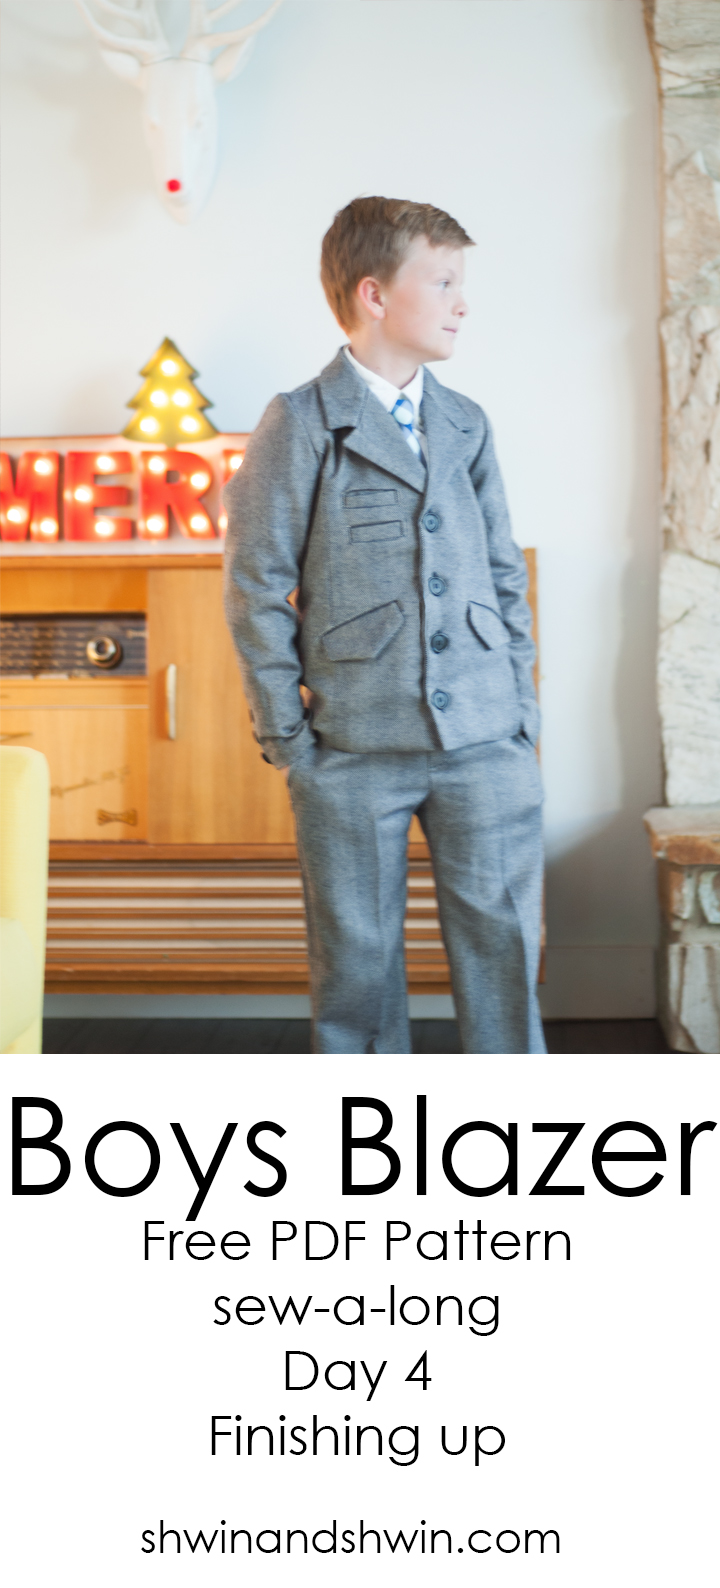
Today we are finishing up the blazer! Attaching the lining to the outer and adding all the buttons. It’s a pretty simple day with lots of tips.
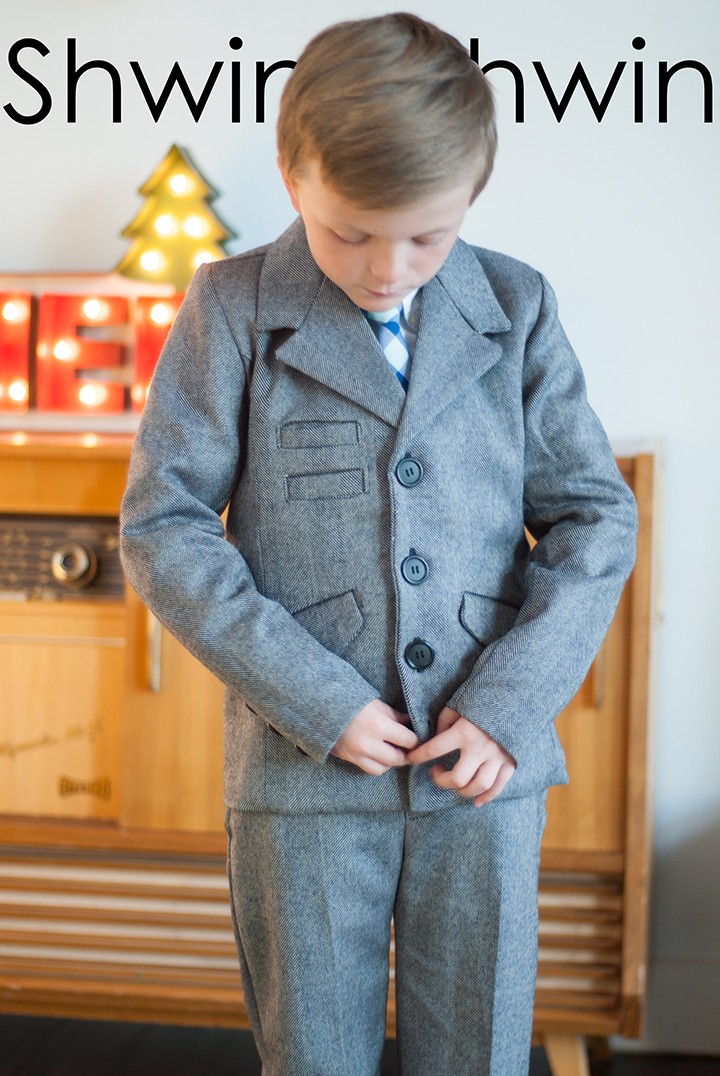
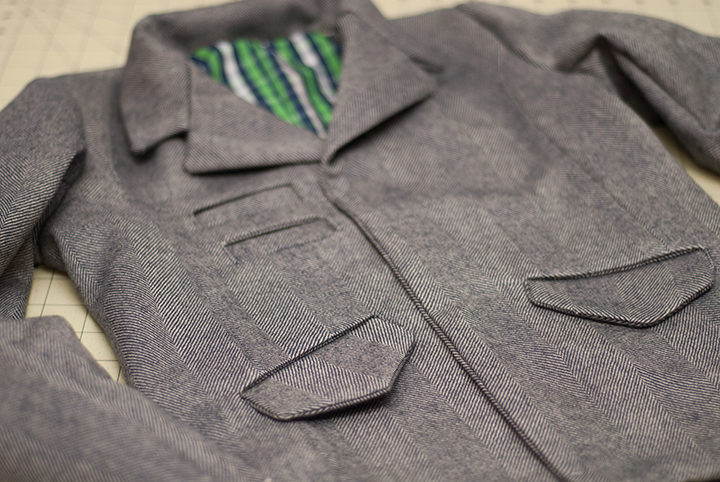
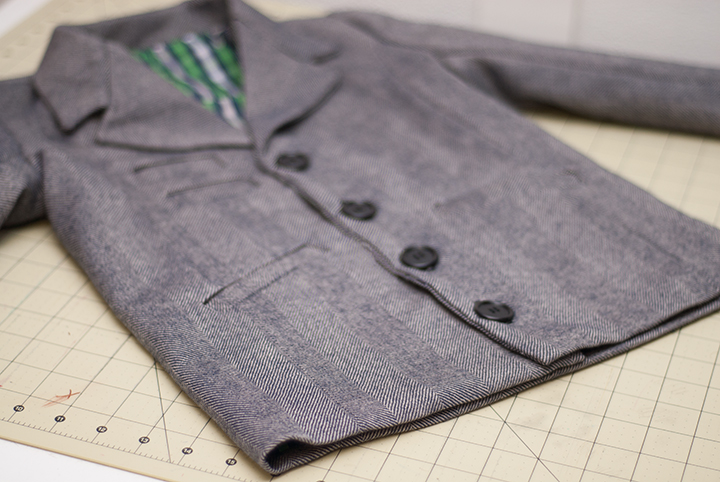
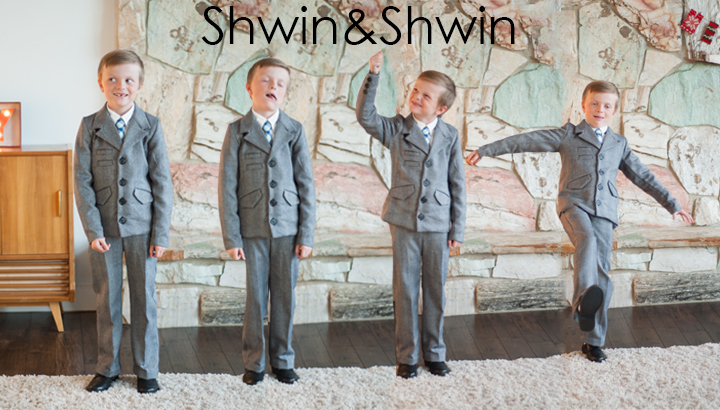
So let’s move on to the buttons, the patterns has the markings for 3 buttons, you may notice I used 4. The reason I did 4 is because my husband voted and liked 4, either is fine. So let’s jump into finishing up the blazer.
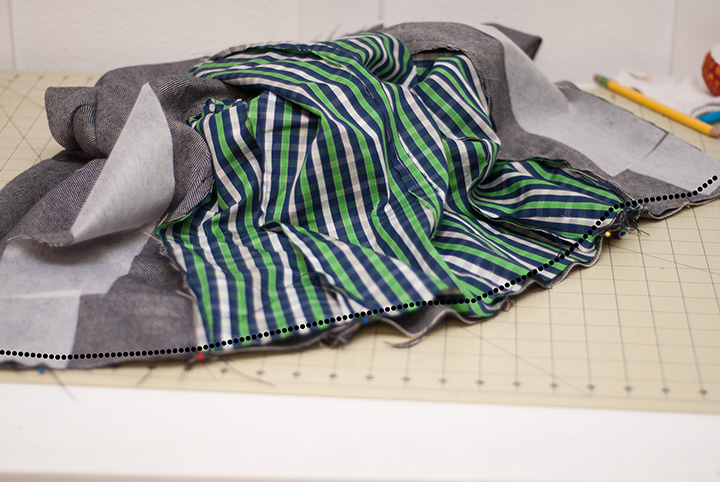
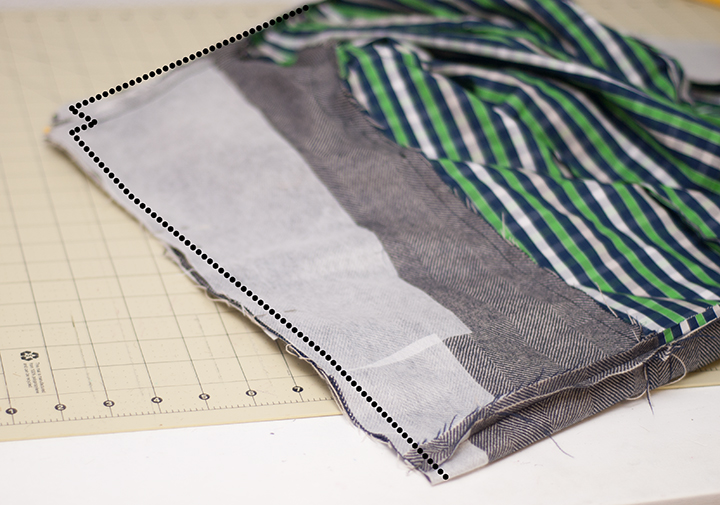
With right sides together sew the lining to the outer layer along the bottom edge. Match up all the seams along the way.
Now you will press that seam open flat.
Now with right sides together match up the lining and the outer all along the front edge and collar, the seam between the lining and outer will be toward the lining and not at the bottom edge.
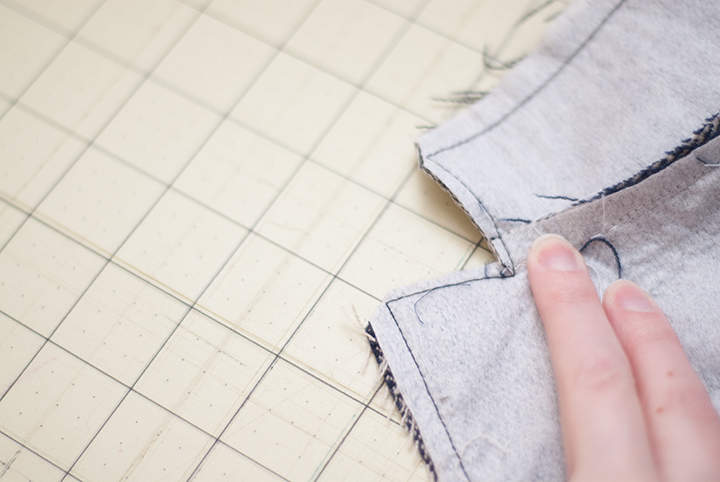
You will now want to clip the corners around the collar as well as clipping a notch into the lapel corner, and trim away the seam allowance a bit to remove bulk. (repeat with the other side)
Now, with a seam ripper rip a hole into the seam of the lining by a few inches.
Then turn the jacket right side out through the opening in the lining. Sharpen all the corners and press all the seams and edges well.
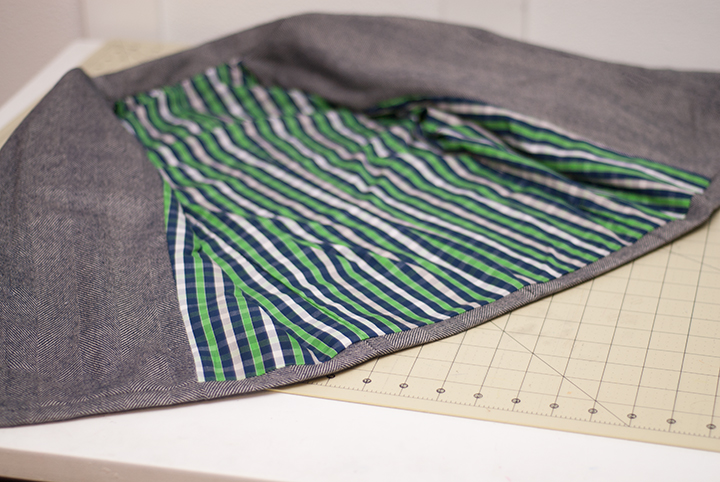
You will see how the lining is all neatly placed on the inside and instead of a seam at the bottom of the jacket or having to do any visible top stitching you have a faux bagged lining (because this way is easier)
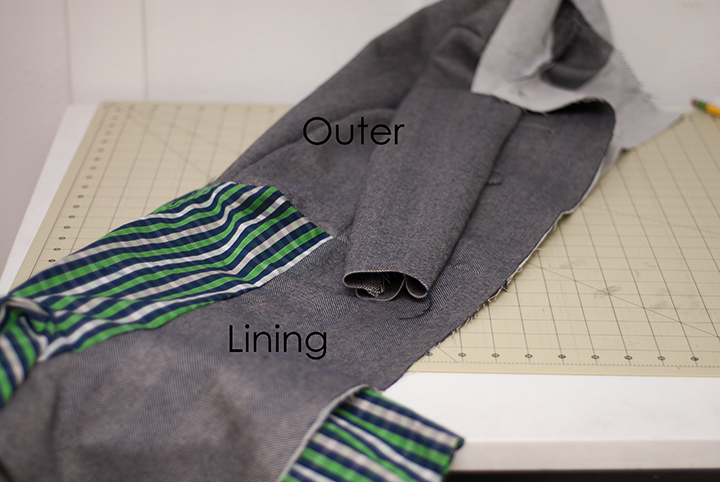
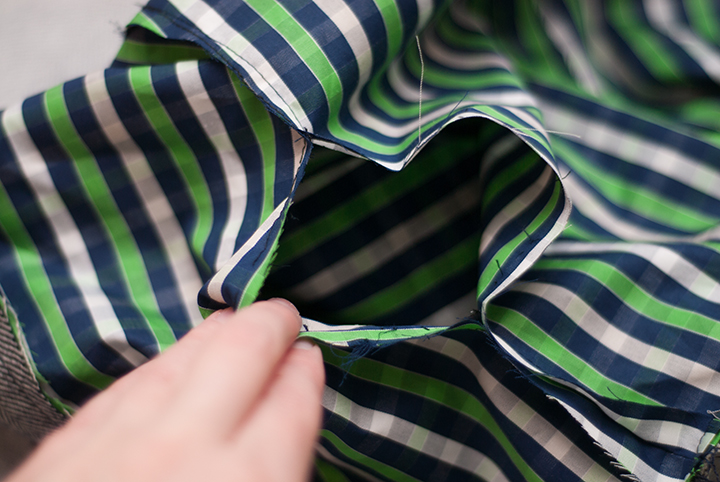
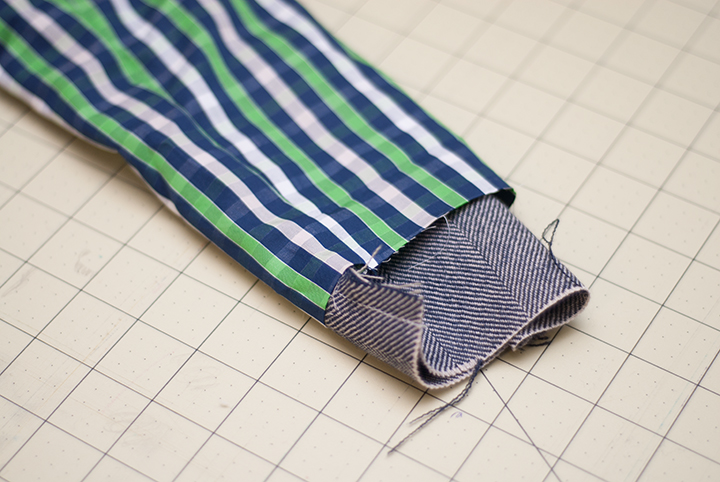
To hem the sleeves turn the blazer inside out. You will notice that the outer sleeve hangs out past the lining.
Push the lining down out of the way for now. Press the top edge of the outer sleeve under by 1/2″
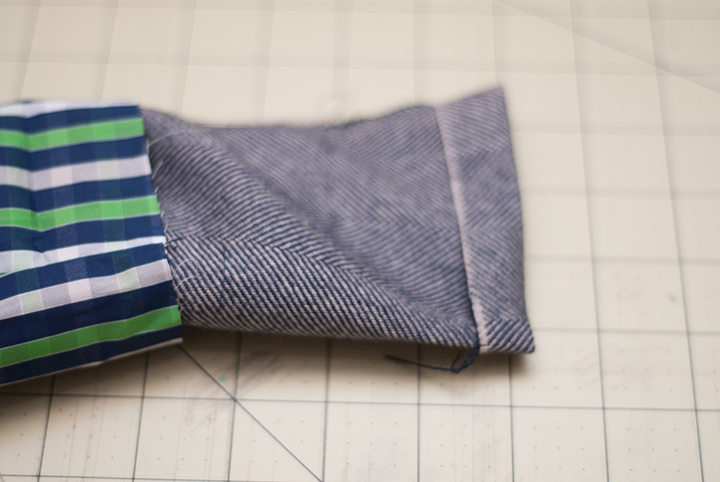
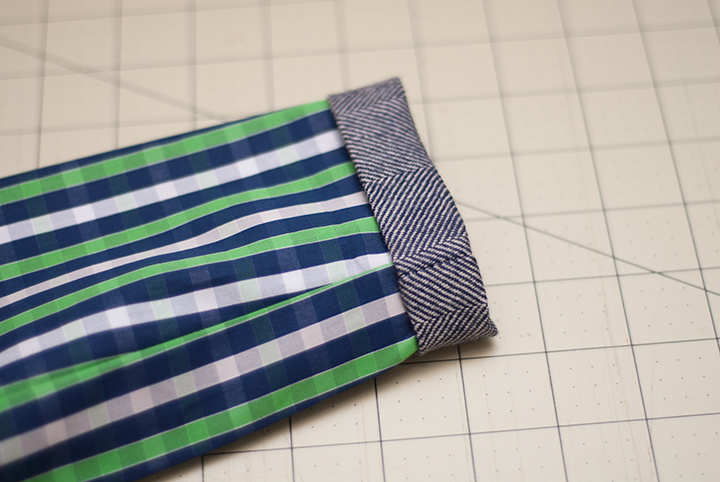
Now pull the lining back down into place and then fold the outer sleeve again by 1″
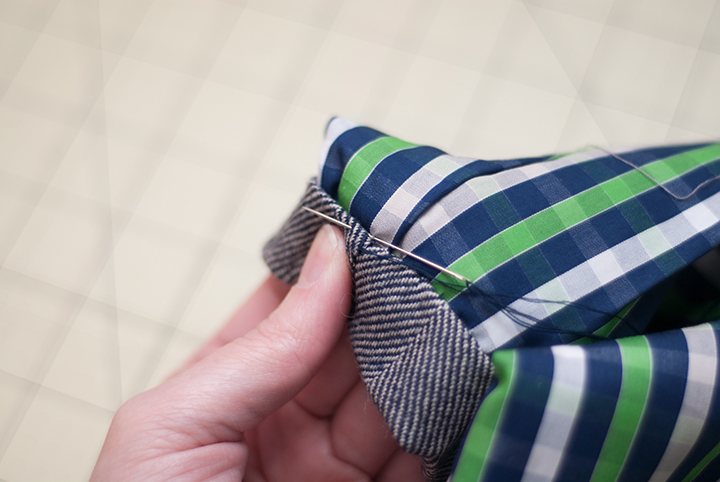
Then using a blind stitch/slip stitch to sew the outer to the lining. To do this you will be weaving the needle in through the lining and snagging the folded edge of the outer sleeve. Do not go through to the front side of the sleeve, and be sure the stitch is all being sewn under the folded edge so the stitch is invisible. Repeat with other sleeve.
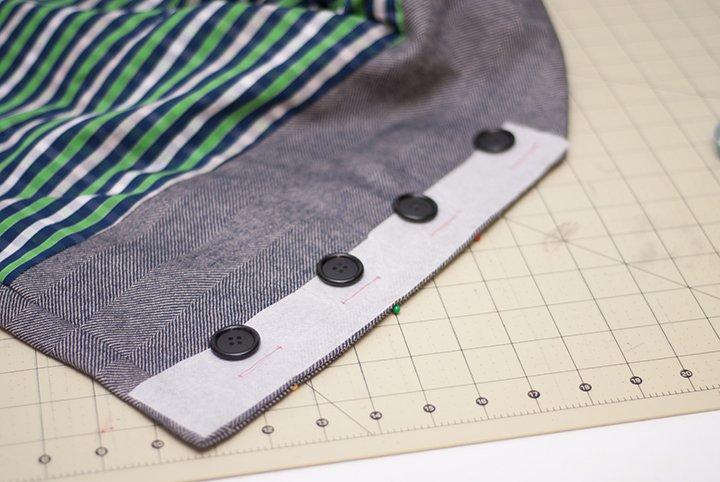
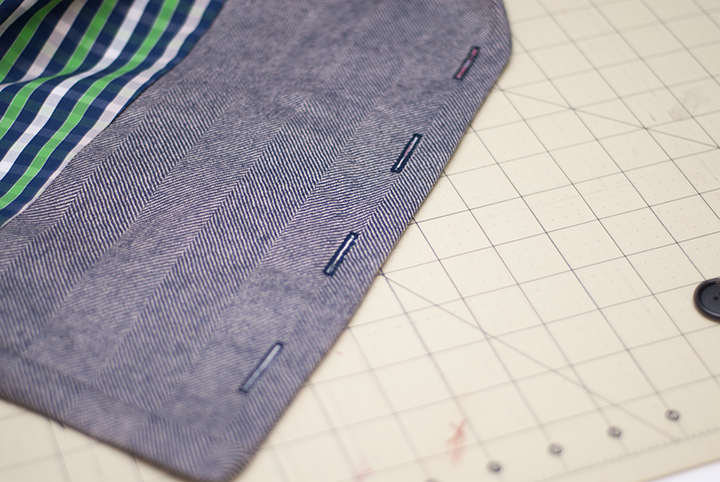
Now for the buttons. The front of the blazer is well stabilized since there is a double up of interfacing, however I use a tear away stabilizer, not to stabilize (although it doesn’t hurt) but so I can trace on my button hole markings, since its hard to see the markings on dark fabric.
Place button holes on the LEFT side so the jacket buttons left over right.
Then after you sew the button holes you simply tear the stabilizer away and the buttons holes are done.
Then sew on the buttons.
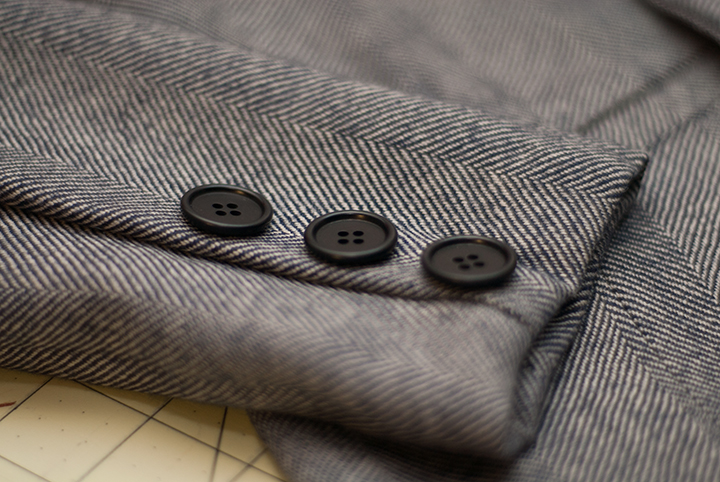
Lastly, although I skipped having the button placket at the sleeve (since this is easier) I did sew 3 buttons along the back side seam for the look of having a button opening.
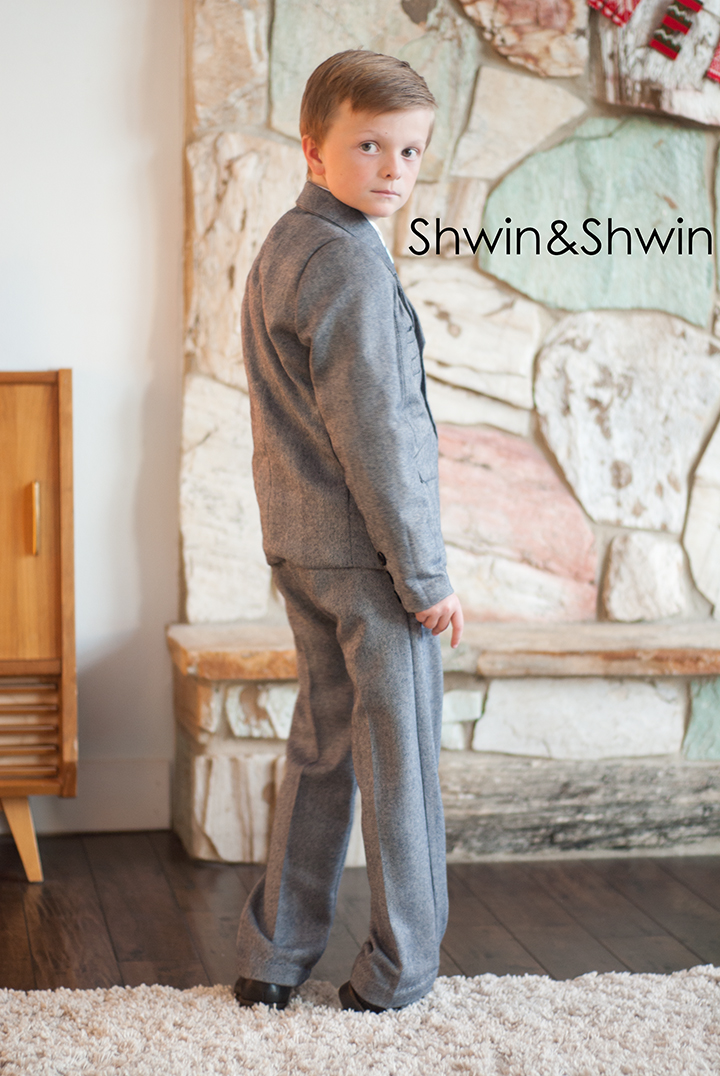
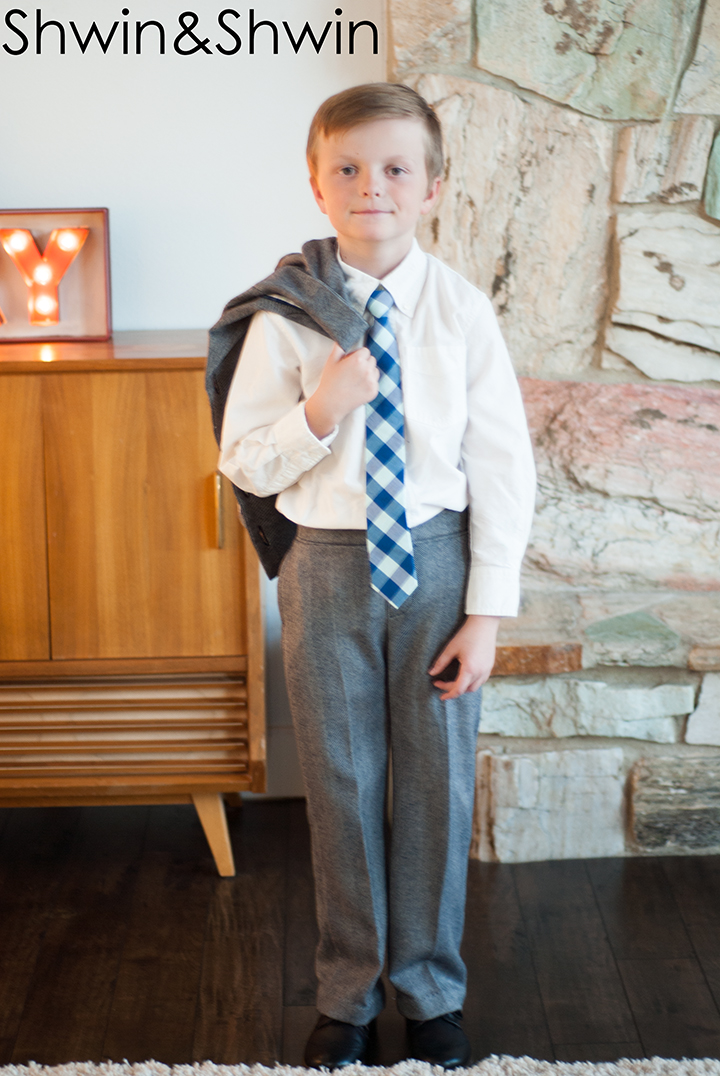
To finish off the suit I made matching pants using the #9 trousers. Which I love, and I pressed a crease down the middl of the leg for the “dressier” look ( I also did a blind hem so the pants looked dressier.
Now he has the perfect Christmas suit, that will hopefully fit him for a while.
So let’s see what you made! Share your blazer pictures on our Facebook Page, or in our Facebook Group, or Flickr group, or on Instagram with #ShwinBlazer
