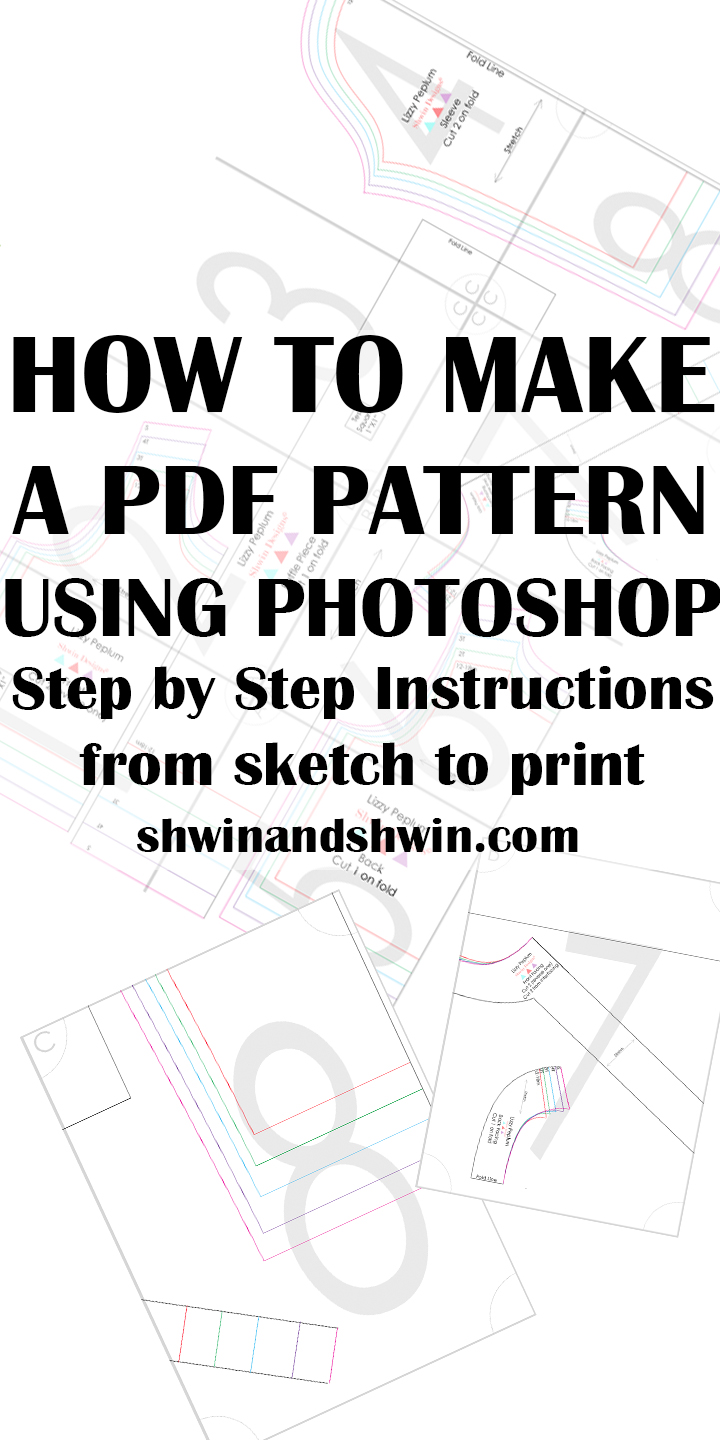
Welcome to day three! We are still making our way through how to make a PDF pattern using photoshop. Incase you missed it here is a link to DAY ONE, and DAY TWO. Today I am going over how to make a few of the things I use on every pattern, and because of this, I make them once and save them as a separate file, then all I have to do is cut and paste them when it’s time. What are these things? The grid that divides up the pages, and things like grain line, and stretch arrows, and my logo. So let’s get started on those.
When you are making a pattern that will print over several pages, and for photoshop you don’t have a thing like art boards that just divide and print it for you. I create a grid, so it’s easy to divide up the pages later. (more on dividing them later)
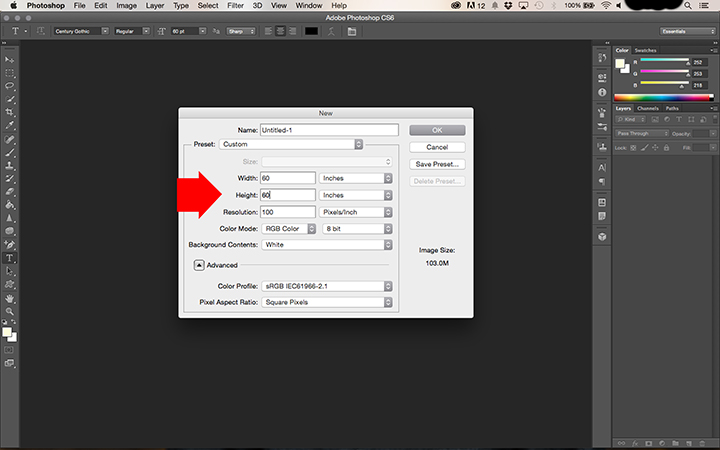
So to start I make it 60″X60″ because chances are my patterns won’t be larger than that.
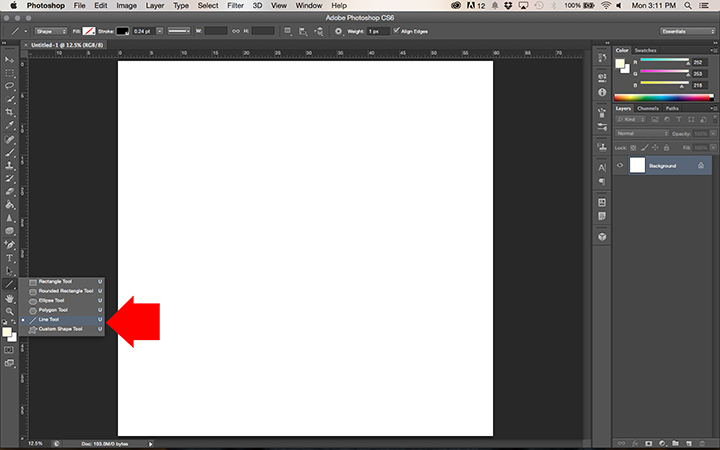
Then I use the Line tool.
I change the weight to 10px.
The fill to a gray.
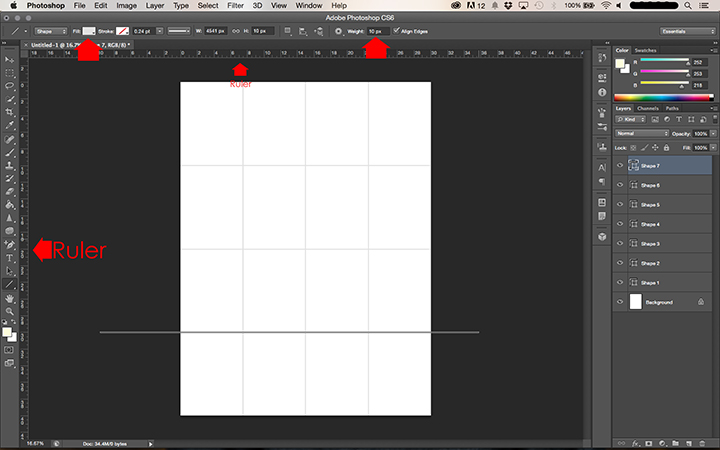
Then I use the ruler along the top to run a straight line down every 7.5″
Then using the ruler along the side I run a straight line across every 10″
This leaves me with “art boards” that are 7.5″X10″ which happens to be my printing space size.
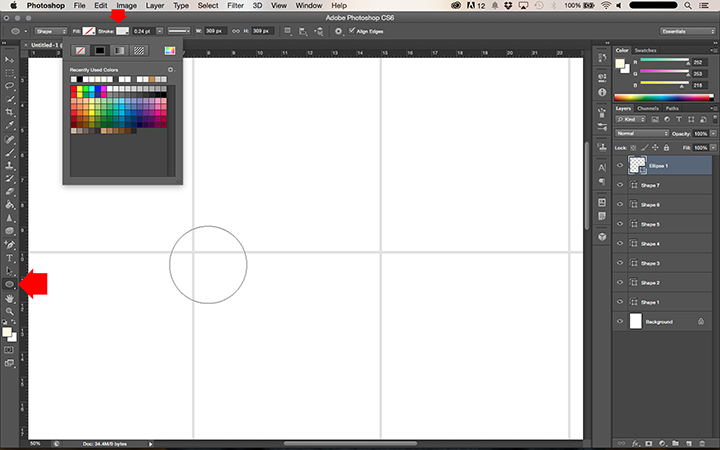
Next I use the eclipse tool, to make a circle. Hold the shift key as you make the shape and your circle will be nice and even. I make this so when the pages are being taped together it’s easier to match them all up.
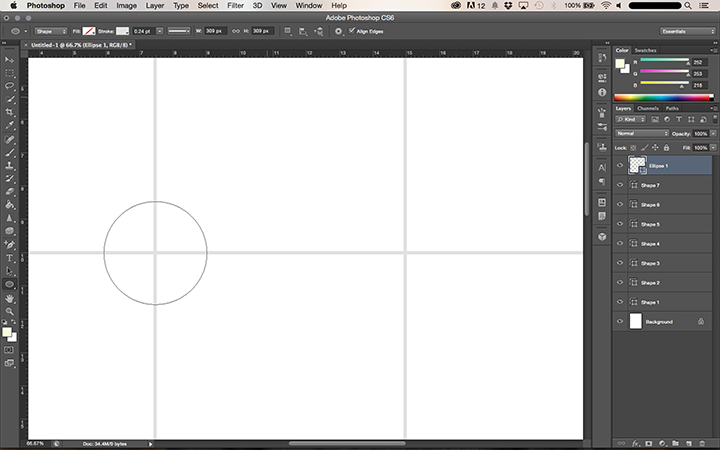
Then go to Edit —> Free Transform (⌘T) and drag the circle so it is centered over the cross lines.
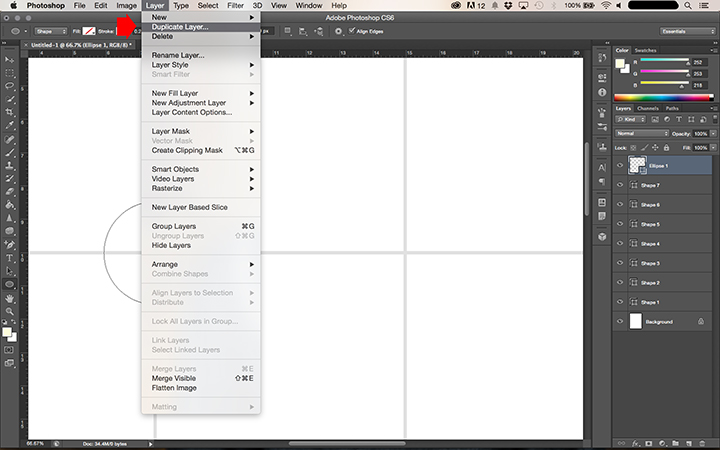
Then go to Layer —> Duplicate layer.
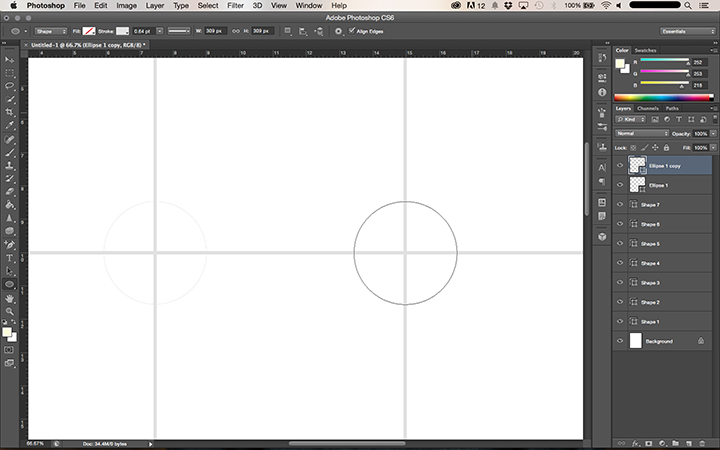
Free Transform again (⌘T) and you can drag the second one over to the next cross section. Hold the shift key while you drag and it will stay even with the first one.
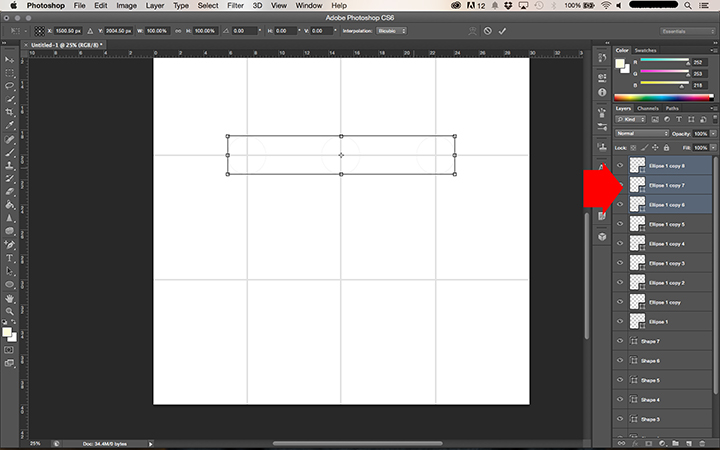
Repeat that all the way across. Then once you have them across the top, select all of the eclipse layers and go to Layer—> Duplicate layers. This will duplicate the whole row. Then Free transform (⌘T) the duplicated layers (the whole row) and move it down to the next cross section. Repeat until all of the cross sections are covered.
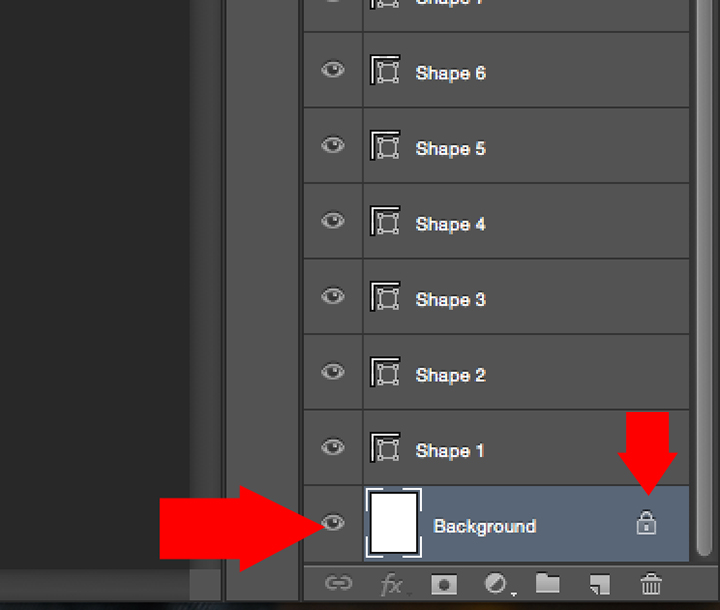
Now we want to delete the background. You will see it’s the first layer, and it has a little lock next to it. Click on the lock and drag it into the garbage can right below.
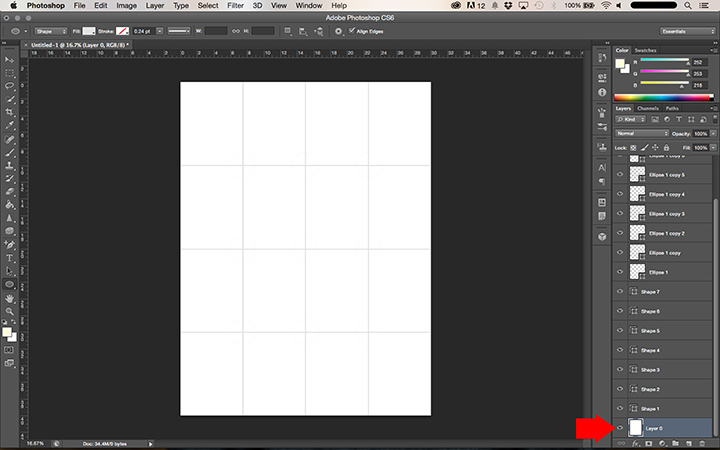
Now the layer will say “Layer 0” simply delete or hide (clicking the eye) to remove the layer.
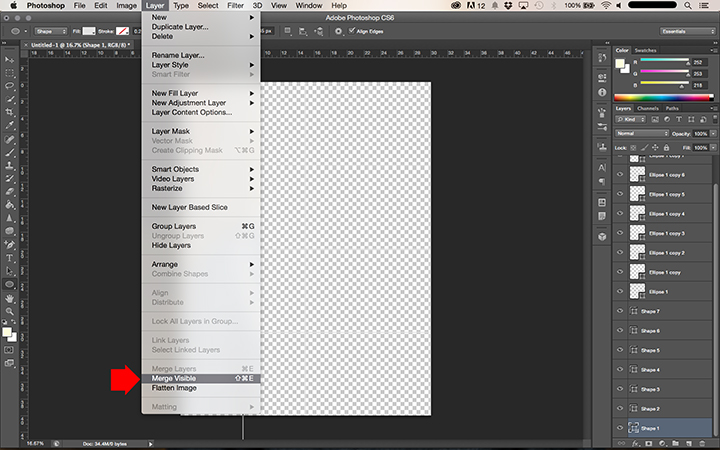
Now go to Layer —> Merge Visible DO NOT FLATTEN
Now you can see that the layers all merged into one.
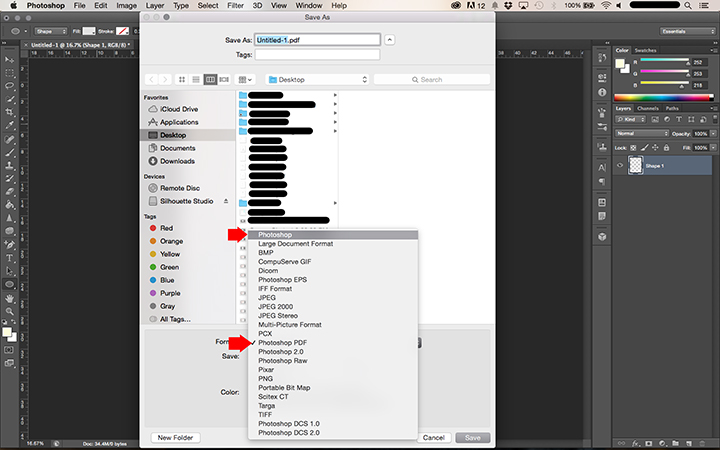
To save this file you need to save it as a Photoshop file (my file of choice) or a PDF or a PNG also work.
Once saved you can use it again and again on any project you need.
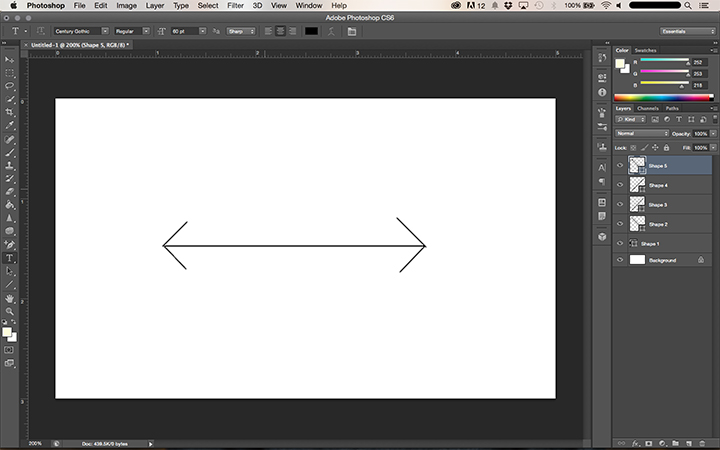
Now I also use this for grainline arrows, or stretch direction arrows. I simply start with a smaller image size.
I drew the arrows using the line tool.
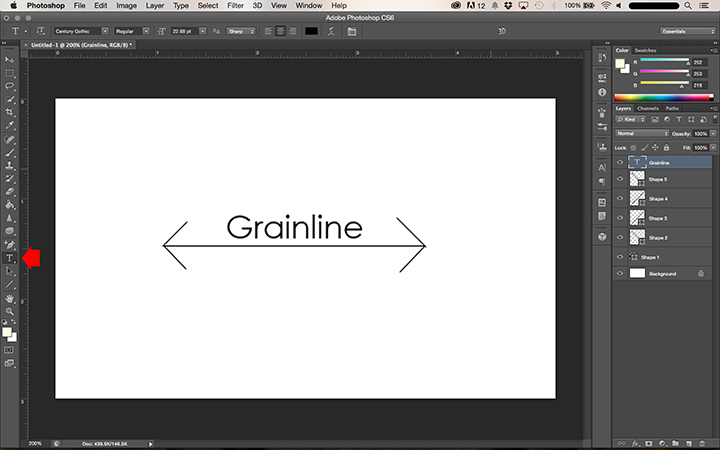
Then I added text.
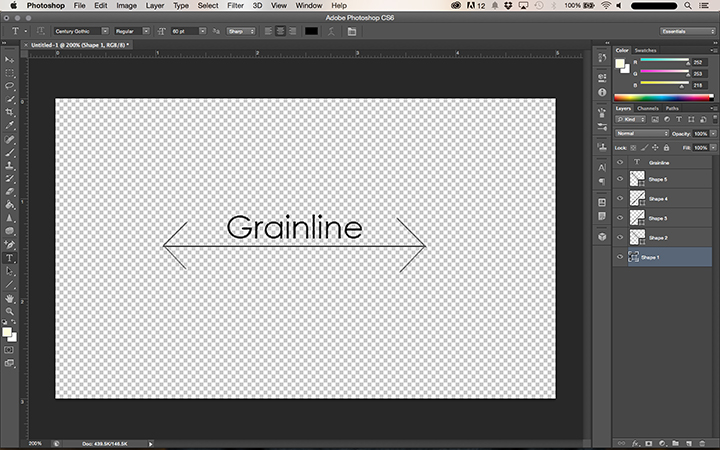
Then remove the background and save just like I did above.